mr_DK
-
Posts
48 -
Joined
-
Last visited
mr_DK's Achievements
MIDIbox Newbie (1/4)
0
Reputation
-
That's what I needed to know, I order some more chips soon. Thanks! H
-
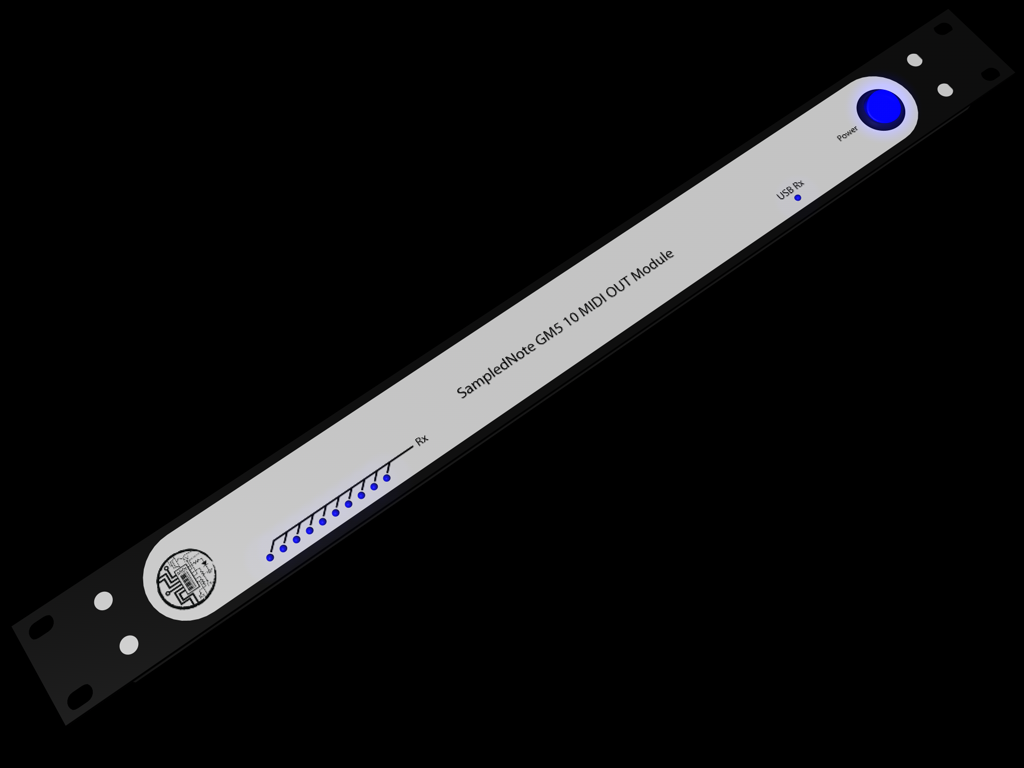
Thanks for the replies, I indeed need only Outputs on one computer (Linux system running ardour for tests) and Inputs on the other computer (win XP system, running VSTs). The GM5 looks like a perfect option because it's very difficult to connect these 2 OS's with MIDI. The GM5 works fine on both, that's why he's so interesting for me. Is it possible to adapt the EEPROM in such a way that I can make an input out of every output? (I know I need some hardware adaptations as well in this case, but this is OK) I just did some testing but It seems not possible.... Any suggestions, or is it always max 5 Inputs/GM5. Thanks for all the help again! Hans
-
Thanks for the reply TK, The purpose of this 10 In and 10 Out setup is that I'm building (for my thesis at school) a big console for "sample controlling". This table will control ardour because this software is completely open source. So I need one computer with Linux (with 10 MIDI outputs) and another running Windows for the use of VST instruments (10 Midi Inputs) because VST is not good supported by Linux. So that's why I wanted this 10 In and 10 Out divided. But as I read, the configuration I took gives me only one Input? Is there some way I can change the configuration and create 10 Inputs for one module and 10 Outs for another? I was thinking of Using the EEPROM for this setup. Sorry for being a "difficult customer" (like we say in belgium) Thanks! Hans
-
Hello, I'm trying to get my GM5 modules up and working, but something weird is happening... I want to build 2 GM5's (1 x 10 Inputs, 1 x 10 Outputs) I have ordered the small PCBs so I have to build the breakout board. I soldered the small PCB and destroyed J1 and J2 as said in the GM5 PDF file. In this PCB there's no J8 jet so nothing I can do there. What happens when I connect this module to several PCs, I only see one input port instead of 10 and I don't know where to look honestly (I used MIDIOX for checking)... Anybody who can help? Thanks! Hans
-
Hello, You should try to select "Wait for upload request before starting upload" In Mios Studio in the sending panel. I always work this way. You switch off the MB core module, then you start Mios Studio, Start the Upload. Then MiosStudio says something like "Waiting for upload request". Then you power up your Midibox, then the transmission will start. Hope this helps? Grtz
-
Congrats Sebo, Fantastic result! Great design! Hopefully any sound demos on the way? Best Hans
-
still thinking about the organisation of the software, I've also been thinking a lot about the structure of the menus. I just need a little bit more time to sort that out. Now there's nothing programmed yet. I'll post it, from the moment it's finished. best Hans
-
Awesome :D Amazing how you can create very fun designs with something everybody else throws away... Very cool!! Congrats! Best Hans
-
Thanks for the compliments! Gives a nice feeling that all the work I did is appreciated. The whole router was designed in Cinema 4D so I had a complete overlook of everything, so I knew from before that everything should fit perfectly (the lasertran print design was made by illustrator and also tested in cinema 4D, as well as the wholes had to fit perfectly as wel) The 3 blue PCBs are indeed custom made, 2 in the front panel with the leds connected (they're all made by a good friend of mine), and the third mini PCB is LED driver derived from the LTC midi module, which handles the core TxRx LEDs. The glued busses to the front panel are from conrad: http://www1.conrad.be/scripts/wgate/zcop_be3/~flNlc3Npb249UDkwX0JFX0IyQzpDX0FHQVRFMDU6MDAwMC4wMGIyLjU2NmI0NjdjJn5odHRwX2NvbnRlbnRfY2hhcnNldD1pc28tODg1OS0xJn5TdGF0ZT0xNjkwMDMzMTE1====?~template=PCAT_AREA_S_BROWSE&mfhelp=&p_selected_area=%24ROOT&p_selected_area_fh=&perform_special_action=&glb_user_js=Y&shop=BE&vgl_artikel_in_index=&product_show_id=&p_page_to_display=DirektSearch&~cookies=1&zhmmh_lfo=&zhmmh_area_kz=&s_haupt_kategorie=&p_searchstring=afstandsbout&p_searchstring_artnr=&p_searchstring_manufac_artnr=&p_search_category=alle&fh_directcall=&r3_matn=&insert_kz=&gvlon=&area_s_url=&brand=&amount=&new_item_quantity=&area_url=&direkt_aufriss_area=&p_countdown=&p_80=&p_80_category=&p_80_article=&p_next_template_after_login=&mindestbestellwert=&login=&password=&bpemail=&bpid=&url=&show_wk=&use_search=3&p_back_template=&template=&kat_save=&updatestr=&vgl_artikel_in_vgl=&titel=&darsteller=®isseur=&anbieter=&genre=&fsk=&jahr=&jahr2=&dvd_error=X&dvd_empty_error=X&dvd_year_error=&call_dvd=&kna_news=&p_status_scenario=&documentselector=&aktiv=&gewinnspiel=&p_load_area=$ROOT&p_artikelbilder_mode=&p_sortopt=&page=&p_catalog_max_results=20 They are glued with dual component glue, which is very strong. This way I didn't had to make wholes in the front panel. The panels are screwed onto the busses, so they can always be removed. Best Hans
-
Another picture here about the technical side. I may be have to mount an EEPROM IC to be able to save presets on filters and routing schematics... best! hans DSC_4376.JPG DSC_4376.JPG
-
Hello, I'm proud to present after some months of hard labour. My first MIDI router! (As you can see, I'm still waiting for my buttons to be delivered 8). After this I can start programming, it will be a combination of a router (LED's on the left to select which IN ports goes to which OUT ports), and a MIDI filter to filter or change data on each out port (mostly controlled with the buttons). The LEDS on the right are the status leds (used the ltc module for the core status leds. I'm just curious for all kinds of opinions about design, concept... good or bad... Thanks, Best Hans DSC_4374.JPG DSC_4374.JPG
-
Hey Glitched, I read the PDF's carefully, and I think I can help you out with most things... First of all let me give you a little hint on how I work, this way I avoided a lot of trouble like you're having now... Get cinema 4D or wathever 3D designing program you can find and draw the whole thing. Just by drawing it this way you will notice another bunch of problems. I've added a design for my GM5 rack module so you can check what I mean. By this way I could check up everything in a 3D way, if there was enough room, does this button looks good,.... after the design steps I just had to enter the sizes and coordinates of the wholes into FPD and order it. (it was the same for the printing on the panel) About the LCD, I guess you'll have to look up the "viewable" size of the display and get one of those "LCD windows" which you mount on the device, reichelt sells those things: http://www.reichelt.de/?;ACTION=3;LA=4;GROUP=A529;GROUPID=3013;ARTICLE=42813;START=0;SORT=artnr;OFFSET=16;SID=284OSzYKwQARwAAARwQyo6b637ae9ad41be5f570bbb0f1a2e4130 Then you just have to check up the datasheet of the window to know how to drill the wholes. In the attachment is a front panel file of my router, which also has a 2*20 lcd with a window, I cut out the window (with the two balancing wholes! and fit the lcd on the other side. About the tactile switches, I would take +0.3mm to be sure (front panel designer is pretty precise ;) ) Then the Standoffs, they look good but on the other hand, I use just standerd "distance busses" I don't know the exact word but they use it to mount several PCB's on the sam distance (they cost like nothing, and use just standard M3 screws). You can glue those to the front panel from one side and screw the LCD in, on this manner you don't have any screws on your front panel which makes it looking real professional I will now make a post in "Design Concepts" about my new router who's almost finished, almost everything I told in here will be visible on the photographs (the LCD window, the mounting to the front board, etc...) I hope this was a little bit helpful... If there are some more problems, just let me know, Best, Hans MIDI Router 2.fpd MIDI Router 2.fpd
-
Hey nsunier, Sorry for the late reply, I'm not familiar with the Xilinx system (I know what it is, but that's where it ends...) I would rather try to fit it in MidiBox... So I think I'm not really able to help, you probably know much more about Xilinx then I do ;) Sorry, and good luck! Best
-
Hello, I was also thinking of using some of those nice screenkeys. I was wondering if there's any progression on this matter? If there's anything I can try to help with? Best!
-
Nice, The fonts work very fine! Thanks Best