Leaderboard

Popular Content
Showing content with the highest reputation on 01/02/2015 in all areas
-
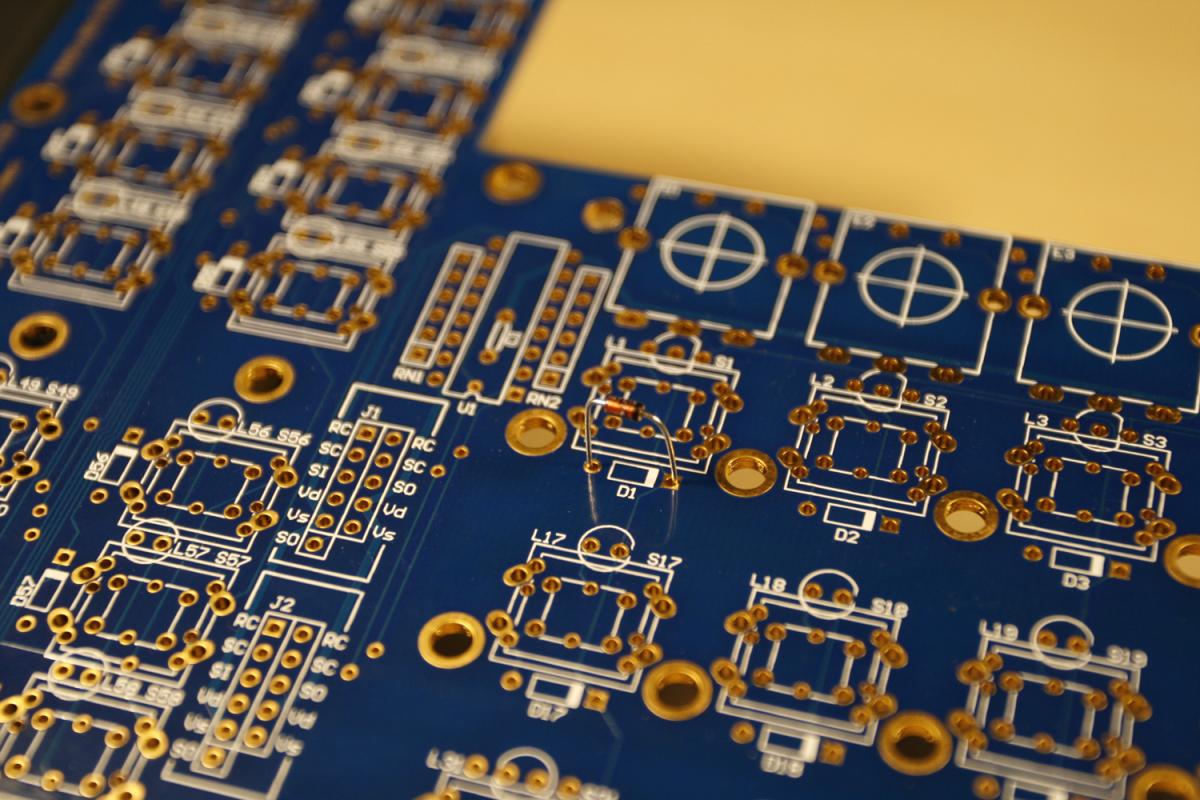
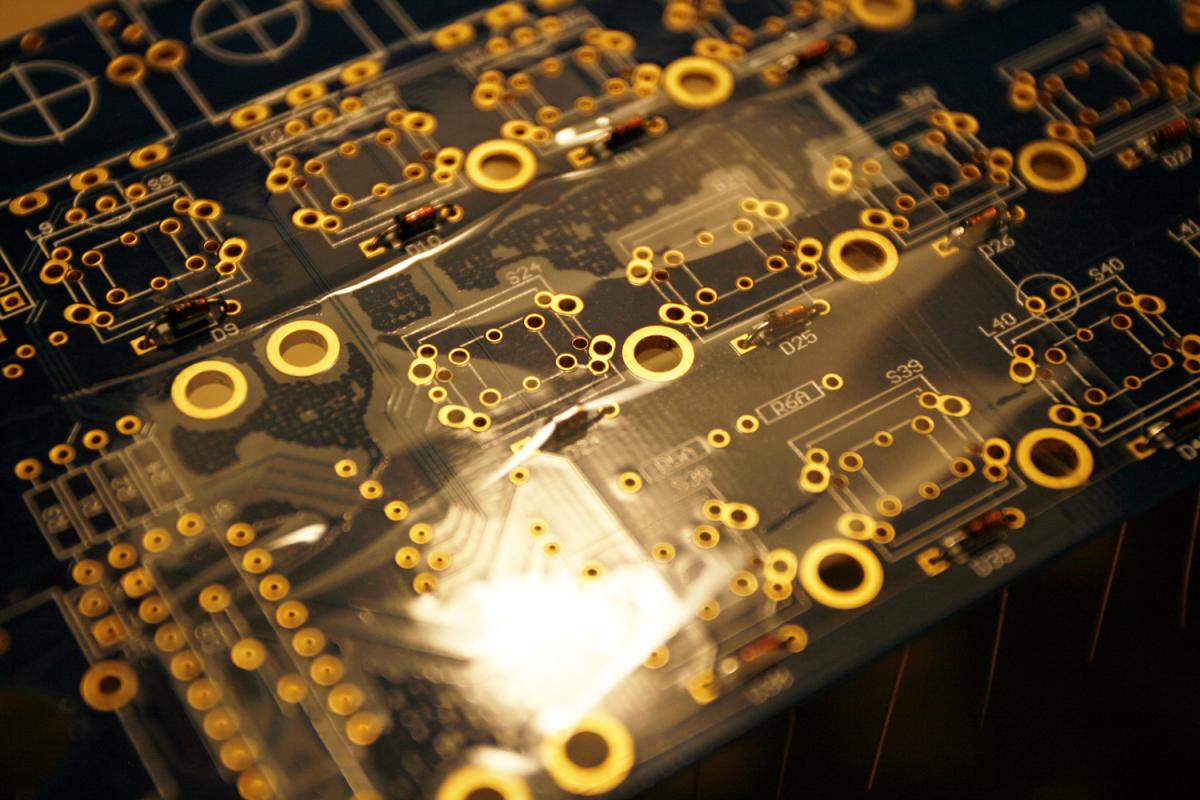
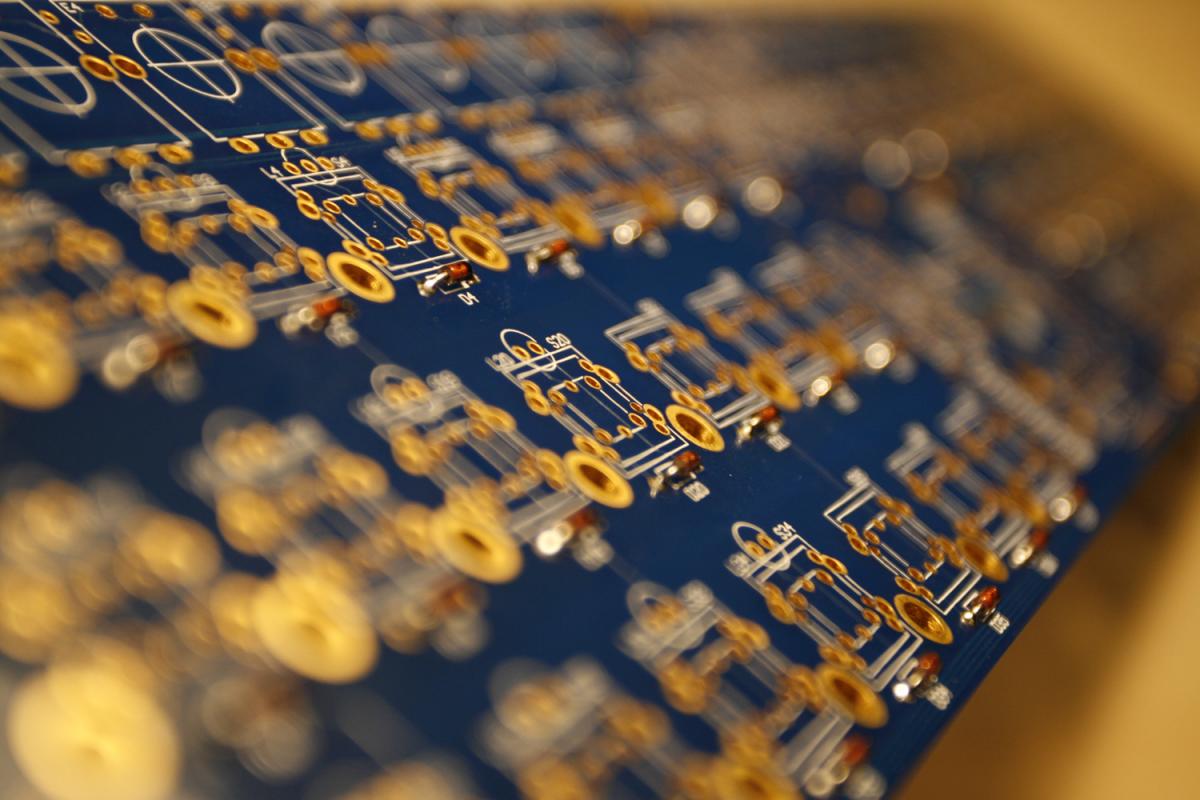
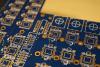
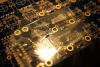
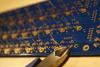
Step 4: Diode Droptime! :-) Parts Used: * MBSEQ V4 Control Surface PCB from SmashTVs MIDIbox shop (SEQ CS PCB): http://www.midibox-shop.com/buy.html * 58x 1N4148 Diodes: http://www.reichelt.de/Diodes-1N-UF-AA-/1N-4148/3//index.html?ACTION=3&GROUPID=2987&ARTICLE=1730&SEARCH=1n4148&SHOW=1&OFFSET=16 Description: * In this step, we will begin to work on the SEQ control surface PCB - photo 1. * Let´s start with the tiniest components, the diodes. Soldering from small to large parts will make the assembly process a bit easier. * Pre-bend the diodes and drop them aligning the "marked end" of the diode with the dotted mark on the PCB (photo 2). * To simplify the component dropping process, you can lift the PCB by a few centimeters by placing it on "spacer objects", like books. * After dropping, you can fix the components with a bit of packaging tape on the topside of the PCB (photo 3). * Check the diode mark alignements one more time, then turn over the board, and cut the pins (photo 4). * Then solder, slowly counting to 116 :smile:. After you´ve reached that number, you can be certain, that you´ve soldered every connection. * Photo 5 shows all diodes installed and soldered. Note: * As my friend jojjelito noted, a cool speed-up-trick with through-plated holes is to just top-solder on the "elevated pcb" - you can then skip the fix-with-tape step completely - and cut off pin remains on the backside of the PCB after soldering. Cool trick! :-)
 1 point