

dwestbury
-
Posts
271 -
Joined
-
Last visited
-
Days Won
25
Content Type
Profiles
Forums
Blogs
Gallery
Posts posted by dwestbury
-
-
50 minutes ago, wardg said:
Could it be an amperage issue, that the sid isnt getting enough amps to operate?
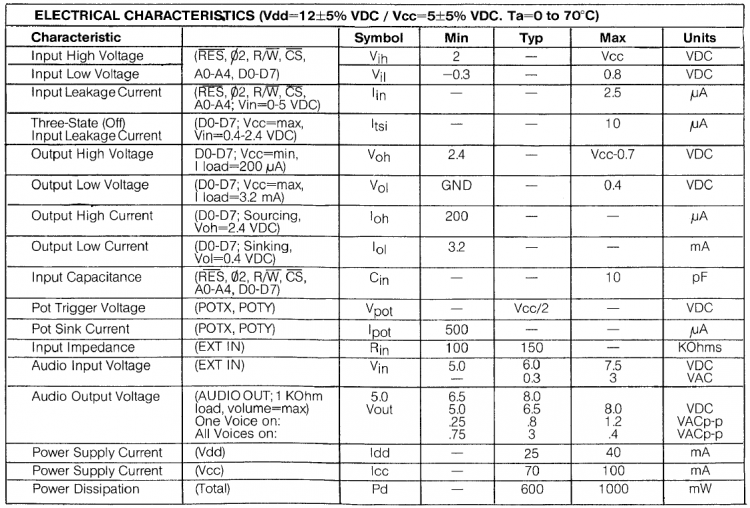
From the same spec doc (link above), you can get a sense of the power supply current draw and total power dissipation to expect.
6581 SID Characteristics
Stresses above those listed under “Absolute Maximum Ratings” may cause permanent damage to the device. These are stress ratings only. Functional operation of this device at these or any other conditions above those indicated in the operational sections of this specification is not implied and exposure to absolute maximum rating conditions for extended periods may affect device reliability.
Unfortunately I'm not quite sure where to direct your attention next (beyond my remote diagnostic capabilities), but I'm sure others will have ideas.
Once again, good luck!
-Darrell
-
33 minutes ago, wardg said:
I'm getting slightly more than 12v, like 12.3. Is that a problem?
That minor of a variation shouldn't be a problem. According to the specs posted here: https://www.waitingforfriday.com/?p=661, the 6581 can handle 17v, although I'd never risk that!
Given that your SwinSIDs are working properly, you shouldn't have to worry about your audio out (SID pin 27) or the amplifier circuitry, but you could still have an issue with either your filters capacitors (C1L, C1R, C2L, C2R) or your audio-in path (J6LR 1/4" jack for Audio in, or either C6L or C6R).
SwinSIDs don't use external filter caps and they don't support external audio in, so issues in these areas wouldn't affect SwinSID audio output performance, but they could affect a real SID.
Good luck!
-
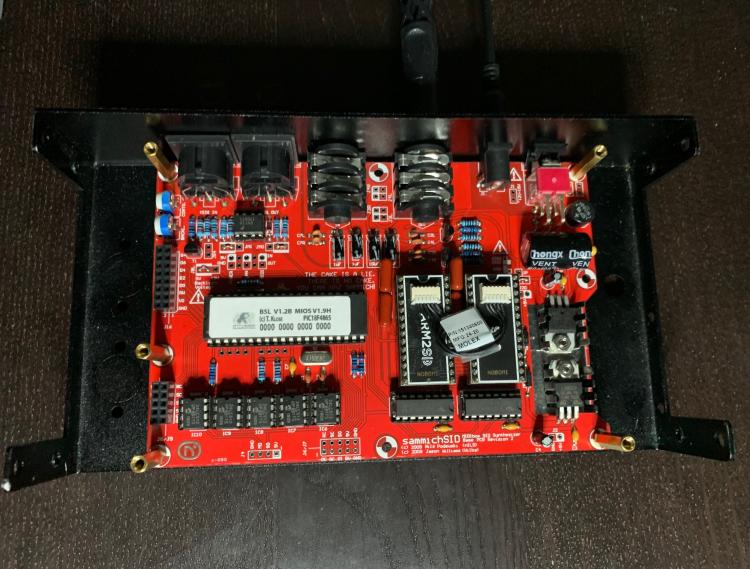
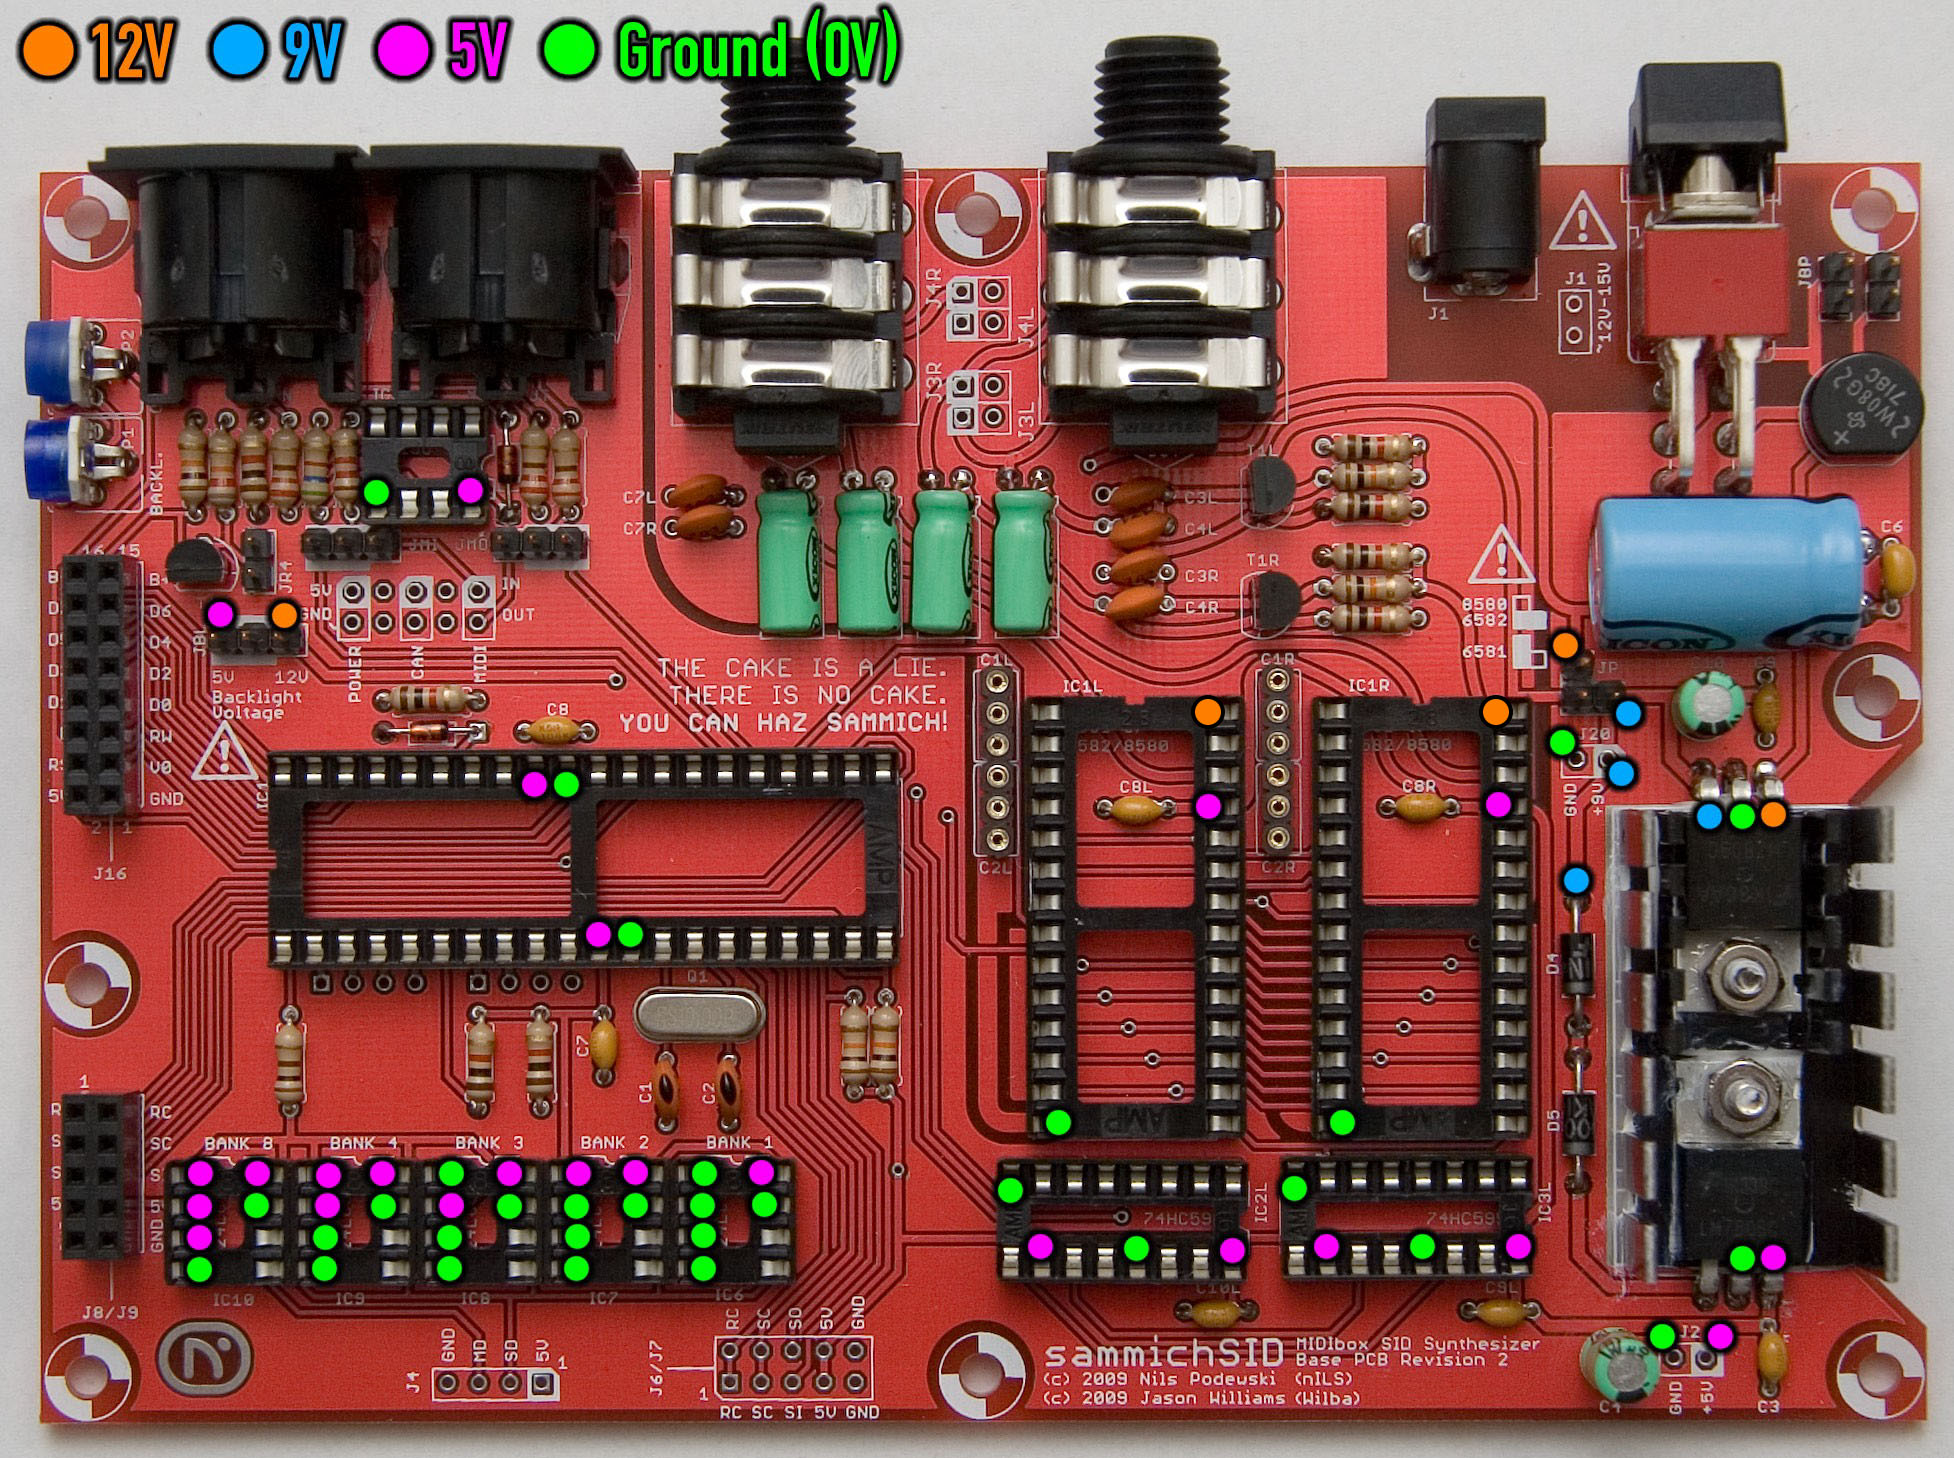
If you're following the official sammichSID build guide (http://www.midibox.org/dokuwiki/lib/exe/fetch.php?media=projects:sammichSID_build_guide_v1_0.zip), you will have undoubtedly noticed the voltage test chart on page 18.
The chart is great, but it's slightly incomplete, in that it leaves out the voltage test for VDD in the upper right corners of the SID sockets, which should read ~12v for 6581s or ~9v for 8580s respectively.
Here's an updated chart that includes the additional test points.
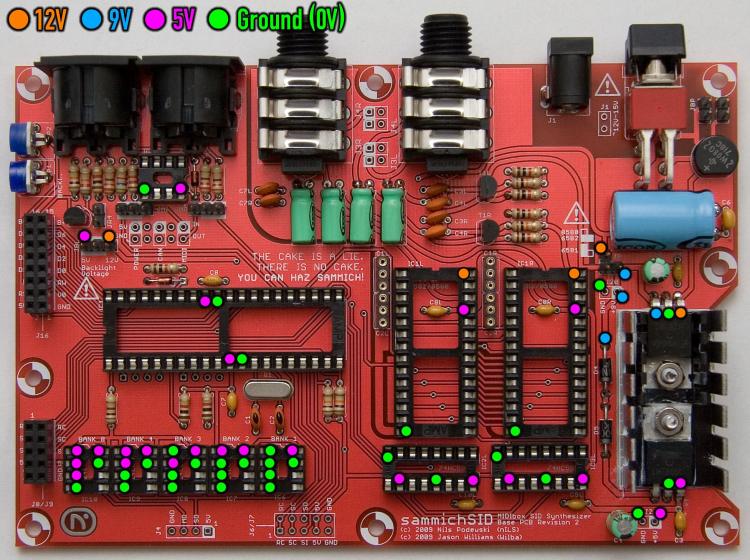
According to the build guide, a 12v reading is ideal, but any reading between 12 - 10.5v should still work with 6581s.
Good luck.
-
On 1/4/2021 at 9:01 AM, Al99 said:
Please @dwestbury can I send you a pic 18f4685 in the post to flash so I can work out if it is the pics that are the problem or my soldering and midi leads on the core, thanks.
Depending on where you're located, the back and forth shipping costs, combined with the costs of cores themselves, could make the whole process untenable.
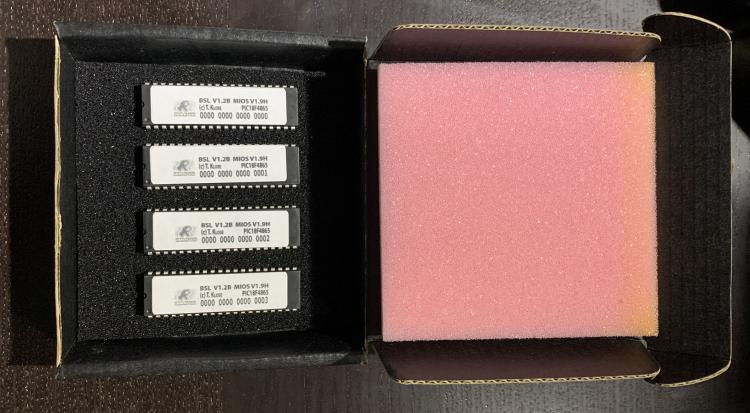
It might be cheaper for you if I simply create four fully functional cores, with:
> Bootloader v1.2b
> MIOS 1.9H
> MB-6582 Firmware (e.g., setup_mb6582.hex)
> Individual device IDs (e.g., 0 - 3)
This would cost about $50 USD + shipping (in a CORSTAT antistatic box).
Cheers,
-Darrell
-
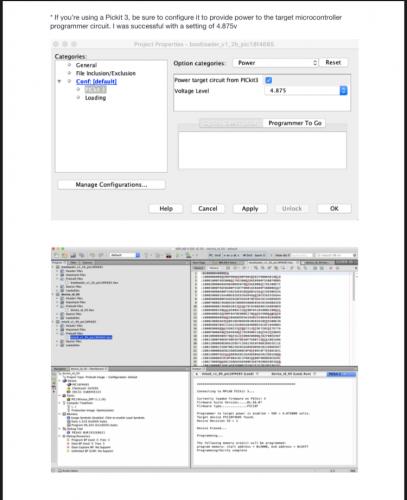
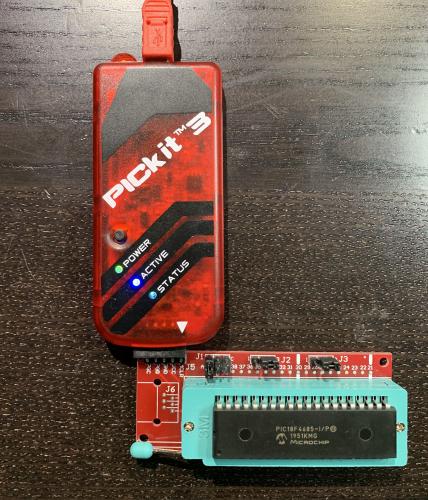
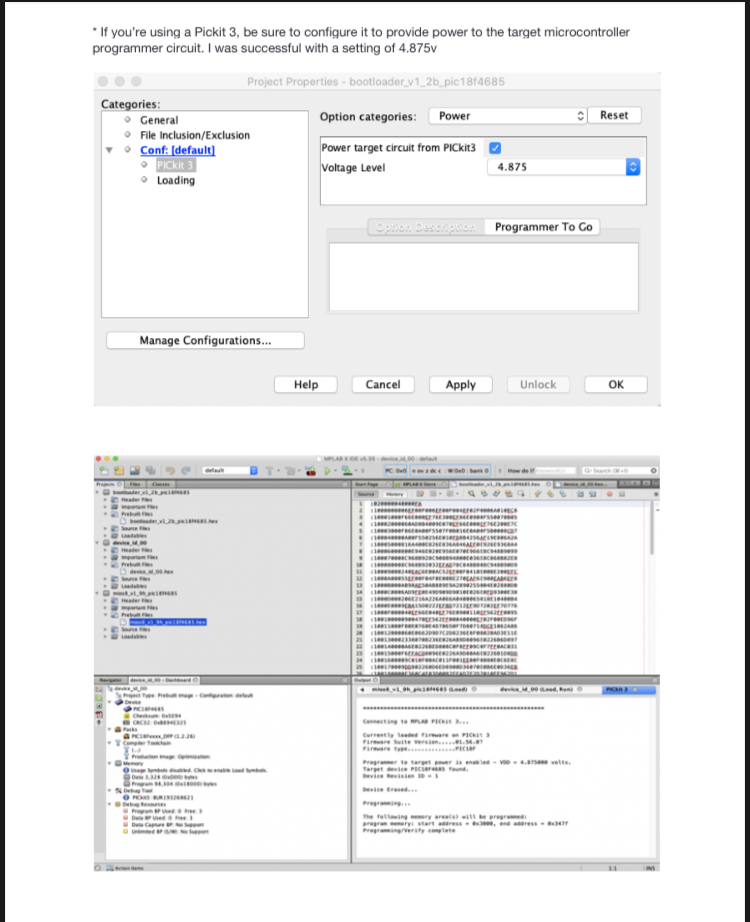
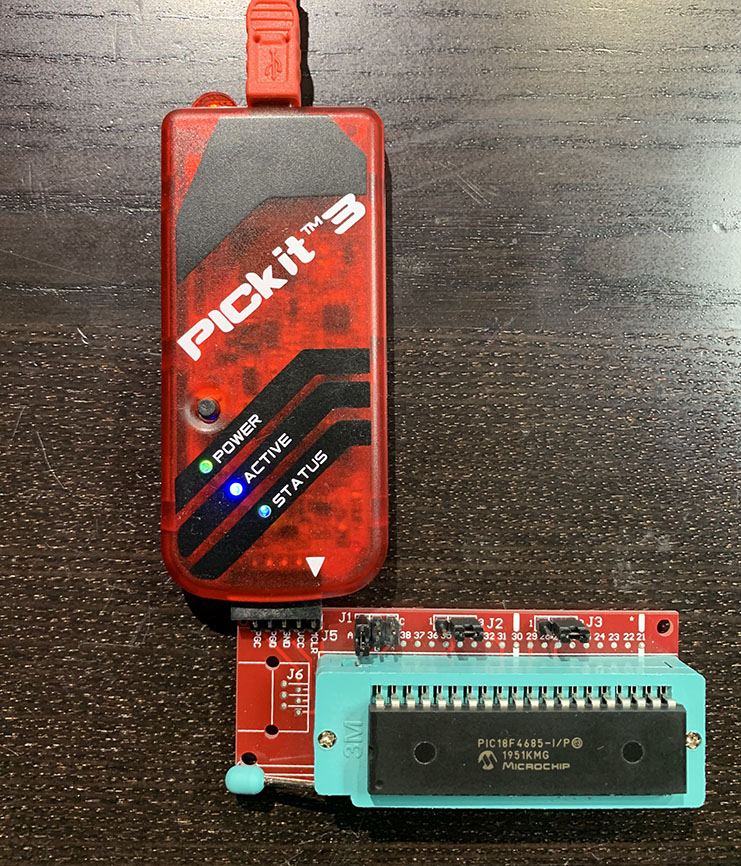
Agree with @m00dawg regarding the need to specify that the PICKIT should provide power to the Chip during programming. That’s spelled out on page 2 of the doc I linked to above...
-
Congrats @m00dawg! I know that feeling of satisfaction is sweet! Kudos.
-
 1
1
-
-
That’s awesome @m00dawg. Glad to hear that this approach worked out and your long standing project is moving ahead! Cheers...
-
1
-
-
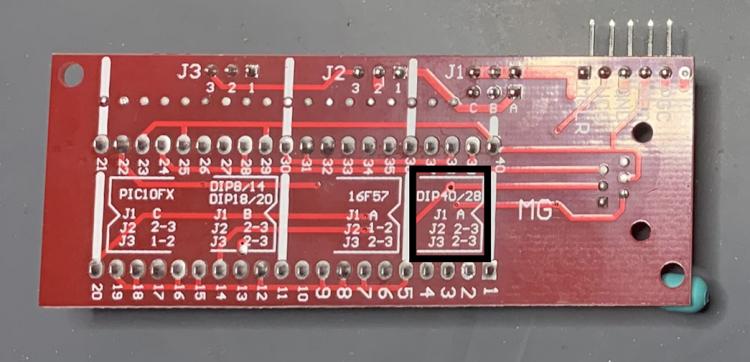
The jumper settings you chose on the expansion board pictured should follow the recommendations printed on the bottom of the board for a DIP 40 IC (e.g. a dual inline package chip, with 40 pins)
> J1 = A
> J2 = pins 2 & 3
> J3 = pins 2 & 3
-
On 12/11/2020 at 9:08 AM, d0pefish said:
Yes - you definitely want to experiment with resistor values before you buy a whole bunch of them and solder up all the boards. For my yellow LEDs, they were bright, but not excessively so - your mileage may vary depending on LED specifications. :)
Couldn't agree more... In hindsight I made 2 rookie mistakes:
1) only buying the 150 ohm SMD resistors (leaving myself with no choices) and...
2) testing with a 6.6v battery source, because I was only concerned with functionality and I didn't even think about final state brightness levels while I was building
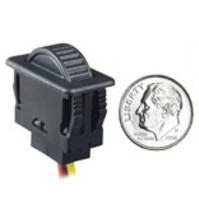
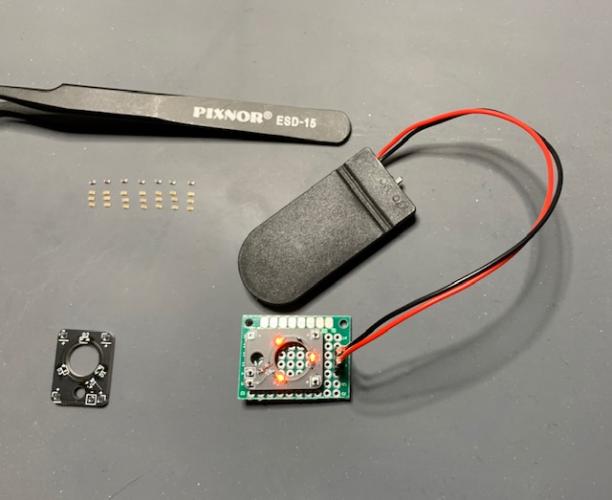
Now I'm thinking that a useful course correction could be to install one of these thumbwheel pots into the side of my case, since that would allow me to adjust the LED levels to taste, depending on room brightness, etc.
Keep everyone posted if I ever get there ;-)
-
Encoder backlighting could add as much as ~840mA in power draw to your MB-6582 (e.g., ~14 encoders with 3 * SMD LEDs @ 20mA peak ea.)
Before I decided to go for it, I measured the total load of my MB-6582 @ ~650-700mA, which included the mainboard (with 8x 8580 R5 SIDs) and the standard fully populated control surface.
My build is using the RECOM 5v SREG @ 1.5A (mouser: 919-R-78B5.0-1.5), which still has plenty of headway, but I decided to tap into the 9v line anyway, based suggestions in Dale's documentation (https://github.com/dwhinham/encoder-backlight-pcb).
As I mentioned above, 9v seems to be a bit much for my taste, because *the lights are blinding*... So, I'll probably look to step that down to find the sweet spot.
-
1
-
-
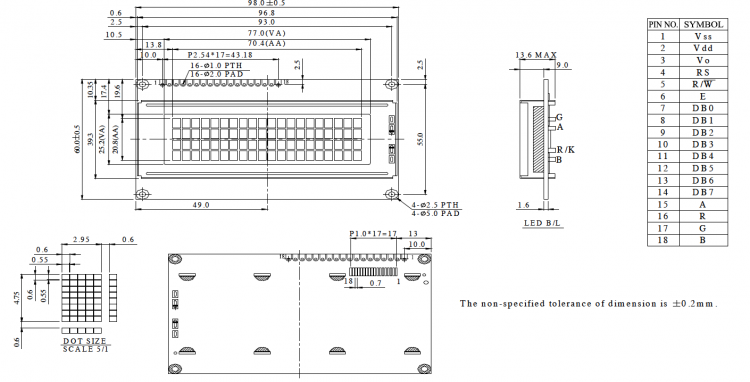
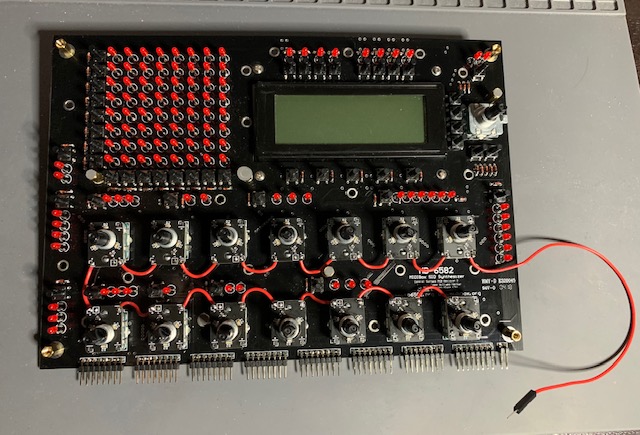
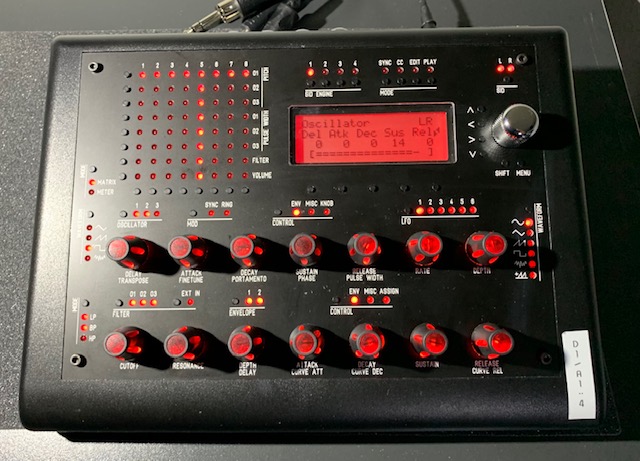
These RGB char displays use 18 pins instead of the standard 16, which means there's separate power input for Red, Green and Blue.
I posted a pic in the gallery of the approach I took with one of my MB-6582's.
Basically I was able to use a single pot on a tiny piece of protoboard to send variable power into Green pin.
I sent the full 5v source into the Red pin, then used the pot to mix in a bit of Green and voila, a nice Amber color that nicely matched my LEDs ;-)
-
If you need a standard LCD color, like green or blue, I’d suggest sourcing from AliExpress, because you can get a few of them for ~$3 USD each.
If you need a unique color like Orange/Amber, I’d suggest getting the Adafruit RGB display and connecting your 5v power source to each of the RGB inputs through a set of 3 * 10K pots, which you can adjust individually to achieve the exact color desired.
-
Humbled to be part of such a distinguished group!
Appreciate all the effort to demystify the process and make the tools approachable :-)
-Darrell
-
-
1
-
-
-
As far as I know, ARMSID emulates the latest 6581 and 8580 releases (R4AR and R5 respectively), so the best sounding versions of each chip.
Delta was definitely composed for the 6581, whereas my ARMSIDs are setup to emulate an 8580, so there's going to be some character differences there.
I also have a pair of SwinSID Ultimates coming in the mail (one of these days) from Poly.play, so it'll be interesting to hear how they stack up.
-
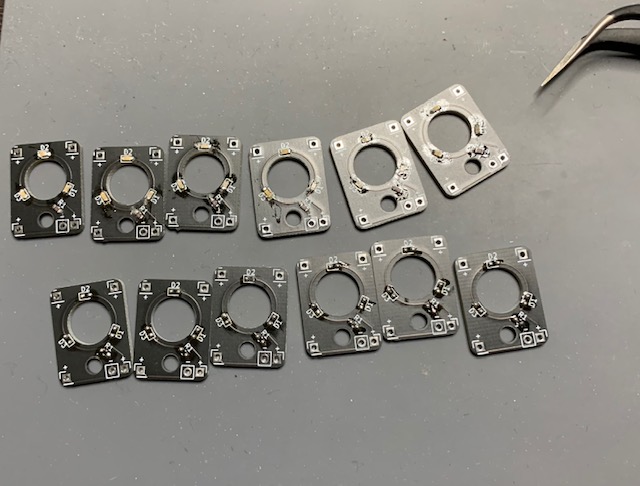
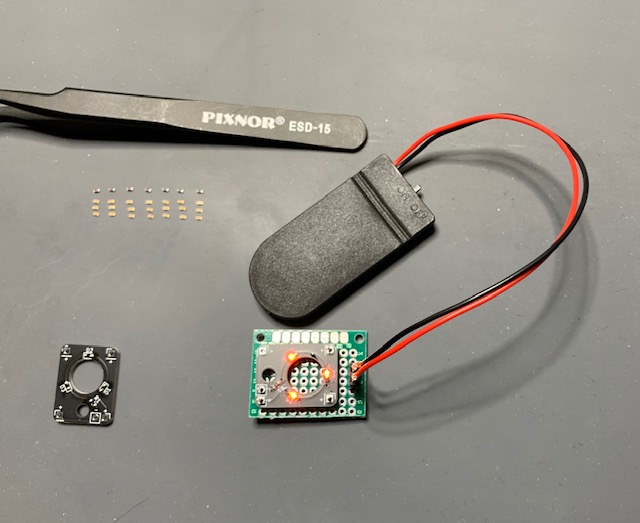
I finally got a chance to build and integrate these awesome encoder backlighting PCBs.
With such a clever and functional design from @d0pefish, I had no excuses!
The one impediment for me was having to learn some basic SMD soldering, but @Hawkeye's videos on the subject made it much easier ;-)
I'm currently powering the lights with a 9v source, but I think this makes them a bit too bright and they illuminate the whole bottom half of the control surface.
-
2
-
-
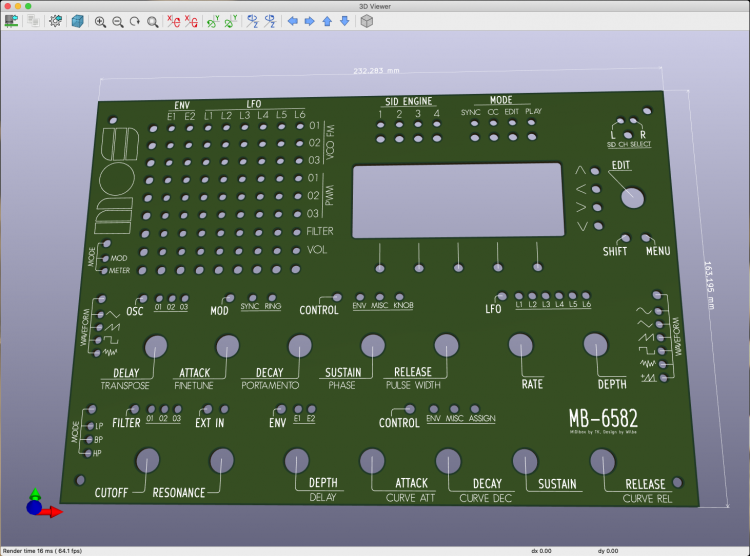
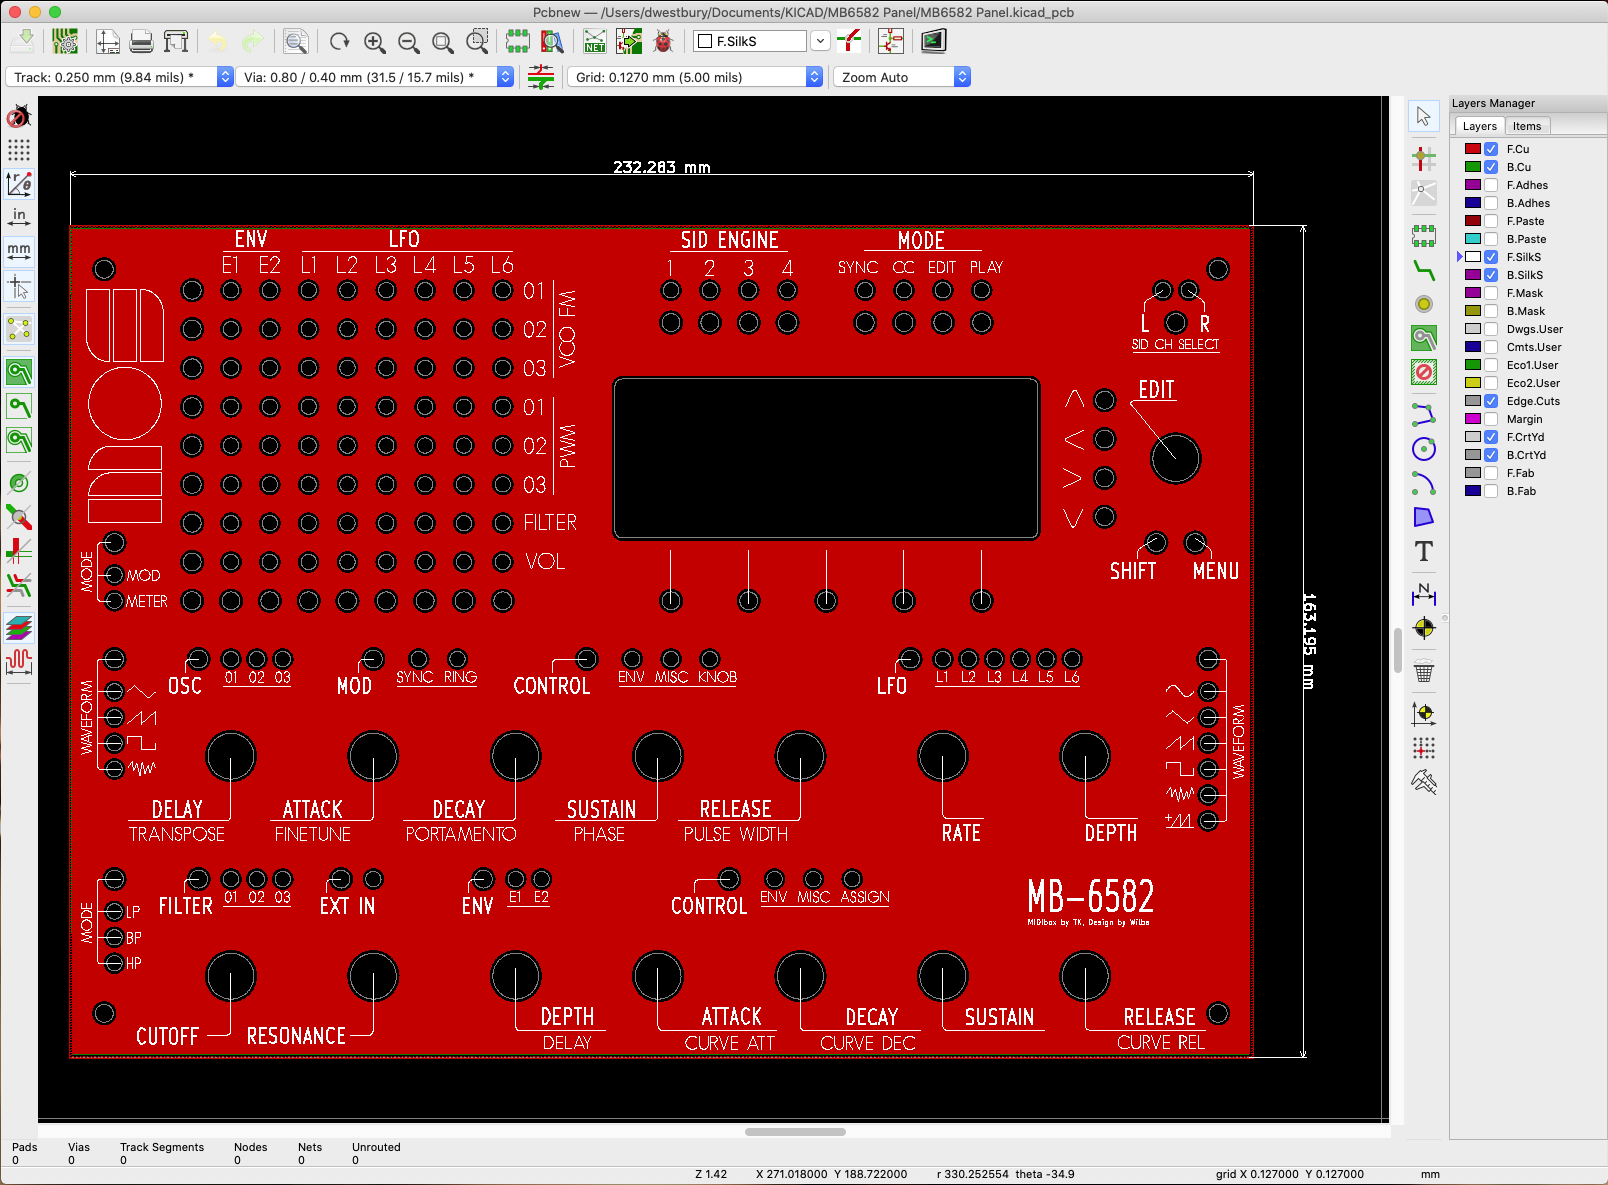
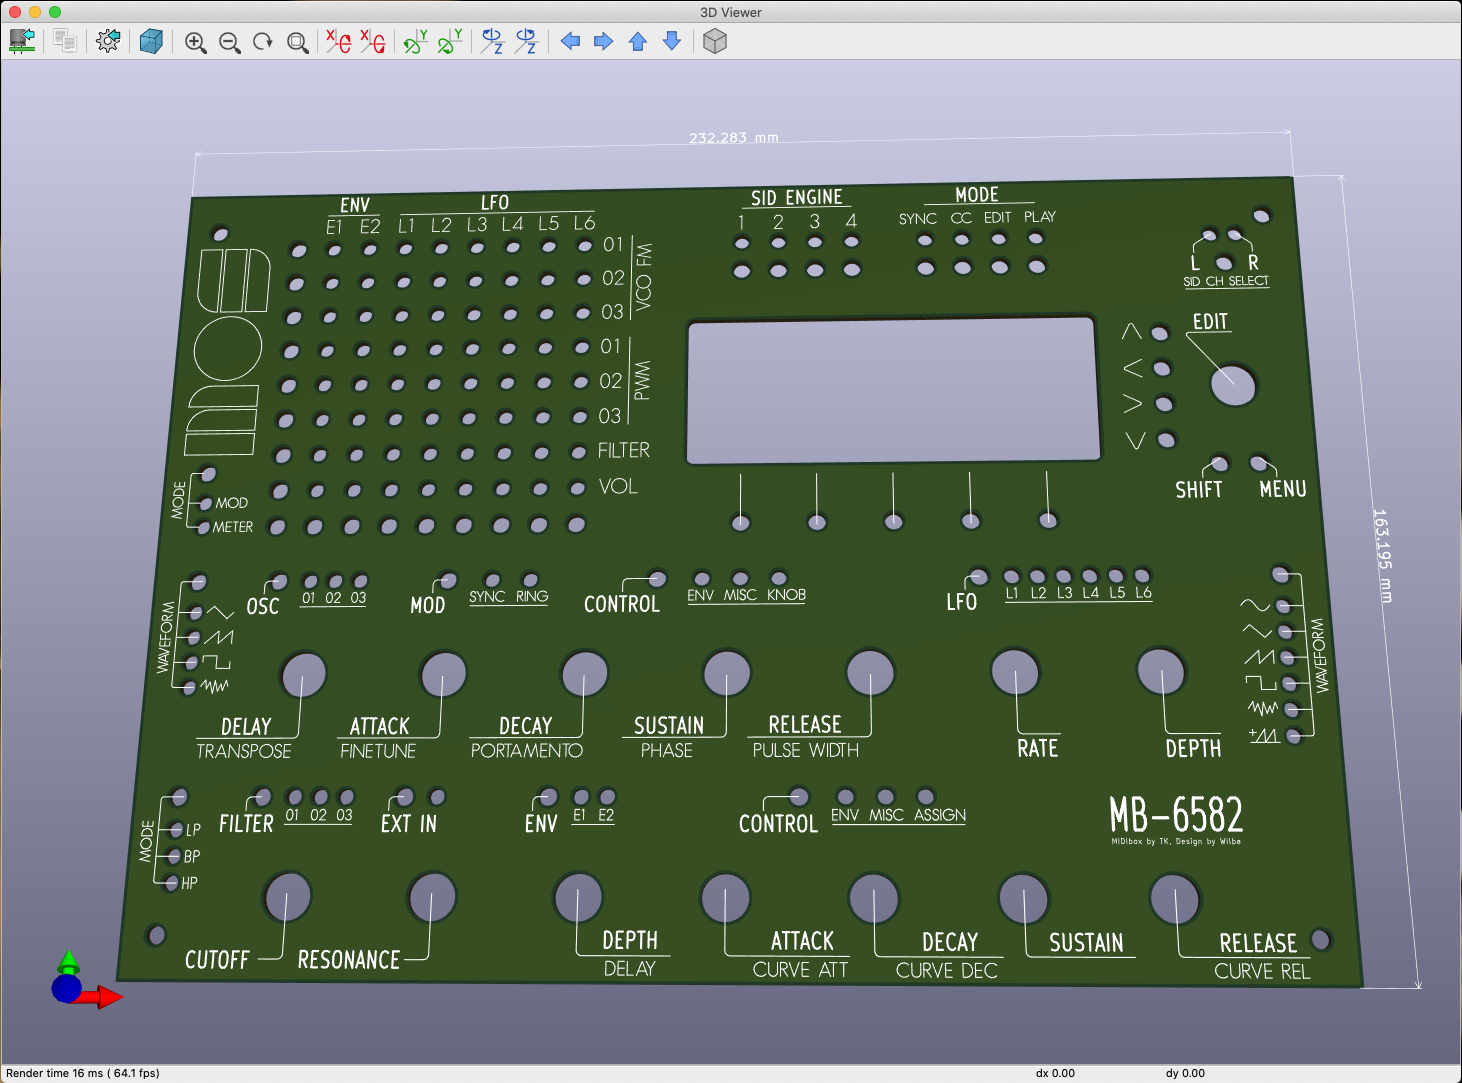
Finally started messing around with this design in KiCAD and, I'm really liking it!
Think I might get it made soon :-)
Thanks @listen202 for sharing!

-
-
Are you talking about this programmer board?
https://www.ebay.com/itm/133174280268?var=432516796181&mkevt=1&mkcid=28&chn=ps
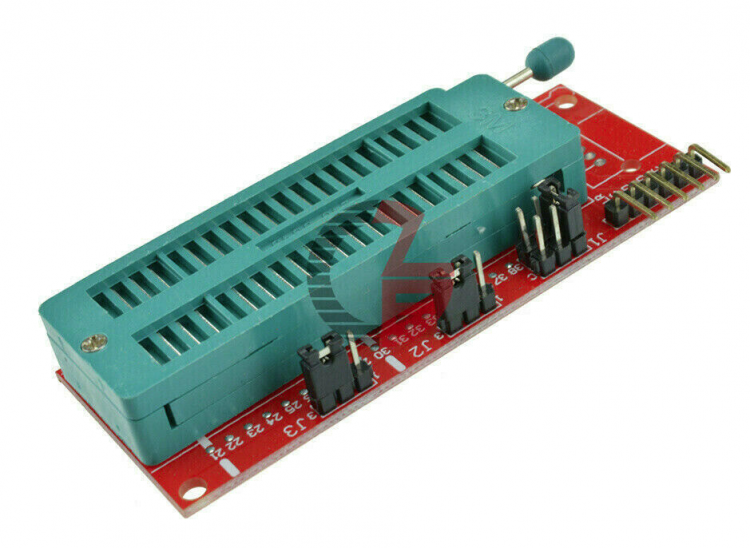
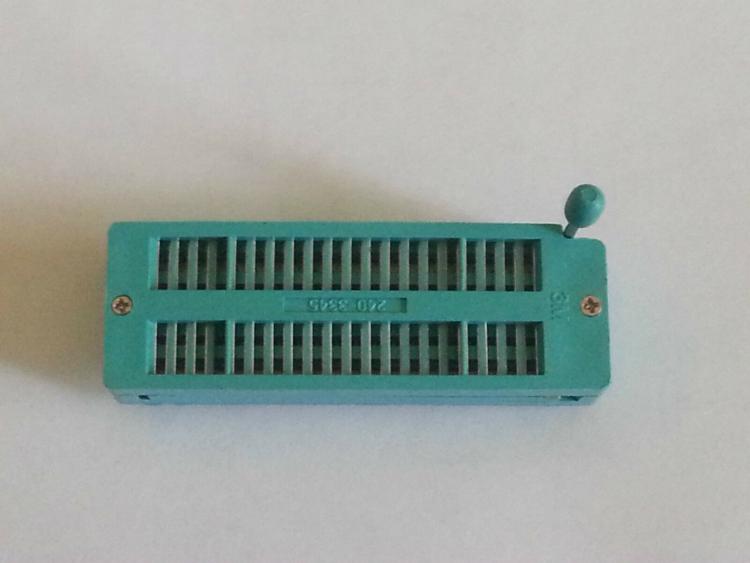
..or, if you prefer to "build vs. buy" your programmer, you can always order just the Zif socket itself and breadboard / protoboard the rest
-
This is becoming a promising endeavor!
Total BOM costs include, the Teensy4 @ ~$20 USD, the PCB @ $17.50 USD, plus some pins and SMD parts.
So, still a bit more expensive than the average street price for a Nano SwinSIDb, but Teensy4's will get cheaper soon and someone may already be planning a bulk order of PCBs soon, which would reign in the costs quite a bit.
The most important consideration in my view is this being a live projects, with active development.
There's always the possibility that FreeSID could come out sounding significantly better than SwinSID.
Anxious to hear examples if anyone winds up building one or otherwise getting their hands on some.
Cheers.
-
...Some sound samples...

-
 1
1
-
-
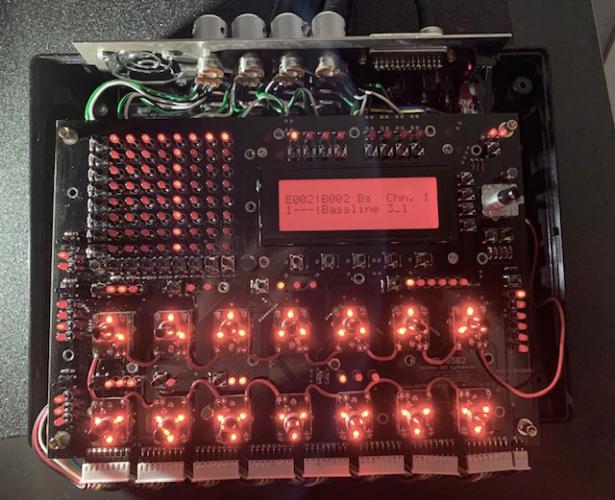
I finally found a little window of time to plop a set of ARM2SIDs into a MIDIbox SID to play with some patches, and.... WHOAH...
In my humble opinion, they perform exceptionally well.
I tested them with default configs (i.e., dropped them into a MIDIbox SID with no config changes), and can say that they combine a very low noise floor (e.g., nonexistent), and produce very accurate SID sound emulation, with reliably consistent volume levels, across all voices and various patches (So, Win-win-win.... ).
The price-point for an ARM2SID set is ~$48 USD, which is a bit more expensive than purchasing 2 * SwinSIDs (which avg. ~$15-$20 each on eBay, or $30-$40 for a pair), but ARM2SIDS sound very accurate and produce consistently powerful output levels, irrespective of the patch chosen.
I'm more than happy to share sounds from some patches or a popular SID track, if anyone is interested.
Best,
-Darrell
-
1
-
-
By the way, I'm selling this synth in the Fleamarket [EDIT: SOLD]
Which is why I got a bit nostalgic when I thought about actually parting with it, and I drafted the note above.
I may never find out who the mysterious builder / seller is or was, but I'm certainly grateful for the transaction... ;-)
Cheers all,
-Darrell


sammichSID help : swinsid vs real 6581
in Testing/Troubleshooting
Posted
Good to hear you nailed it.
Cheers and congrats.