artyman
-
Posts
104 -
Joined
-
Last visited
-
Days Won
2
Recent Profile Visitors
12,550 profile views

artyman's Achievements
MIDIbox Addict (2/4)
3
Reputation
-
Nicely done ;)... Being a guitarist, all this synth work is still a bit of a black art to me... I like the annotations so I can see what's actually happening, and relate it to the track. More vids like this please!!
-
BIG thumbs UP!! Loving the bass sounds!!
-
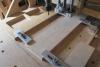
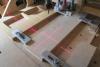
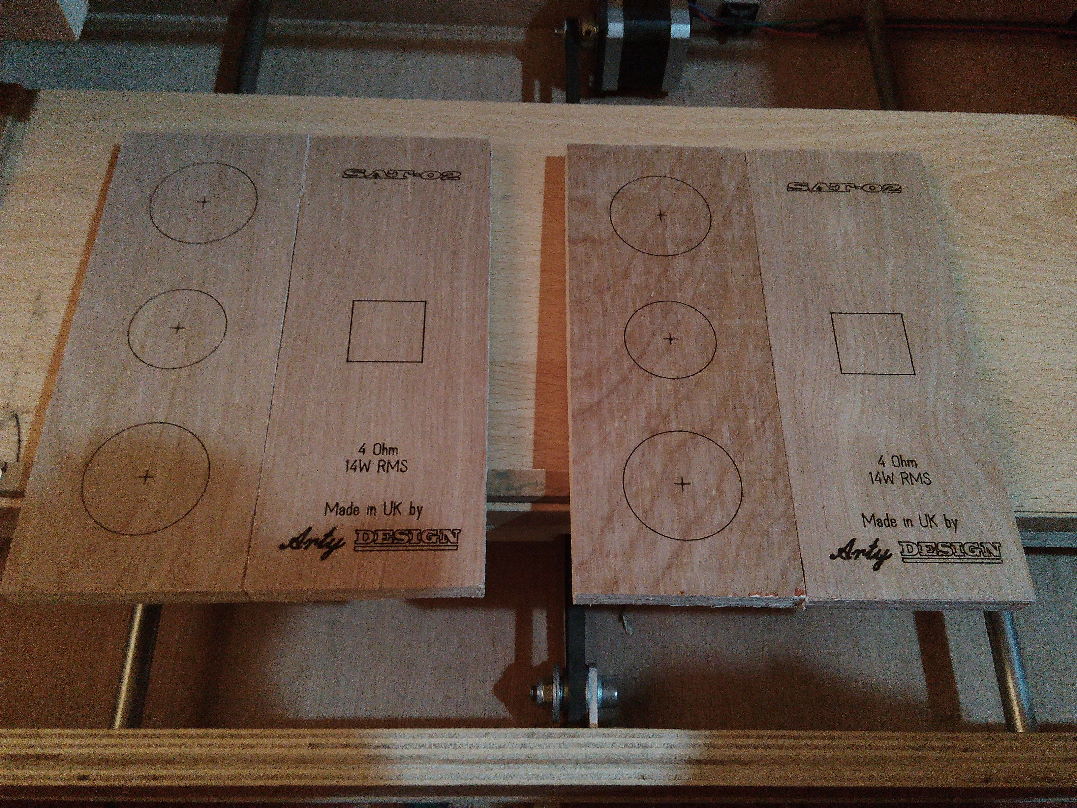
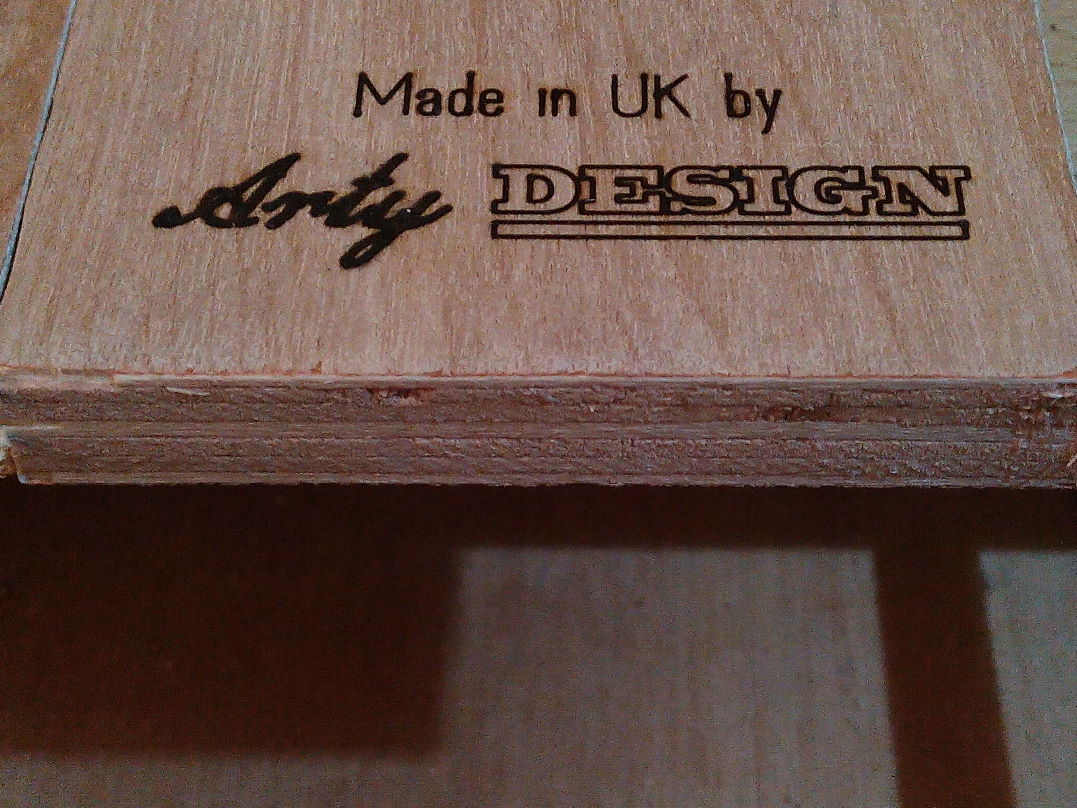
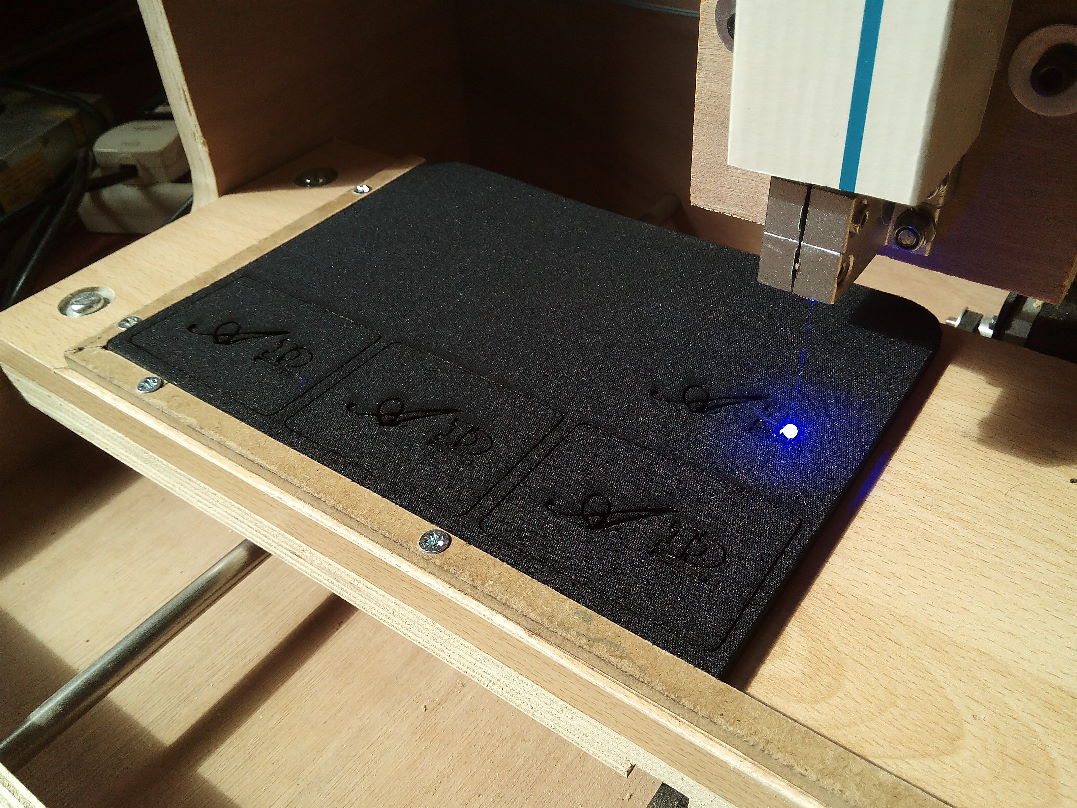
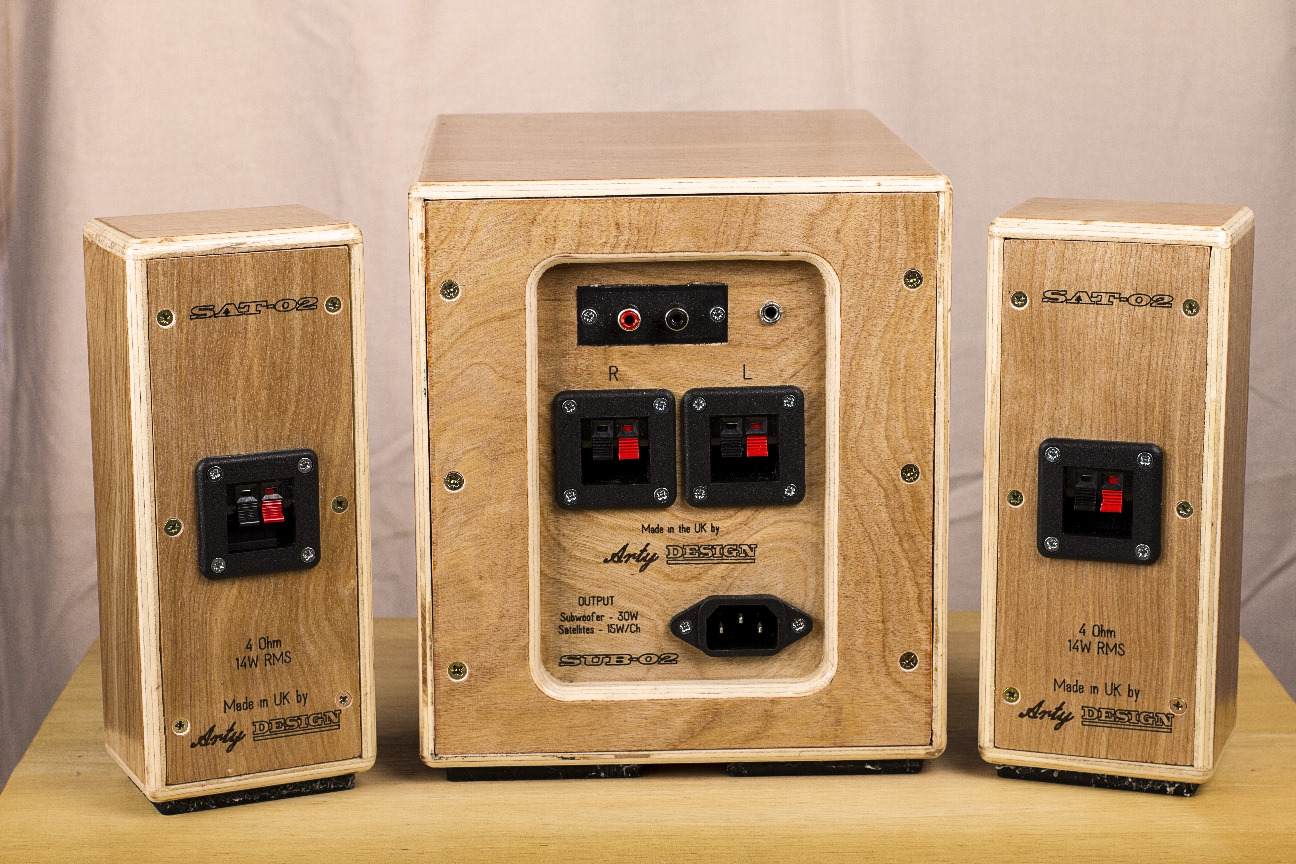
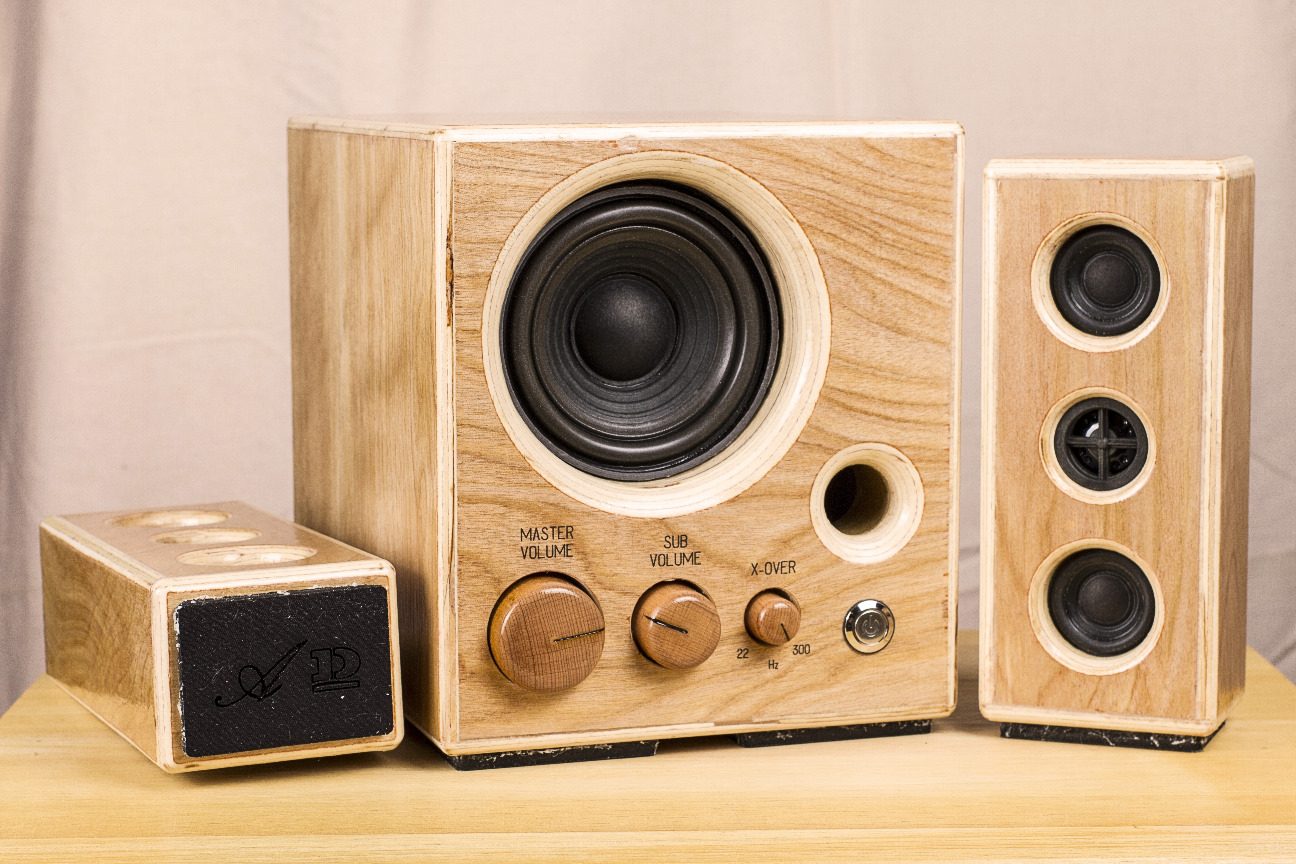
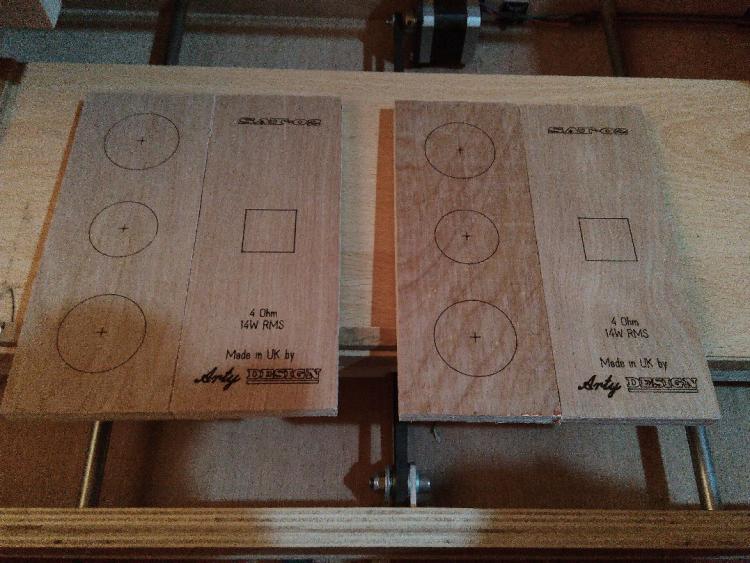
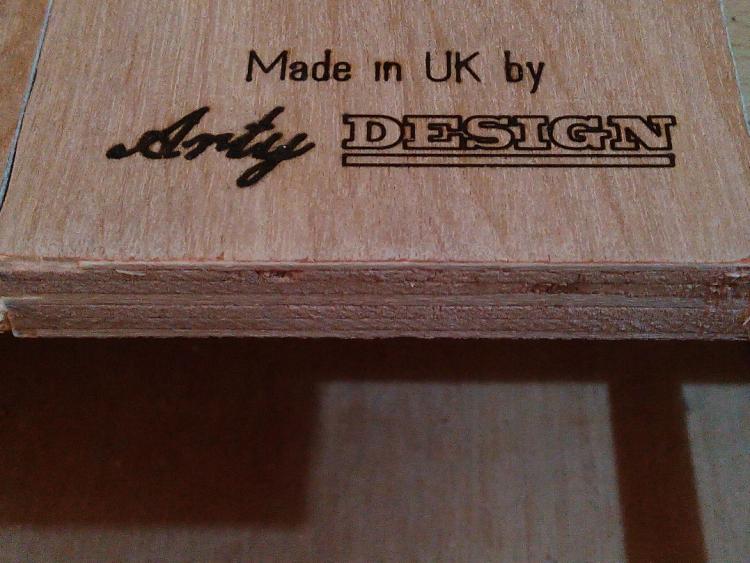
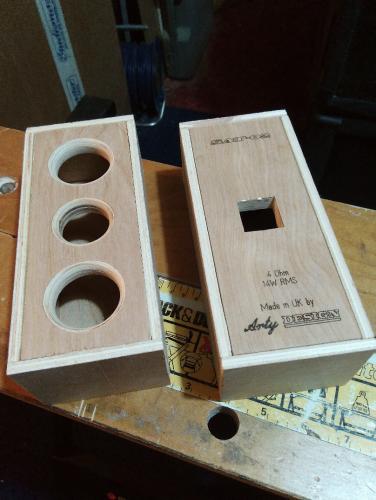
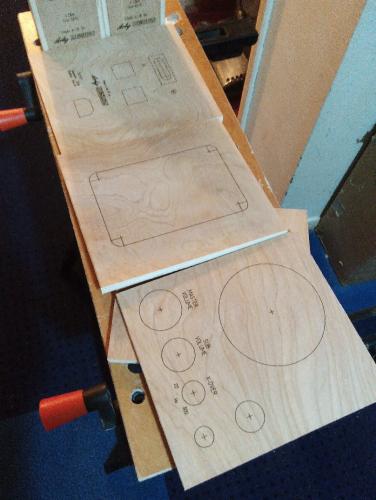
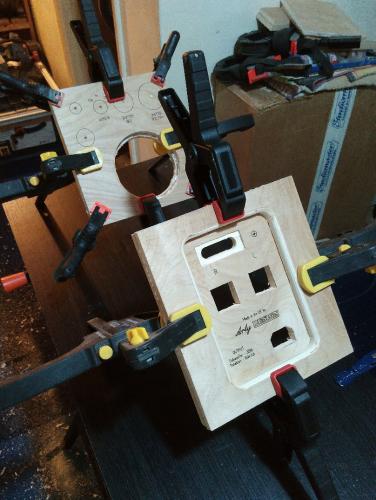
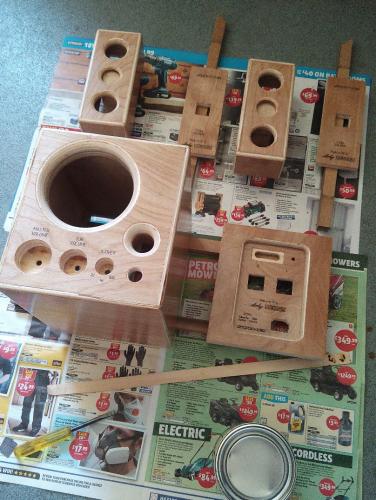
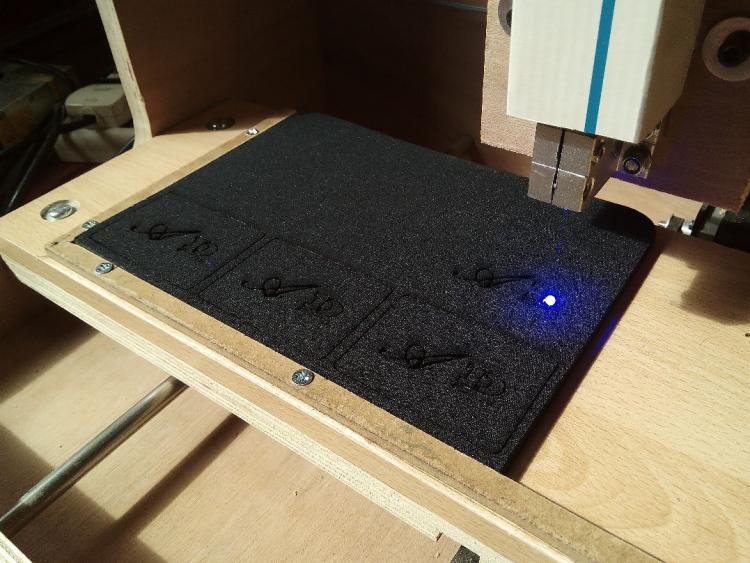
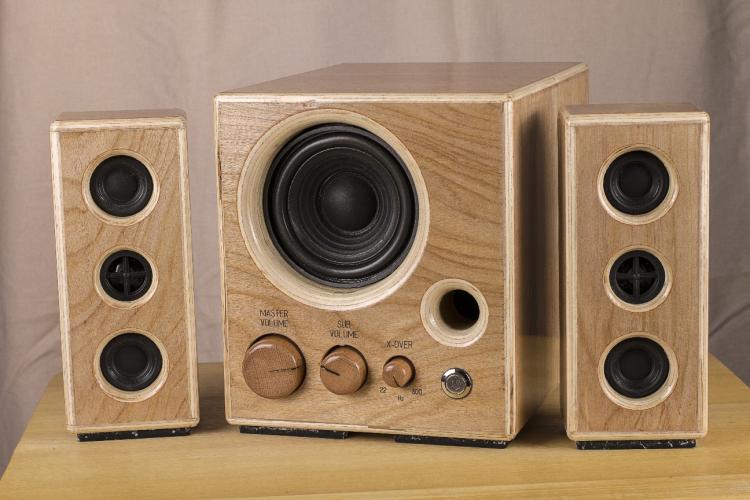
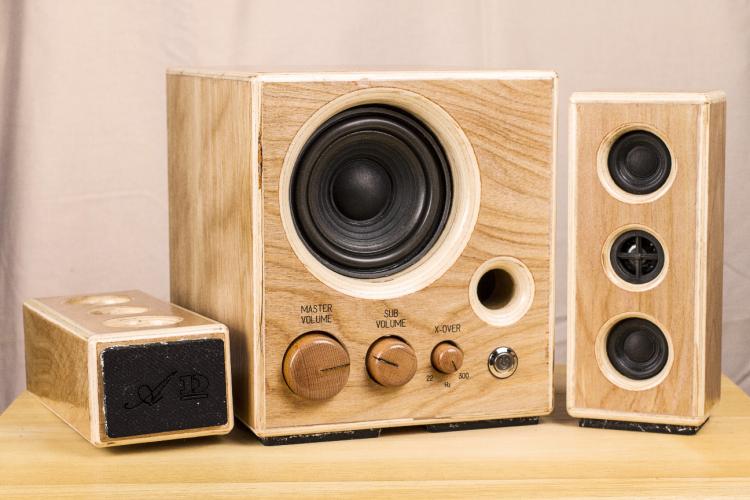
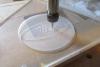
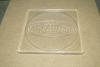
It's been a while since I've posted here... been busy building more tools - most recently a laser engraver using a 1.6W blue laser. This is my first full build using this, not only for labelling, but also marking out panels for cutting. I decided to build my friend a 2.1 speaker system for his 40th birthday present, and using my new tools, and new skills... this is what I came up with! The sub is based around a Monacor SP60 4" bass driver, and the satellites, an unknown brand 42mm driver, and 99pence tweeters (originally intended to be added to car hifi). Front and rear panels for the satellites marked out. Detail shot of the laser work. Dry fit of the satellites. Subwoofer panels marked out, ready for cutting. The sub's front and rear panel glue-up. Varnish time! All hardware mounted in the satellites. Cutting the feet for the boxes, with my logo lasered in. One mousemat sacrificed in a good cause! ;) The finished product. ... and from the rear. ... and another view for good measure. It was safe to say my friend was VERY impressed and pleased with his gift, and even I was amazed at the quality of sound, and the amount of bottom end from such small speakers.


- 1 reply
-
- 1
-

-
I know the Mackie HUI protocol is different to the Mackie Control, as to get my Behringer BCF2000 to work with ProTools, I had to change the emulation mode from Mackie Control to baby HUI mode. If it's any help, I've found some data from a reverse-engineering of the HUI protocol. HUI.pdf
-
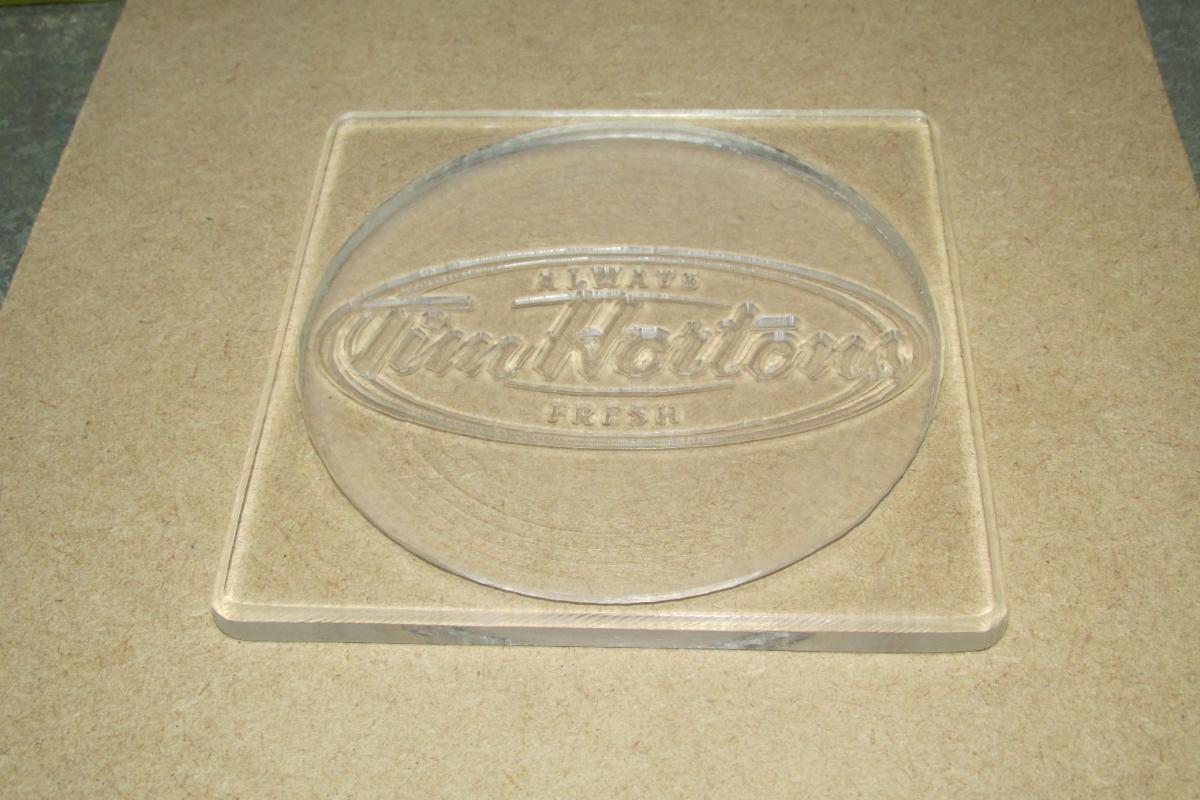
After much experimentation and tweaking of the CNC I believe it's finally working properly... so I decided to make myself something small that uses multiple tools... Starting with a 6mm end mill to pocket the recess... then a 3mm, 90deg 0.3mm engraving bit to carve the design and put the chamfer on the outer edge.... finally a 3mm end mill for the cutout... YES... it's a COASTER !!!!!
-
Thank you... :smile: it's taken a lot of work and rehearsal to get those harmonies right as neither of us are really natural singers
-
Nice 80's feel there Hawkeye.... I get shades of Kraftwerk and Jarre in that ;) Great piece to relax and chill out to... I think your best yet !!
-
Ok... Here's some of my work with my band - Breaker 10:4 There's no midibox involved here [my main interest lies on the HUI side of midiboxes]... ...but it's about time I showcased some of my music. PS... I'm the bald one !!!
-
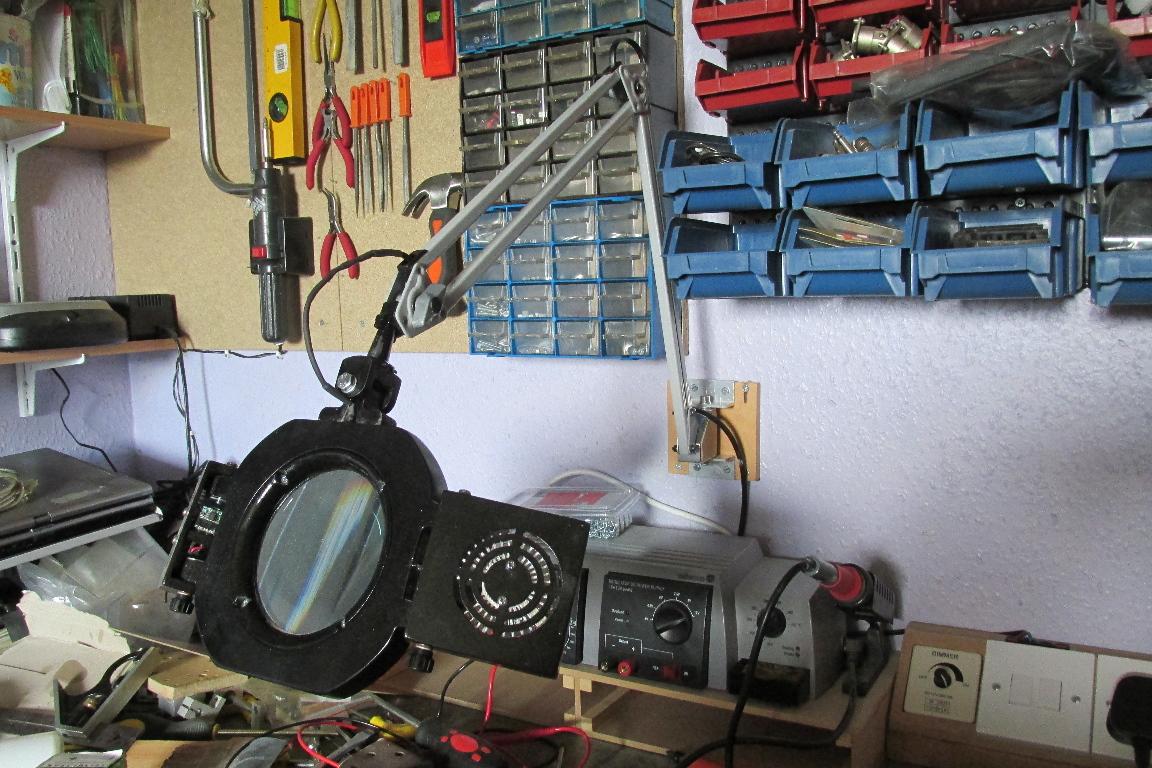
The lamp is now finally finished and installed, after a lot of careful thought and experimentation to make sure the mountings at both the lamp end and the base end would be strong enough to hold the weight. ..and the moment of truth.. switching on.. ...and detail of the wall mount. At first the MDF block on it's own split under the weight of the lamp, but now after fabricating an aluminium facing for it, there seems to be much more support, and less risk of a repeat. Many thanks to all who have followed this thread, I hope it has been of interest to you.

-
LASERS !!!! mwah-ha-ha-haaaaaaaa!!
-
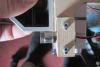
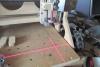
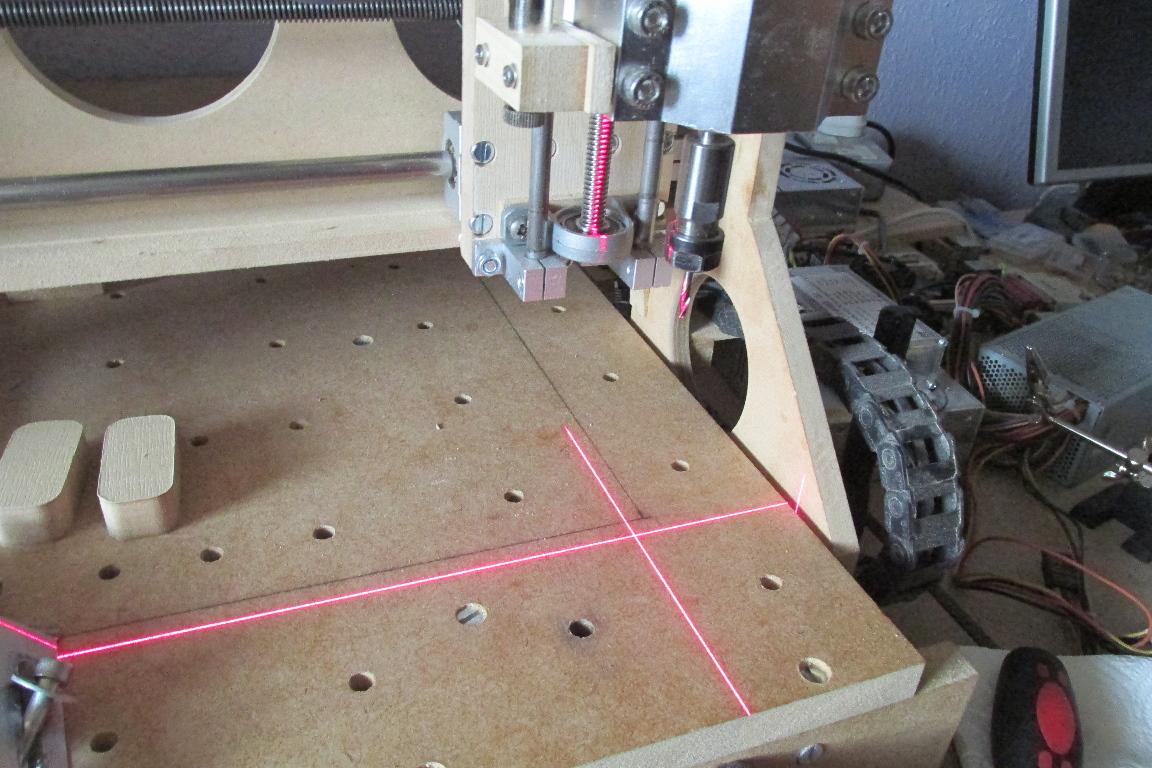
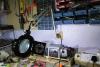
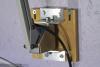
The final part of these planned upgrades is now fitted.... LASERS !!!! The Y-alignment laser was fitted when I made the tool mount and is an integral part of it, now I need to mount the X-alignment one... Yes... I know the mount doesn't look like it's in line with the spindle mount... and it isn't - but the laser IS square to it. With the lasers mounted and wired up... time to test they work with my wiring... ... and they do. The final step is focusing and alignment. I decided to have them focused when the Z-axis is in the home position, as they are not needed while cutting, so being out of focus in any other position is not a problem. Firstly, create some G-code to engrave a crosshair that I know is in line with the X & Y axes, and the origin at the centre. I did this with a 0.3mm 90deg engraving bit at a depth of 0.2mm. Now with the tool at x=0, y=0, and z=home, I can switch the lasers on and line them up with the engraved lines. This way I can use the laser lines to aid in positioning my workpiece as well as having a visual reference of the tool position.