Wilba
-
Posts
3,310 -
Joined
-
Last visited
-
Days Won
2
Content Type
Profiles
Forums
Blogs
Gallery
Everything posted by Wilba
-
-
Yes... they'll go to people on the waiting list for MEGA-SALE #6. Add your name here: http://www.midibox.org/dokuwiki/wilba_6582a_sid_mega_sale
-
Your SIDs are from MEGA-SALE #4, and will be posted to you via SmashTV.
-
I still have plenty of OPL3 chipsets (1x YMF262 and 2x YAC512 per chipset). http://www.midibox.org/forum/index.php/topic,10859.msg85588.html#msg85588 It would be nice to sell them all ;D
-
I have so many spare OPL3 chipsets that people can join this bulk order at any time. Just put your name down on the list in the wiki and I'll contact you by PM.
-
OPL3 chipsets have arrived. I will send invoices soon.
-
The SIDs have arrived. The PayPal invoices have been sent. Now the slow process of testing and packing begins. I'm still waiting to hear from the following people, who seem to be ignoring their PMs: Backindauk, 24 ringmod45, 16 Frishkorn, 8 Jaicen, 8 narf, 8 dar2dar2, 4 Junkyseb, 4 Commie64, 2 iamlark, 2
-
See the screenshot I posted before. That little window in the top right. It not only shows/edits the dimensions of everything, those 9 little squares let you see/edit the coordinates of the corners/midpoints and even resize things while that corner/midpoint stays fixed. It's what makes this app a good compromise between artwork/graphical stuff and CAD stuff.
-
FYI I'm still using Zoner Draw 5. Inkscape doesn't have the Transformations tool window, which I just cannot live without for this stuff (I do a lot of typing in dimensions, coordinates, widths, heights, and in multiple dimensions too). Maybe I should suggest this feature to the Inkscape developers.
-
Wow! I don't remember these posted in the MIDIbox of the Week forum! They deserve their own thread each! Great work, Pascal! Can you show internal construction too? There are lots of people wanting to build a rack-mounted SID synth who would benefit from seeing the inside ;)
-
I've used a 2mm front panels on a PT-10 case before, it fits fine and is flush with the case. You still would need a 1.5mm rear panel to fit in the slot, unless you wanted to trim the slot with a craft knife to get the extra 0.5mm. What concerns me about the x0xb0x design is there's nothing holding that I/O PCB to the case other than the audio sockets attached to the rear panel. Less than ideal, but not that bad... the rear panel is held tight in the slot on all four sides and the height is ~45mm so it can't bend much. The engraving plastic that Sasha suggested is a good idea, and it might also be possible to add a little support in the middle, maybe some spacers glued to the back of the panel, and hold the PCB to the spacer with a screw. In this case it might be the PCB supporting the panel more than the other way around. Also, I'm not trying to be critical of Sasha's x0xb0x panel design, but I don't understand why the labels for the rear sockets are at the top of the front panel on the original x0xb0x... this seems to be some copied design from the TB-303 or maybe just removing the need to silkscreen the rear panels. Since I'm not joining this bulk order, my opinion doesn't matter ;D I just wanted to point out that you have an opportunity to make panels better than the originals, so maybe it's worth considering.
-
No idea. It was just a crazy idea. Maybe some mylar paper or... hey, I'm being tricked into a thread hijack. stryd_one's gonna come and whack me. Continue with your x0xb0x panel thread now.
-
Sometimes things don't go to plan. The shipment was delayed by Easter and delayed again in customs. Maybe they made the sniffer dogs sniff each SID. It should come today. I don't start sending invoices until I actually receive the shipment and have SIDs in my hands.
-
This is the acrylic panel that was the $20 extra from Adafruit. http://www.adafruit.com/images/clearpanel.jpg It's 1.5mm thick, clear with laser etched artwork, but the artwork on the panel looks a bit more opaque than the photo. Maybe the photo is bad or it looks clearer because of the backing paper, I don't know. (I didn't actually intend to buy the acrylic panel, long story, ). I probably will do my own FPE panel set (in black of course) with white artwork and red divider lines. If I do, I can share the FPD files and people can make one-offs if they like.
-
I have just received my "official" x0xb0x kit, so I can take measurements of the real button caps. I am considering buying some large quantities of these button caps for other projects, I really like the feel of them... but the Digikey part referenced by the x0xb0x BOM looks different in the picture, it's flat on top instead of curved and bevelled. Does anyone know if the Digikey cap is exactly the same as the ones used in official x0xb0x kits? I also got both the clear acrylic panels and the natural anodized panels. I don't know which one to use now... ??? maybe the clear acrylic with a diffuser behind it and some colour cycling RGB LED backlighting... ;D
-
You need a larger monitor. Or glasses. Or both. :P
-
core + 4x IIC + 8x bankstick pcb (formerly seq pcb)
Wilba replied to ultra's topic in Design Concepts
Yes, someone should. Someone might be doing that right now, but not blogging about it to avoid being flooded with feature requests and posts like "Count me in for ten kits!" and "When will SmashTV sell these kits complete with encoders, knobs and a soldering iron?". However, this is thread hijacking. Kudos to ultra for putting the time into a Core+IIC PCB. Count me in for ten kits! Maybe it's quicker if I just steal the design, stick some DIN/DOUTs on the same PCB and get some prototypes made... Hmm... ;) -
Which one though? I admit "best" is subjective... fixed6x13 is just my favourite, and I've coded with a lot of those other terminal fonts back in the good old days of vi (btw no, I do not have a big bushy beard) and discovered the obvious... small font means more lines per screen, more lines per screen means greater context, less scrolling, easier to edit large chunks, etc.
-
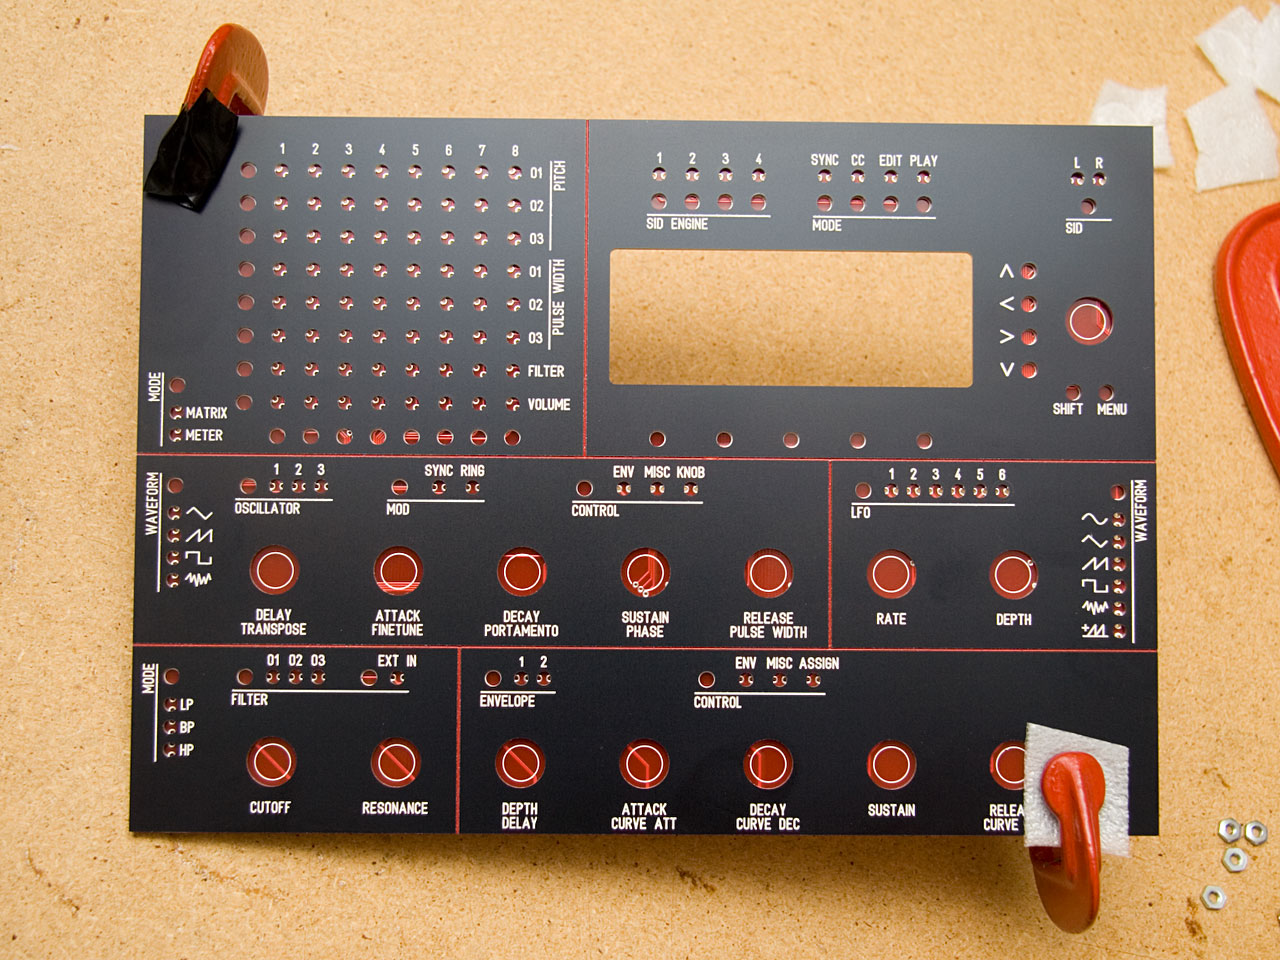
I won't speak for Doug but I got the impression that two colours would be easy for him to do when he emailed me and said "two colors would be easy to do"... so the design I'm using now with FPE-made panels will be quite possible (see pic) and the most likely design to use. Maybe the colour of the divider lines will be user-configurable ;D And yes, a nice red does compliment a red LCD and red knobs and red LEDs and... ;D

-
I started coding on UNIX systems and always used the fixed6x13 font available on X11. When I switched to working on Windows platforms, I cursed having to use Courier or worse, and have used various non-TTF versions of fixed6x13 until I found a great TTF version here: http://www.twoevils.org/html/files.html MiscFixedSC613 MiscFixedBC613 Be sure to use it at 9 point and for pixel-perfect clarity, turn off ClearType. ;D

-
Notepad++ http://notepad-plus.sourceforge.net/ or a zillion other text editors out there.
-
Wire Wrap wire is magic. I've used it for years, my first veroboard projects were done with it, many years ago. The "Kynar" insulation is very heat-tolerant, it won't melt like ribbon cable insulation, so you only need to strip 1mm or 2mm. My "method" is to take the end of the roll of wire, strip it, solder it into a joint, then measure and cut the exact length required and then strip the other end. The first solder joint is enough to hold the wire while you strip it, so it very easy to make short lengths and exact lengths you require to make it bend the way you want. You can also strip it entirely and "lay tracks" by soldering it to pads, this way you can easily create power/ground rails and then solder shorter lengths at any point along it. In addition, it's so thin that you can thread multiple wires through one hole of veroboard, so you can keep wires out of the way on the solder side of the board by having them lay on the top side. It's solid copper core, so it can hold a bend, and generally can be made to lay flat against the veroboard. It's even silver plated and easy to solder. "Wire wrap" is an old-school technique of prototyping electronics, involving wrapping wire around long "leads" on the underside of a board.
-
You have "Use feedback from Core" checked in the upload dialog, and MIOS Studio is not receiving from the Core. There are a lot of reasons why. Do you get the bootloader upload request in the MIDI In window? This validates Core MIDI Out. Can you connect an LCD and see if MIOS is installed on the PIC? Once you do that, you can test if Core MIDI In works by sending LCD commands from within MIOS Studio (easiest method of validating MIDI In).
-
Do you find testing 500 SIDs a slow process? Tired of waiting those 8 seconds every time you need to reboot your MB-SID just to test one SID? Then we have the solution for you! QuadZIF - 4xSID Socket Tester Rig QuadZIF lets you insert four SIDs into ZIF (Zero Insertion Force) sockets, specially designed to prevent damage and bending to pristine SIDs straight out of the tube. Each SID is independently connected to a SID socket on the MB-6582 PCB, thus allowing individual control of each SID, making it easy to test the oscillators and filters of each SID on its own. See how the connector goes straight into four SID slots on the MB-6582 PCB. Just look at that remarkable construction! What a cunning combination of 100mil spacing veroboard, SIL header pins and 28-pin IC sockets! How convenient that Wilba spaced those SID sockets on the PCB at multiples of 100mil, as if he could see into the future and anticipate your future needs in SID testing optimization! At the other end, four 28-pin ZIF sockets are connected to the ribbon cable, and common wires between each SID pair are connected to minimize the number of wires in the ribbon cable. Two 22nF 1% Polyester capacitors are soldered directly to the ZIF socket pins to further minimize wires in the ribbon cable. Just look at that craftsmanship! Only the best Kynar Insulated, Silver Plated, Solid Copper Conductor Wire Wrap Wire is used! How much would you expect to pay for a custom-built 4xSID socket tester rig? $1000? $2000? Call now and you can own your very own QuadZIF for just 12 easy payments of $39.99 plus postage and handling. If you're not completely satisfied with the illusion of testing SIDs four times faster, we'll give you your money back! BUT WAIT! THERE'S MORE! ;D
-
JSynth librarian does not work for MB-SID V2. Upload the .syx file with your favourite MIDI utility (i.e. MidiOx)