m00dawg
-
Posts
1,404 -
Joined
-
Last visited
-
Days Won
16
Content Type
Profiles
Forums
Blogs
Gallery
Everything posted by m00dawg
-
Go figure, that last time I went to Radio Shack they were out of the non-silver stuff. Ah well. I ended up using silver compound for the heatsinks on the regulators (just a lot less). Won't be doing that for my SIDs but I'll probably put sinks on them too. Fuzzylizard's heatsinks are awesome on the MB-6852 but the clearance is too low on the Sammich. Rather than cutting them, I'd rather get some low-profile sinks and do the heatsink glue / zip-tie trick. I have to agree with Wilba, there is likely no reason to do this but it makes me sleep better at night :) Either way, I'll post some temps once I finish my infill painting so people have a frame of reference.
-
I'm not sure I can accurately answer all those but I thought I'd answer 2. The difference between MB64 and MB64E is that the former uses pots and the latter uses encoders. I would say encoders would be less of a hassle but they have an infinite range of motion which is something to keep in mind.
-
Just as an update, it seems to be working just find on OS X Snow Leopard as long as you install Mandolane. Kinda bummed you have to buy it (or keep removing the license file :P) but it works well so I went ahead and paid for it. I have not tried all features of the editor, but transferring banks seems to work without issue.
-
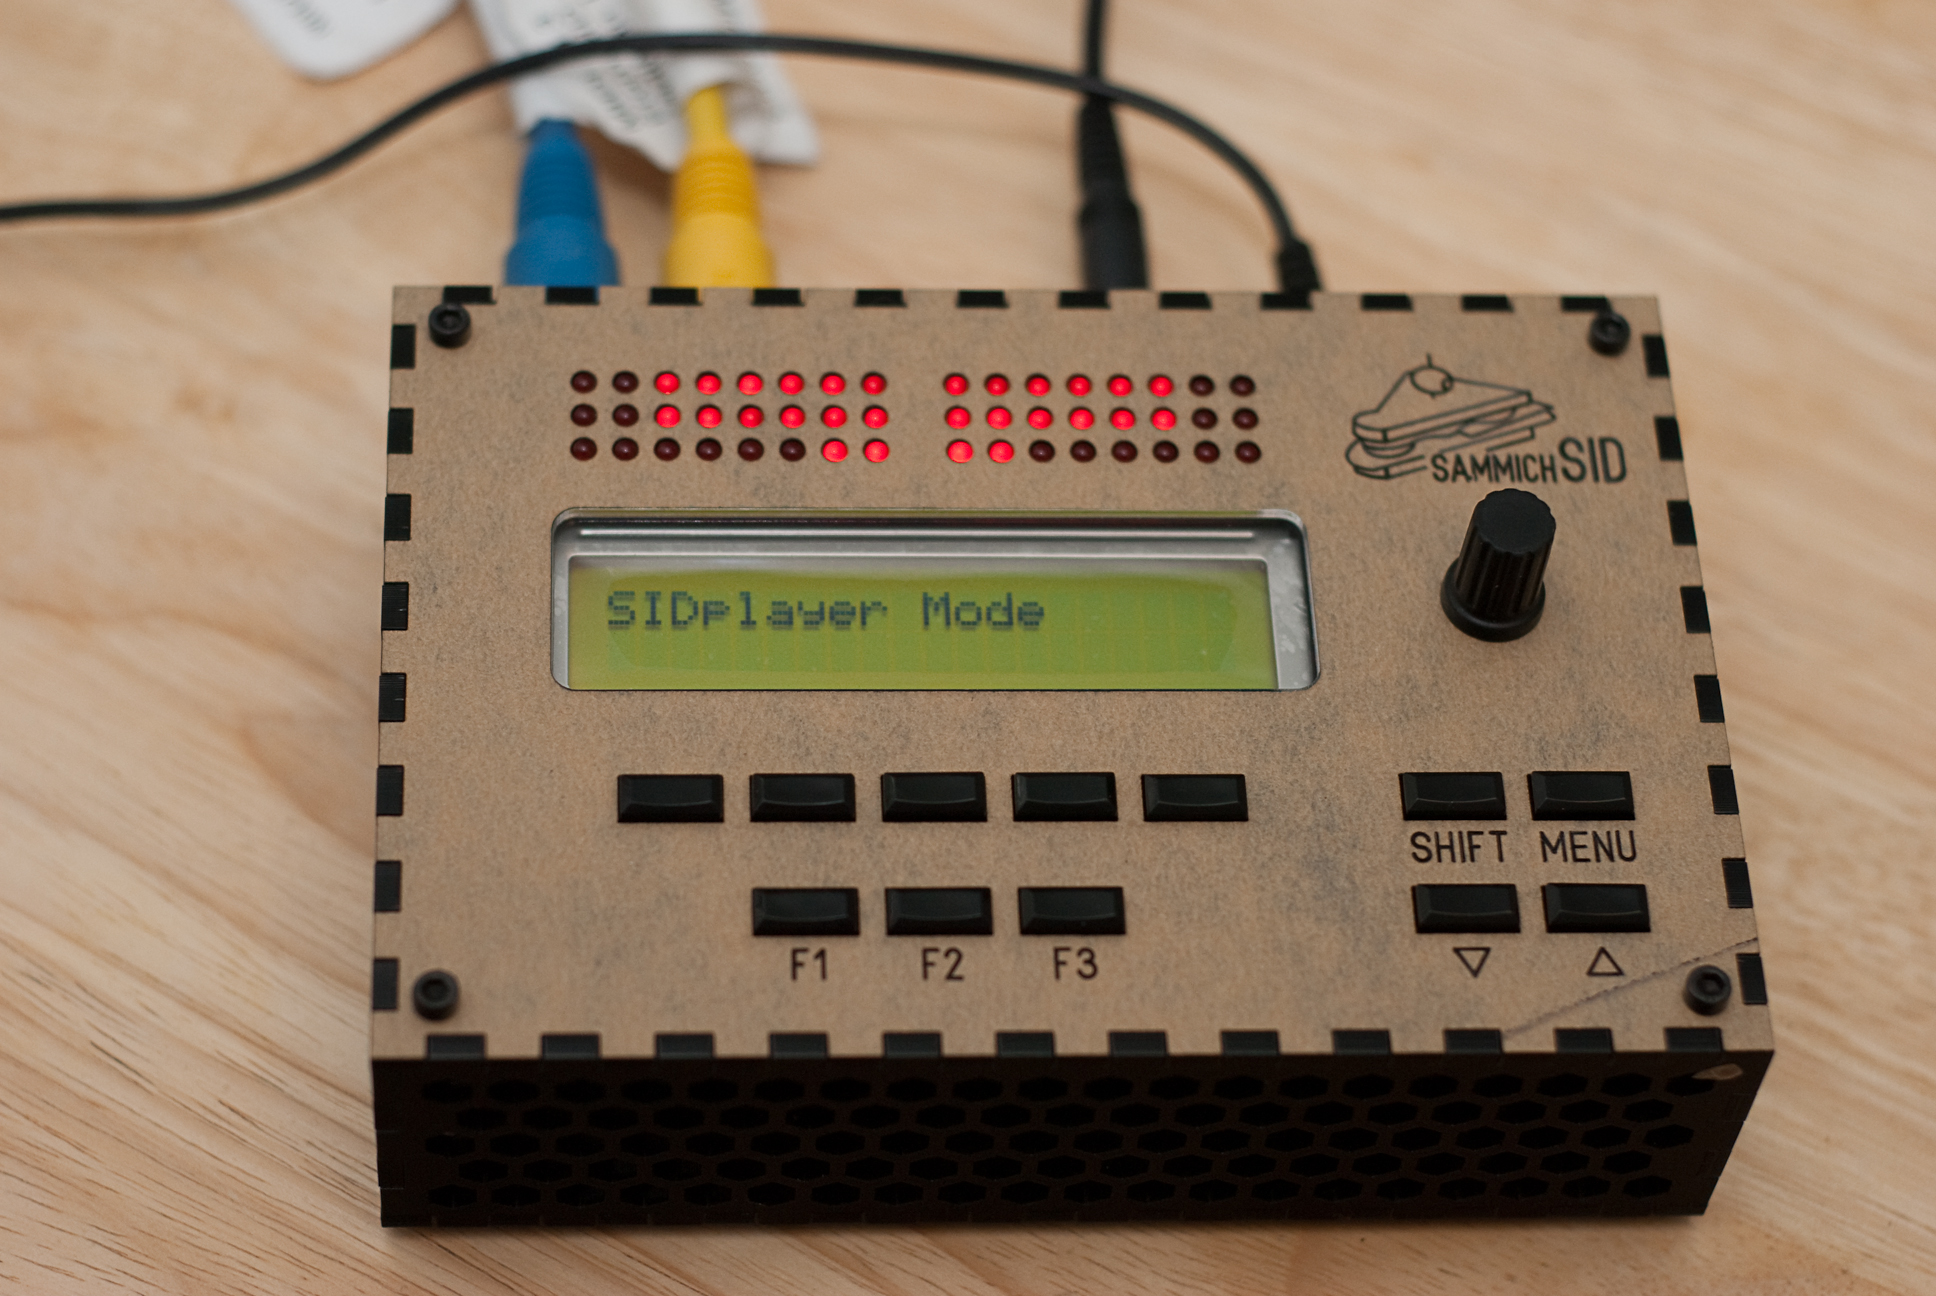
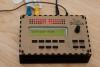
IT'S ALIVE!!!!! Still needs paint, which may happen this weekend. I'm thinking about going with yellow for the Sammich itself and white for the lettering. I also want to try to get some low-profile heatsinks on the SIDs because I'm OCD about cooling :) One suggestion I have is to pick up some rubber adhesive feet. In the states you can grab those at Radio Shack or can order them from most any electronics supplier. The screws really made it move around. Thanks again for everyone's help. This thing owns face and I haven't really even started using the really cool features!
-
YAY!! I was able to find the short! I never actually was able to find it visually, but after flowing all the +5 and GND pins in the BankStick section the problem went away. The area around the 7805, while ugly, appears to be good to go. I've also repaired the cut traces. All's looking well! In fact, I'm about halfway done with soldering the headers on. Thanks for everyone's help, advice, and patience!
-
For a project like this though? I think using a slightly worse thermal compound that's non-conuctive probably doesn't hurt anything. I used a silver-based one because it was all I had and I was a bit impatient to have to wait to order some :) If I had a choice, though, I would have gone with a non-conductive compound. *shrug* I agree with you though, if people opt to use it, it should be a tiny bit. A bit more than when using on a CPU heatsink though since the heatsinks I have run into for these projects are lapped to a mirror finish or anything. The method of using Arctic Silver if I remember correct (which, to be fair, I didn't follow as well as I should have when building the Sammich) is to rub the compound on the heatsink in a circular motion. A tiny amount can be placed on the other surface and rubbed in a similar way. In some cases, you should even rub some off so that isn't too much on either surface which could create air gaps. I guess the takeaway there is to take your time and, if you haven't used a silver-based compound in a while, maybe practice a little :)
-
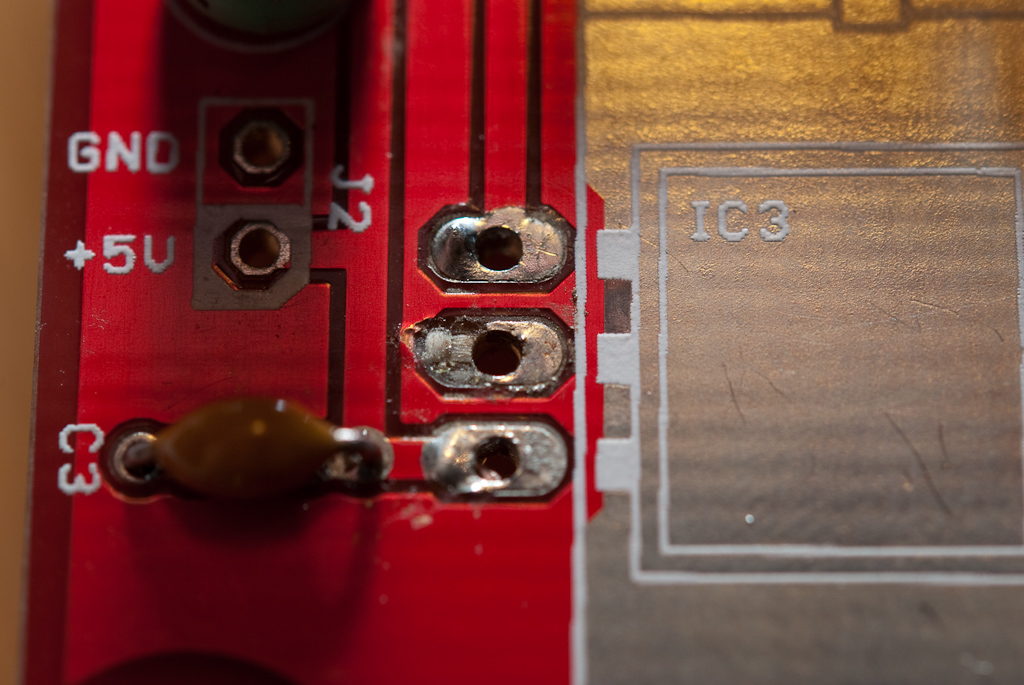
It does suck yes but there's a good bit of hope left. I'm going to try to fix the short hopefully this evening and then repair the tracks. I can't see any clear indications of a short but I have a few suspicions of where it is. My suggestions are to do continuity tests during each build stage and to also take special care around those bank-sticks since there's a plethora of GND and +5V pins next to each other. Had I known the short was there I would not have messed up the area around the 7805. Oh also it is probably a good idea not to use a conductive heat-sinking compound :)
-
Found at least the area where the shorts are. I had to end up cutting tracks, but Wilba was really helpful in providing suggestions about which tracks to cut. It appears to be somewhere in the BankStick section, which also makes the most sense since that is where there are tons of +5 and GND pins adjacent to one another. I scoured that area visually multiple times and haven't seen anything but I'm going to mark the adjacent pins and work on those. I might just reflow the solder that is there, try it, then go from there. Fortunately, while I had to cut 4 tracks it seems like it won't be terrible to fix. Just not very pretty, but I think I lost aesthetics when I lifted the pads from the 7805 anyway... Will keep everyone posted. Just figured I'd give other people hope that might be having trouble with the Sammich :)
-
It mostly works :) It depends on what the URL is when hitting the forum I have found. I think it was similar to the midibox.org forum link problem. I haven't had any problems logging in for a few weeks now though. If it says I'm not logged in, I just click on the MidiBox image in the top-left and it seems to do the trick.
-
I had it on beep mode, but it does show resistance as well. I didn't look at it all the time but when I did it was measuring like .01 or something really low. Thinking about it though, I should probably check again on other parts of the board and see how that does. @fuzzylizard Thanks for the input! I just may do that. I wonder if it will help the wicking. The problem is I can't use a solder sucker easily on those scratches because the solder just fills into the gaps. Same reason why the wick doesn't work better I would imagine but it seems to do a slightly better job than the sucker. Thanks for the info everyone! I guess we'll see what happens later this afternoon...
-
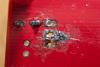
Wow the topic splitting feature of this forum is nice! Thanks for moving it, by the way. I should have just posted a new topic in the first place. I actually did try using the braid. Maybe my tip is too small or something but it hardly picks up anything. I could be Doing It Wrong, but I checked the video jbdiver posted and I think I'm doing it right. I'll keep at it :) I will need to check again, but I'm almost certain the ground plan under the heatsinks is shorted to 5V :/ I did check the banksticks, however, and I can't find any shorts for the adjacent pins. I will check those again though and aso clean up around the 100nF and 7805 pins as you suggest. The part that confuses me is that the short is actually the top 2 pins on the underside photo (bottom 2 on the topside). I can't see any obvious places where there might be problems with those two pins. I think the problem is there though since that's where most of the damage is, though it's a bit unnerving not to have anything directly. I actually got a good bit of detail from the photos I took of The Aftermath (it's so bad is deserves a proper noun now :). I think I am going to try that same approach for the board as a whole and see if I can end up with better detail by doing it that way over staring through a magnifying glass. At least if I take photos I can take them to work to stare at :)
-
Ooh that red looks nice for the Sammich! Patches are in the MB-SID download (off ucapps.de). Note that Wilba sent out specific firmware for that sammichSID, but you can still get the patches from the standard MB-SID package. TK's also asked for help creating an Arp-centric patch-set, which you can check out here: Though it still needs more user submissions, it might have some workable patches. And, of course, you can submit your own :)
-
I should also add, it's probably wise to do continuity tests between each build-stage. I made the mistake of not doing those until the regulators were in place. In hindsight, if I did these tests before, I could have isolated the regulators as the cause. Hopefully someone finds my poor decisions helpful at least.
-
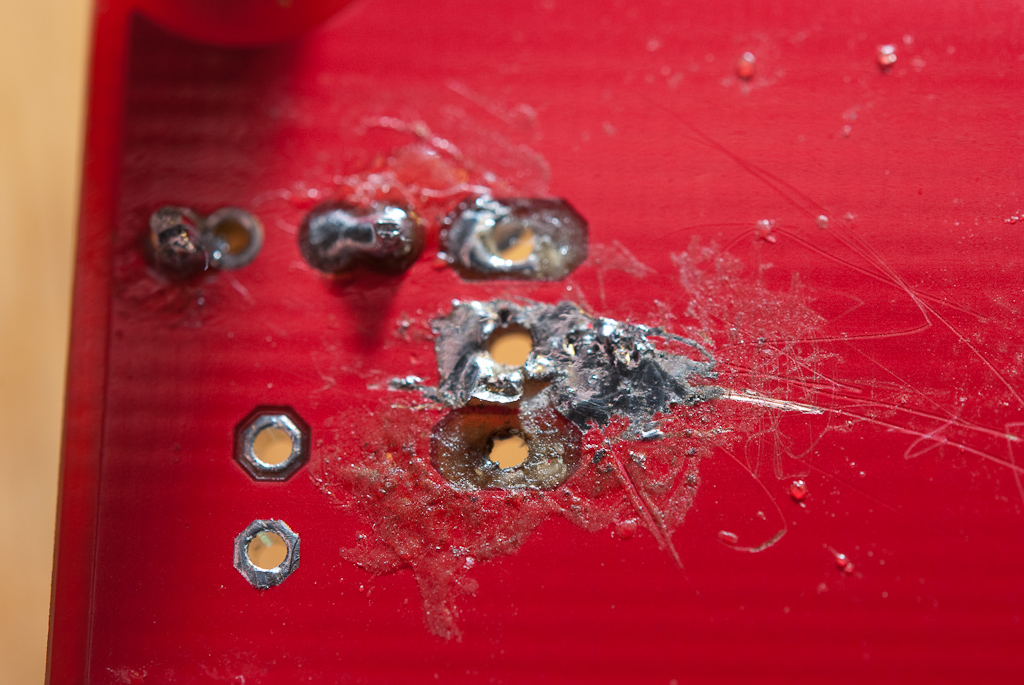
Well, the AS3 probably would have been ok if I wasn't so mess about it. I think the problem started there but is now well beyond just that. First, I pulled up pads while trying to desolder the 7805. I also have some cuts into the ground plane that I made unknowingly last night while trying to separate a big blob of solder that connected between two of the regulator pins. While these are the input and GND pins (not GND and +5V, which is where my short is somewhere) I may have done plenty of damage. Even if the disaster with the pads can be worked-around (the pads on top aren't in terrible shape), I still can't find the short between GND and +5V. Been looking at the board with the magnifying glass for over an hour and the only thing I can point my finger to is the pads. Ugly photos attached. Sad but hopefully it doesn't discourage anyone else :) Just sending out fare warning to watch the heat of your iron! I think I was probably fine until I had the brilliant idea of turning my iron past medium to medium-high. As Wilba says, check twice, solder once. Boy it bums me out though because the remainder of the board is a thing of beauty. I was overly OCD when putting in all those components. Everything is straight and beautiful. So, for the aftermath: Chuckles and laughs welcome :) So is advice, and if that's ends up meaning I should just buy another sammichSID kit, so be it :P

-
@wilba: Haha yeah pretty much :) @pingsimon: So first, don't use my experience to scare you away :) It's probably not a good sample of a capable person. Second, the LCD thing isn't hard to fix and, worst case, you can just unsolder the cable and solder a new one to the LCD. It has flat pads so it's not all that hard to do, just takes a bit of time. Just don't make your cable longer than it needs to be and you should be fine.
-
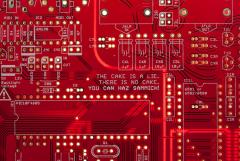
m00dawg's sammichSID Up-Close & Personal
Images added to a gallery album owned by m00dawg in Members Gallery
-
-

From the album: m00dawg's sammichSID Up-Close & Personal
-
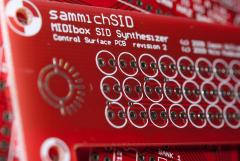
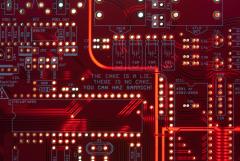
From the album: m00dawg's sammichSID Up-Close & Personal
-
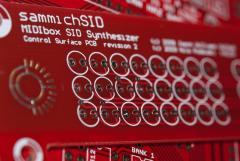
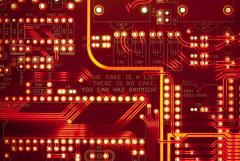
From the album: m00dawg's sammichSID Up-Close & Personal
-

From the album: m00dawg's sammichSID Up-Close & Personal
-

From the album: m00dawg's sammichSID Up-Close & Personal
-
From the album: m00dawg's sammichSID Up-Close & Personal
-
From the album: m00dawg's sammichSID Up-Close & Personal
-
From the album: m00dawg's sammichSID Up-Close & Personal
-
)Not sure where to ask about items relating to the message board so I picked this topic) Is there a way to upload photos to a gallery other than one by one? I have about 12 photos I took of my sammichSID I wanted to upload, but doing it one at a time, while doable, is a bit slow. Just curious!