ssp
-
Posts
660 -
Joined
-
Last visited
-
Days Won
4
Content Type
Profiles
Forums
Blogs
Gallery
Everything posted by ssp
-
yes. you have the 8 non motorised faders on the ain board if you want motorised you add the mf board, the pots will be encoders to go on the din they are endless rotary encoders, which means you can turn them 360 degrees full circle no stops. and the buttons connect to the din also, remember you will need 8 buttons for the menu system, and you can use serge's pc editor for it, also look at a bankstick for it as well to store setups. if you need more info just ask as for how goto for buttons http://www.ucapps.de/mbhp/mbhp_dinx4_32buttons.pdf'>http://www.ucapps.de/mbhp/mbhp_dinx4_32buttons.pdf for encoders http://www.ucapps.de/mbhp/mbhp_dinx4_16enc.pdf'>http://www.ucapps.de/mbhp/mbhp_dinx4_16enc.pdf for motor faders http://www.ucapps.de/mbhp/mbhp_mf_interconnections.pdf'>http://www.ucapps.de/mbhp/mbhp_mf_interconnections.pdf lots to read on ucapps.de http://www.ucapps.de/
-
i would def be interested in two of these , maybe four if need be
-
apologies for the lack of updates: well im still waiting for my wood sections to be finished, im not in a rush as i want them to be right first time, but im in a queue for the beech to be treated. so in the meantime im playing around with some graphics for the front panel, im not sure what im going to to with yet as im still trying to get things to do what i want them to do in illustrator. i managed to make some layouts using the dxf files of the case from solidworks as templates to work off, imported them into illustrator and drew up what i needed. when i finished the first set of designs i printed them to a glossy stiff paper and then after a rough cut out placed them on the casework to see what they would look like. i need to refine things a little more but its a start, heres pictures of the look im going for the arturia origin style of graphics. as soon as i get what im looking for i will then print to lazertrans paper and do the transfers.
-

Gloss Red and Gloss Black MB-6582 panel sets back in stock : )
ssp replied to julianf's topic in Fleamarket
no this isnt anything for the 6582 its something different the panel will be 3x9 inches -
Gloss Red and Gloss Black MB-6582 panel sets back in stock : )
ssp replied to julianf's topic in Fleamarket
i have got a couple of things im building at the moment, one of which i wouldnt mind having an aluminium faceplate with the engraving and paint infills. nothing massive two rectangle holes in the plate with a load of marks for some holes for leds. i can give you any format of drawing you require all with full annotations. if this is possible i will try and get the face drawn up this week and pass the drawing to you, i would want it in the black adonised aluminium -
http://cgi.ebay.co.uk/DV24200-Character-LCD-Module-40-Chac-x-2-Line-New_W0QQitemZ180396389774 possibly they can source more than the quantity they have? also these offer discounts http://cgi.ebay.co.uk/LMB402CBC-Character-LCD-Module-40-Chac-x-2-Line-New_W0QQitemZ230113025838
-
Help me identify LCD + troubleshooting.
ssp replied to questionable's topic in Testing/Troubleshooting
mmm reminds me of a little thing i did which was "not enough power to the core" it was only after nils checked this with me that i found the right supply and pumped a min of 9v into the core that everything lit up as it should. you got enough power going into the core? also check for shorts, missed solder pins etc, and if you have a ribbon block on the end of the cable it is possible that in clamping it down its shorted it there. -
now thats a good find that could be adapted as a generic meterbridge , and its something others including myself have asked about and want to build. time to read up and spend more money i suppose!
-
Gloss Red and Gloss Black MB-6582 panel sets back in stock : )
ssp replied to julianf's topic in Fleamarket
http://www.thebeast.co.uk/cnc/ -
he can add an ain board or if he wants an mf board too for motorised faders
-
hi jeff 3mm is fine, and the sizes will be in mm, let me draw what i need up and then post them for you.
-
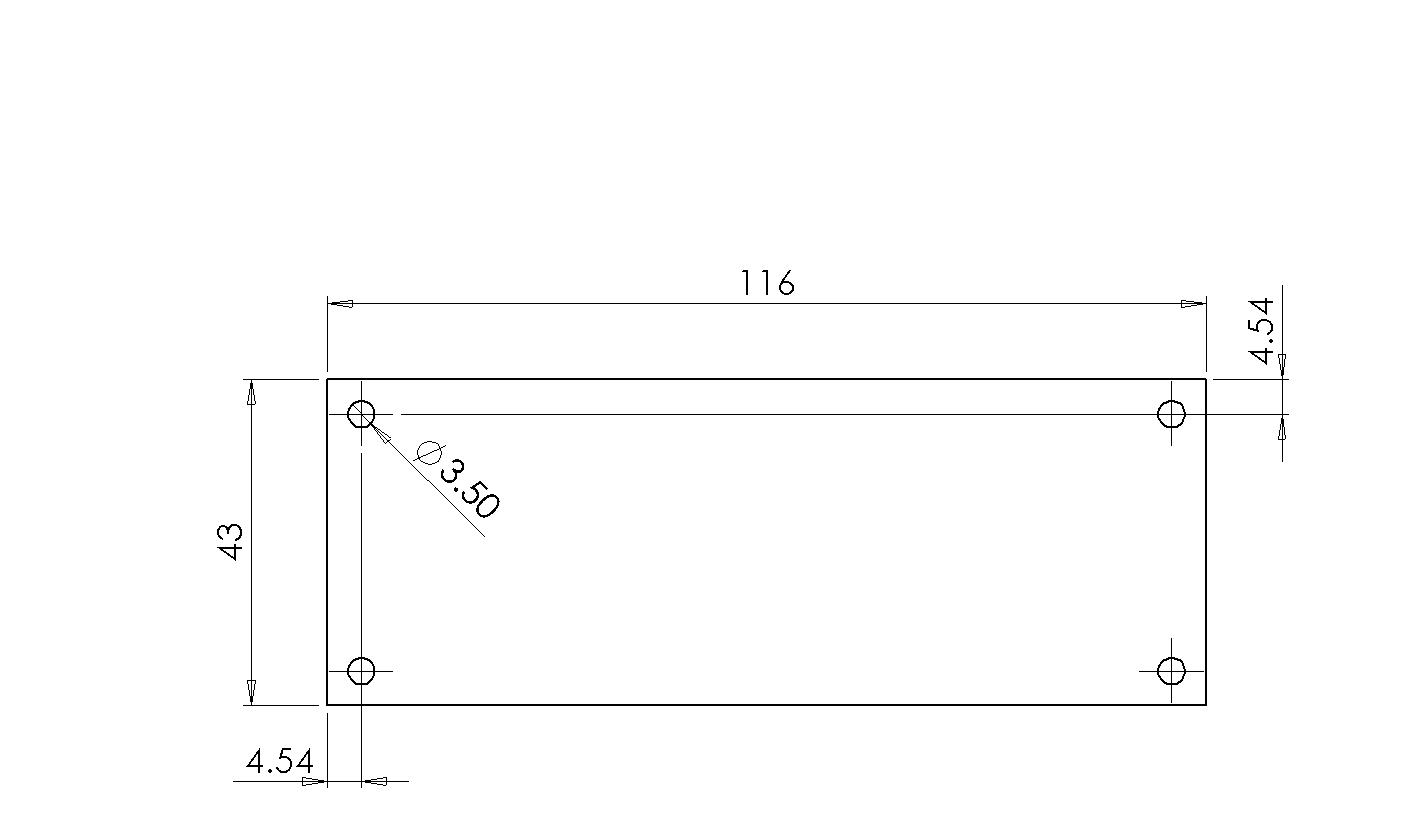
jeff. if i gave you a couple of drawings could you make some windows for me? payment isnt an issue. i can give you dxf/dwg or anything you require, they will look like this the material would be either 2mm or 3mm translucent acrylic thanks
-
mushrooms!!!!!!!!! dooooode!
-
you tried rs dave? they are usually good at getting them in. http://uk.rs-online.com/web/search/searchBrowseAction.html?method=getProduct&R=2508440591
-
yes you can drill a hole into the wood section, then put a threadsert into the hole this is a brass serated tube with an internal thread you then get the correct length cs bolt for the thread, so you would get say an m3x1.0 cs pos or hex head screw/bolt and the insert would be a m3x1.0 threaded threadsert also there are helicoil inserts too.
-
you can put in a request in fleamarket , i do when im looking for something, put in a request for a gm5 you never know someone may have a board and chip spare, its just a mtter of getting couple of other parts then.
-
i would go for the 64e, tis got good support for encoders, you can attach an ain board for pots and faders, or put an mf oard on for motor faders too. i would go for the mb64e though, what you can also do is get on the list for a gm5 usb midi interface, the board is tiny and its an easy solder job, just the one smt chip and you can link that to the core internally and have a usb port on the back of the case and just the psu feed coming in, so the rear will have just a usb "b" socket for midi in and out and a small psu socket. everything becomes self contained then.
-
submarine
-
productive few days now, i have finally got paypal working again and paid for my kits from smashtv also a new set of sensors and pads from mpcstuff to use as the drum pads. all that will be winging its way here soon. this week i have spent learning eagle the hard way, also spending some much needed time having a few pointer lessons with nils over the internet using the showmypc software, a boon for a quick practical demonstration!!! today i managed to make a correctly dimensioned library object for eagle of the soundwell encoders that wilba did the group buys on, so if anyone wants it let me know. tonight i am doing the 8 pin mec switches i have got. the main reason for this is i can then make an all in one baord for the rotaries and switches, and learn etching in the process. i have to be honest i didnt think i would get this far along in such a short amount of time, so many thanks to the guys here, especially nils who has spent so much time advising me, im going to make this thread as detaild as i can as i go along, also i will give the full casework dxf/dwg solidworks or iges files to twin-x to add here permenently so everyone can download them and get them made also and use the project as a generic mpc style controller, myself personally i want o make an exact replica of the bpm, and with the find of a nice slimline external usb dvd drive and a few other bits its going to look like the original exactly apart from the big graphical interface, however this will be replaced by a 20x4 lcd for the midimon i will put inside with a small factor 7segment mtc display and below that the 20x2 for the mb64e display. i have to say i am seriously excited about this one as it will be a real credit to everyone whos helped me the past few months to get it really nice. needless to say i will be getting the case work professionally laser cut and cnc bent again like the hu-mon, and then i will get the legends silkscreened onto the case. more to follow over the next few weeks.
-
well if your going to have the face black then why not have the holes countersunk and then use black adonised countersunk 3 or 4mm bolts? like these only adonised black and whatever length you need
-
is the velocity and aftertouch at a constant level in your software?if not it will do the same effect
-
things are looking good for the bpm unit now, i have all the switches and knobs i need know , so all that remains is to order the kits i need from smashtv. so if anyone here knows anyway i can get paypal to fix my damn account for me, let me know because its driving me nuts now not being able to use it.
-
thanks sasha. here is a little video, as long as i could make it and put it on bucket.
-
i currently have one of the prototypes of the new illuminated version of the multimec array switch here, its got a rubberised finish with in built led's its very nice as well, i will stick a piccy up when i have 5 mins to.
-
fired it up tonight for the first time with it cased and everything connected and it worked a treat! all sorted now, i just have to wait for the wood for the front rest and side cheeksand tidy a few cables up and its finished and i can get on with the next project or two. heres a piccy for you, sorry its not the best but its 2am and im off to bed with a smile on my face, i will take a better one tomorrow and possibly a video of the touchscreen in action also.