Arkay
-
Posts
81 -
Joined
-
Last visited
-
Days Won
6


Arkay's Achievements
MIDIbox Newbie (1/4)
7
Reputation
-
You're laughing then. The encoders are likely bunk anyway so you don't need to not destroy them. It's easy to cut the legs and desolder the remainder if the structural tabs aren't soldered. Clean up the holes with braid. And you'll be done in no time. Then you'll have a properly working instrument you can be proud of and use for the purpose intended. Can see only good things coming from the decision :) Good luck and let us know how it turns out. Cheers, Arkay
-
Hi lifeglug, Would be great if you could fix it electronically but I highly doubt that you'll get a common fix across the batch that could fix it for all encoders equally. In my case desoldering was the only way and what I should have done from the beginning. I spent too long on "what if" and "how come" scenarios. I've since built a second mb6582 and had no problems at all. It's sucks but it's the luck of the draw sometimes. Pick your worst and just desolder that one. That will prove the fix, 14 sounds like a lot of desoldering but like anything if you take your time you can be successful. The feeling of getting it fixed almost makes it worthwhile! Cheers, Arkay.
-
Thanks for looking but in the end I cut a piece of clear plastic to size and glued it on the back of the panel. End effect is pretty much as good as the window anyway. Finished result:

- 1 reply
-
- 2
-

-
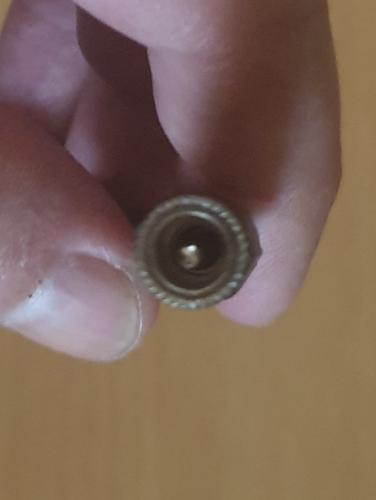
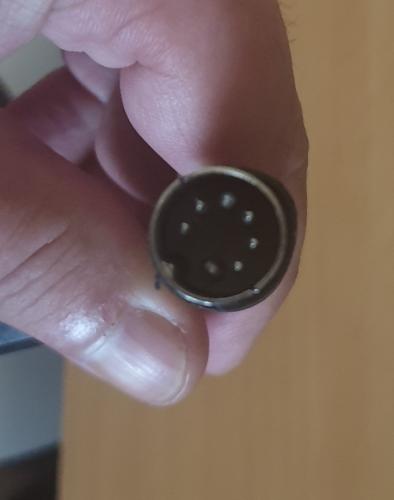
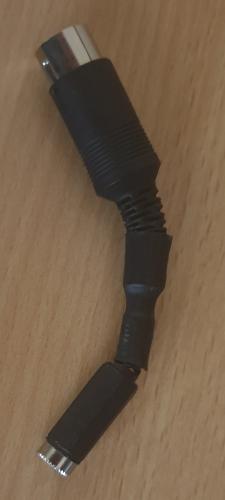
Not sure if this will help anyone but I recently made this mod to my mb6582 which worked brilliantly and is in my opinion the best option for powering the machine. I already had the switching vreg from back when altitude created the original post (thanks!). I had a couple of options for getting the 12v supply into the machine: 1. Put a c64 male power plug onto the end of a wall wart. This restricted me to a single (untested) supply that had to have the plug cut off and would create difficulties if I ever sold the machine, particularly over seas. 2. Put a barrel jack into the mb6582. Best option, but seemed too difficult given the mounting options and panel cutout is for the full size c64 jack. In the end I went with a third simple option and created an adaptor to convert any general wall wart into a usable supply. Pics included. I ended up using a wall wart from a Western Digital external drive to power the mb6582. This was an easy solution and cheap to make, and required no additional mods to the mb6582 or panel. The risk of course is someone plugging in a real c64 supply without the adaptor but no one will ever use it but me anyway. If I ever pass it on it'll come with a warning to always use the adaptor with a centre pin +ve 12v 1.5+a supply. Not sure what the effect would be if a c64 supply was plugged in directly but it may even be harmless. The adaptor only requires the +/- female barrel jack to be wired to the correct pins on the c64 male jack. Easy enough to figure out. I can't remember the exact pins off the top of my head but it'll be obvious when completing the mod. Get the plugs as close together as possible and heat shrink the lot and you're done. Cheers, Arkay. Wall wart female plug: To c64 male plug: bit of heat shrink completes the adaptor:
-
Hi All, Hoping someone might have a perspex or glass window for the Wilba style MB6582 lying around unused. I'm finishing up a second machine from long ago and the window really adds a pro look to the build. I have one in my original MB6582 and it looks great so I'd really like to finish this unit the same way. Please let me know if you still have one and we can sort out paypal etc. Thanks. Cheers, Rick.
-
+4 from me, to round out a full set of beer goggles :w00t: :hyper: :geek: :frantics: :D Thanks for all the awesomeness this site provides and the undying efforts of T.K keeping it all running and ticking over with endless improvements. Also a hat tip to Wilba, Hawkeye and the many many frequent and infrequent contributors that make this site so awesome. Merry Christmas to all! :smile: @borfo, great idea for a thread ;) Cheers, Arkay.
-
the first track I have done using Midiboxes some years ago...
Arkay replied to matcom3's topic in Songs & Sounds
Sweet :) Lovin' the Trance. -
I run GNU/Linux and have no problems with a variety of midi equipment. Including a Roland UM-1X. Sounds to me that it's the UM-1G and/or the cheap generic interface that is likely the culprit. Did you checksum the downloaded firmware before flashing? Maybe you had a bad download? Cheers, Arkay.
-
Awesome work T.K! The quantity and quality of your work amazes me :) Cheers, Arkay.
-
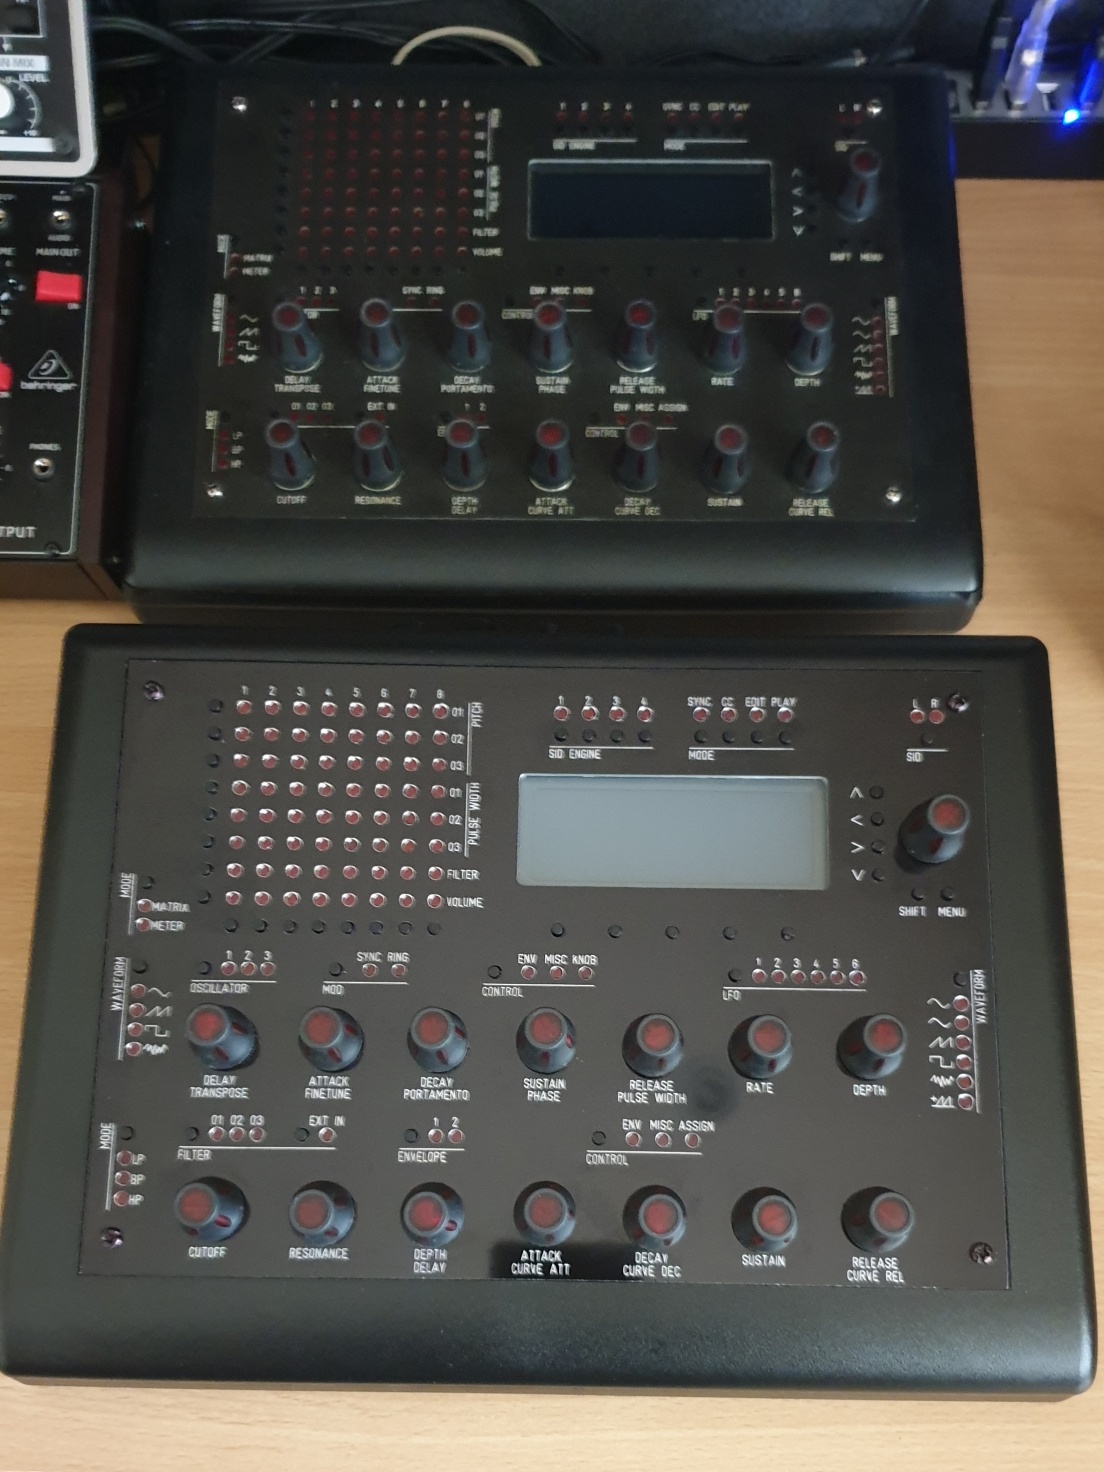
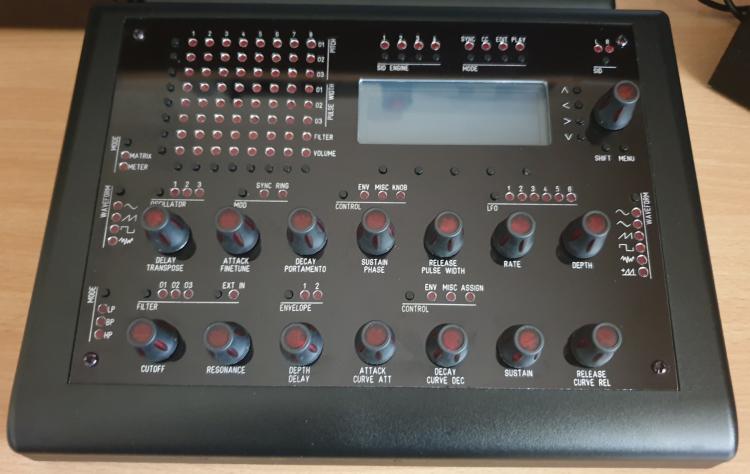
Lasercut Acrylic Case+ Frontpanel for SEQv4
Arkay replied to smokestacksproductions's topic in MIDIbox SEQ
MaG2k, Glad you found a workaround with the software. It's an odd one. I can't help with your other questions though. Smokestackproductions conversion just worked for me after a short learning curve in the software to add the extra midi ports and move the SD slot. But I really know little to nothing about designing something like this from scratch in CAD software. This case was my first foray into laser cutting at all. I can see why it becomes addictive though :D Good luck with the case! Cheers, Arkay. -
Lasercut Acrylic Case+ Frontpanel for SEQv4
Arkay replied to smokestacksproductions's topic in MIDIbox SEQ
MaG2k, Not sure what is happening with your inkscape but I can confirm that I used those files in inkscape (on Linux not that it should matter which OS you use), and modified the original to suit before sending off to Ponoko. Everything worked fine when I did it so I'm wondering if there is some setting or oddity in the way inkscape is opening the file? Defaulting to the wrong units of measurement or something? I can't exactly remember now if I used the original files in post 1 or the modified files that flip posted in post #18. Have you tried opening flips in inkscape to see if they exhibit the same issues? If they do then there's something off with the software as it all can work fine with inkscape and either one or both sets of files. I can check on my work laptop next time I'm there to see if I still have the modified files if that will help? Cheers, Arkay. -
+1 for more tutorials. I'd love to see some too. The v4 is so powerful and everyone could benefit from such detailed documentation. Even better would be a user posted tutorial forum where questions on technique could be answered by other members, preferably in video format. Members need to be willing though. If I felt confident enough I'd have a go, but sadly I don't. Would be awesome if an instructional video library from the simple to the complex could be built up! The original videos from TK inspired me to build the v4 and the other videos I've found of the v3 in use have been very inspiring and useful. Just not enough of them :) Cheers, Arkay.
-
That's looks awesome. Nice one :) What center knob do you have on there?
-
T.K. I did find the ability to change the function of the datawheel today while I was messing with the new functionality! Happy to go with your suggestion above and thanks for the effort and the mods :) Cheers, Arkay.
-
T.K. Yep. All fixed. Thanks! One final suggestion. At present after you set the the active step the only way to get to another inactive step is via ff/rew. It seems a little unintuitive that you can't scroll to the final step with the datawheel and then adjust it's value with it's specific encoder. Just wondering if this might make more sense: 1. scroll to the step you wish to be the active step, denoted by > < (all button currently off) 2. turn all on (locking in active step) 3. scroll to the final position via datawheel or ff/rew 4. adjust value with encoder (triggering ramp between active step and inactive step being modified). 5. turn all off to complete. That way you can still scroll around the pattern with the datawheel without changing the selected active step. Would this have any unwanted side effects with the all function itself? Cheers, Arkay.