rosch
-
Posts
705 -
Joined
-
Last visited
-
Days Won
1
Content Type
Profiles
Forums
Blogs
Gallery
Everything posted by rosch
-
hi! there are some long threads on that topic here on the forums where you can find a lot of info. there has been work on pcb layouts but if i remember right there is no final design. you can do your own on perfboard or design one that fits your needs and have it produced. there's one service i know that can produce your proto for you, PCB Mike who runs the german midibox store: http://www.mikes-elektronikseite.de/
-
i haven't tried it yet but if i'm not mistaken you can make a blog in your profile.
-
http://www.midibox.o...d=wilba_mb_6582
-
hi! no problem using different sids, but one core should sontrol one type of them. so if you have 2 cores you can drive both types. there are dedicated firmwares for 8580 and 6581, as well as different voltages and filter caps. all engines are there, you can switch in the menu. regarding the modular you can still get you a MB6582 base pcb (and/or parts kit) from SmashTV and add sections to your control surface later. it's much less cables that way and you can also fill the 6582 synth sections step by step (you don't have to use 8 sids, can also start with 1) have fun!
-
probably the same level as the SammichSID (haven't built one) would be the Shruthi-1 at http://mutable-instruments.net they are similar projects w/r/t very beginner friendly documentation (both noob proof), come with case and parts and low cost. if you like to go smaller at the beginning you could search at www.electro-music.com for APC or cacophonator schematics. that's probably the cheapest way to start with some nice noise sounds and really low parts count. note that the SammichSID is probably already the easiest way to put together a standalone SID synth if you compare the steps you'd have to go otherwise with the modular approach (which isn't that complicated either).
-
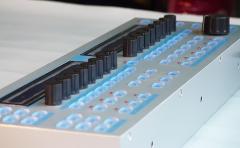
that's beautiful, looks good with the small display! i like kaffe
-
haha that works! i've paid about 10€ / unit when i once won 4 auctions from the same seller. that was when i was hunting for 6581 (got 2x 6581 and 2x 8580 from these) and the keyboards were already falling apart! edit bad typing
-
Magic-D, sure, why not? edit: i mean telling what you paid- i've never seen such a new c64. not even as a kid
-
yeah, sounds great!! thanks for the explanations, nILS. very nice concept. i think there can never be too many different sequencers, as every device comes with a unique way of dealing with it. i was hoping that this is not a little brother of the SeqV3, no matter how simple it may be. cool project! and as always nice design btw!
-
hey maybe i've missed information about this. i'm not so sure what the obviously upcoming kaffeSEQ actually is....... is it a MBSEQ V3 with reduced control surface and/or functionality maybe? or is it some new concept, i.e. something completely different than the big guy? looks interesting from the pics, that much i can tell ;-)
-
i ordered a few more chipsets because i once read this: quote from TK http://www.midibox.o...8.html#msg84718 well, IF this ever happens (multiple OPL3 synth like the MB6582) i'd be glad to have enough OPL3 chipsets. but if it's not likely to happen i probably do not need all the guys as replacement for bad soldering anymore :D edit: of course i'll stick to my order no matter how realistic that is. but also won't stand in the way of any potential sammich aficionados!
-
just an idea: how about one psu for the 12V (bipolar if needed) that provides also 9V and a dedicated supply for the +5V. as the (full stuffed) 6582 demands most current in the 5V section the 9V and 12V regulators could probably be the ordinary types (78XX)
-
umm, better not. i've run into severe problems when i tried this. my keyboard turned out to be too sensitive for this sequencer's default velocity. bummer.
-
-
hi! here's a reply from julienvoirin who has worked with the qbas code.
-
like it very much! but could be a lot longer indeed!
-
das würde doch schon einfach mit einem guten echo effekt gehen wenn ich das richtig verstanden habe. das verzögerte signal und input dürften hinterher halt nur nicht mehr zusammen gemixt werden. oder?
-
led clipping wird ja oft in filtern und verzerrern verwendet. ich habe da schon einige schaltpläne gesehen, weiß jatzt aber spontan auch keinen link speziell hierfür. such doch einfach mal auf seiten wie generalgutargadgets http://www.generalguitargadgets.com/projects order diystompoxes.com. da findest du zumindest noch mehr links zu schaltplan sammlungen etc... ansonsten zeig doch einfach mal die schaltpläne die dich interessieren, vielleicht weiß ja einer was.
-
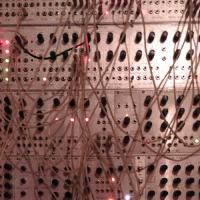
very cool, the external controller! would you like to show some pics from inside? and how did you wire it?
-

MBHP_ETH, MBHP_SDCARD, SSM2044, SSM2164 PCB Bulk Order
rosch replied to seppoman's topic in Bulk Orders
they have arrived this morning! yay! many thanks!! -
 very very cool!
 -
normalerweise, wenn du ein kit von mike hast müsste ein doppelreihiger pfosten- steckverbinder dabei sein, der neben den pic kommt. auf den kannst du dann das flachbandkabel (mit buchse) aufstecken: hier ist ein link zum ucapps tutorial zum thema lcd an core: http://www.midibox.o...x_lcd_cable.pdf mbhp: http://www.ucapps.de/mbhp_lcd.html
-
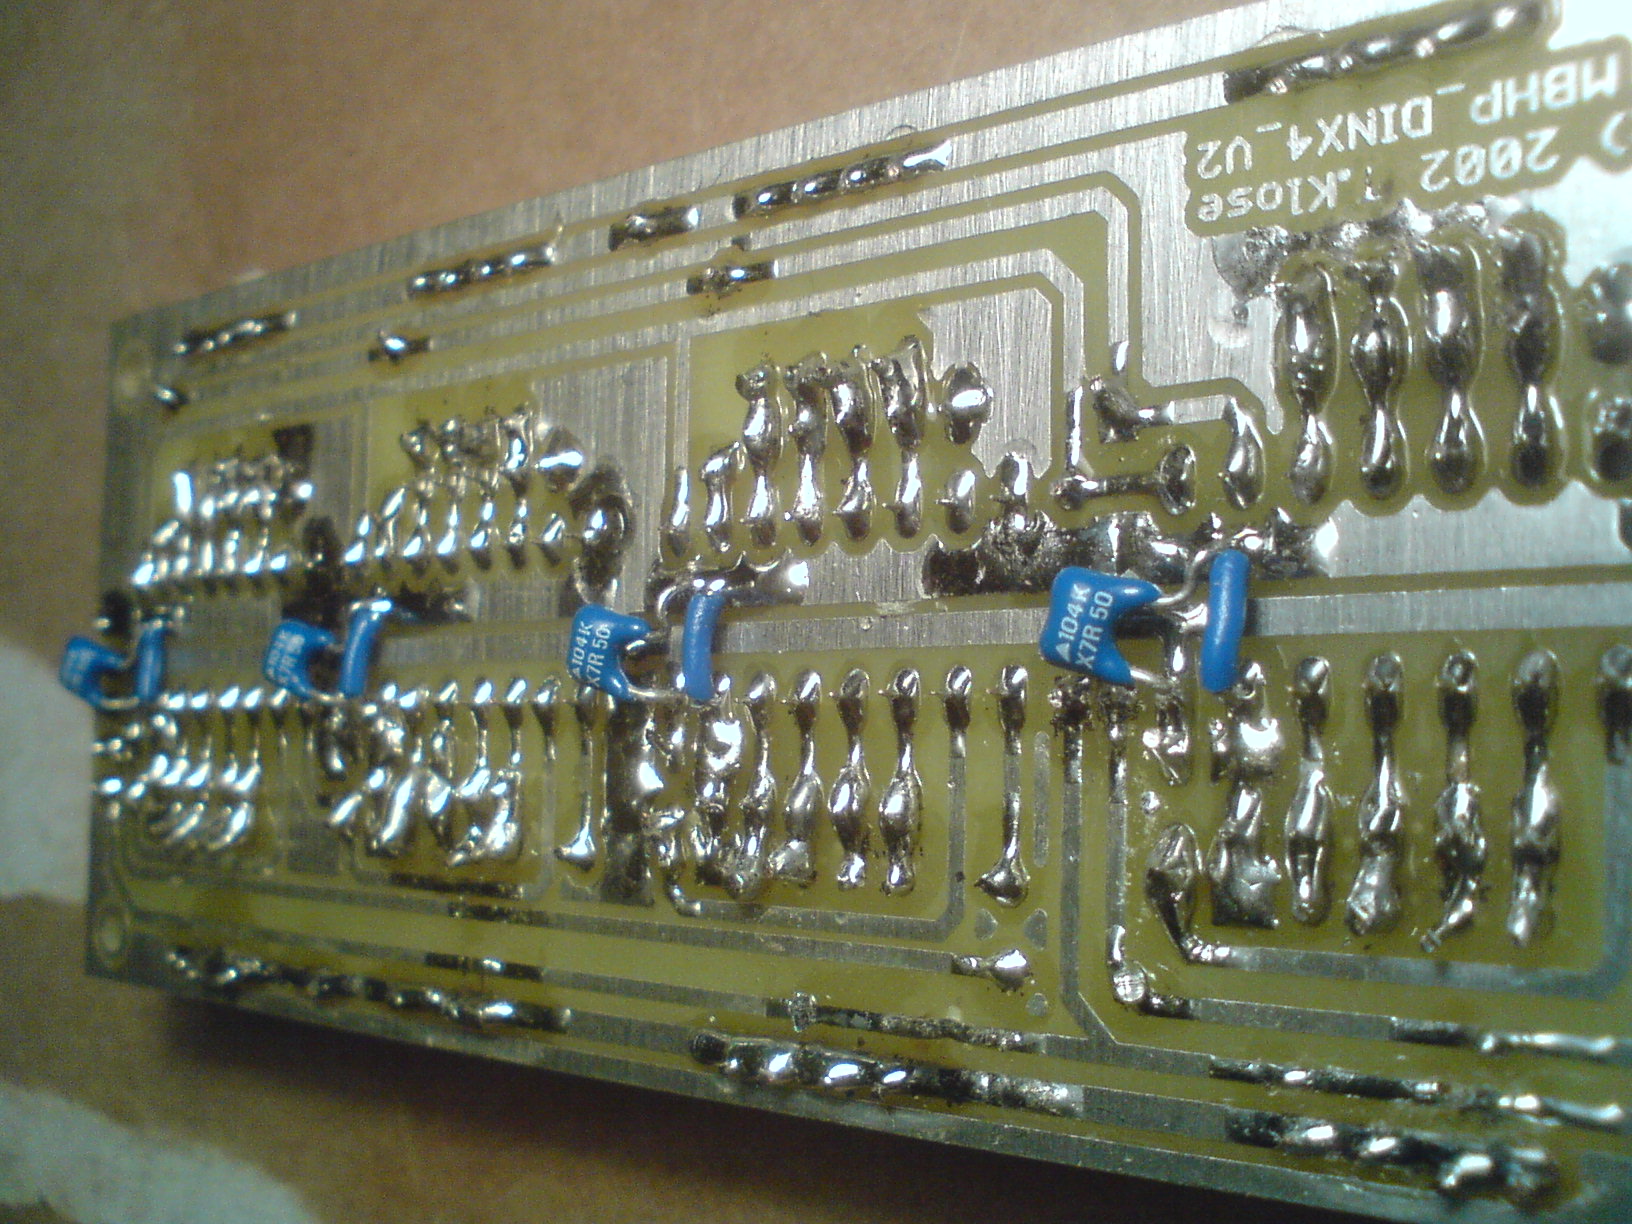
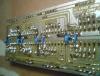
die platinen hab ich immer noch rumliegen, die sind fürs AY3-8912 projekt, das jetzt schon über ein jahr "ruht". es müsste eigentlich gehen, aber ich prüfe das nochmal vor dem zusammen bauen. @lötzinn-exzesse: ich weiß, die bilder kann man eigentlich keinem zeigen... mittlerweile geh ich auch sparsamer mit dem lötzinn um. das waren so ziemlich meine ersten versuche (ich habe sogar noch schlimmere, die zeig ich aber nicht)
-
ja die bilder sind ein bisschen unscharf, ich hatte es auch mehrmals mit den GIF und PDF dateien auf ucapps verglichen, bis es klar war. das ist das beste bild das ich noch rumfliegen hatte... ich kann aber auch noch ein genaueres machen. edit: die ics sind normal immer in der draufsicht zu sehen, in den pdf's und den board layouts. das kannst du aber überprüfen, indem du den leiterbahnen nachgehst und die bauteile in den verschiedenen plänen vergleichst.
-
hi! hier noch ein zwei hilfreiche links zum thema kondensator: http://www.musicfrom...citorChart.html bez stiftleisten usw... ich mache es auf verschiedene arten, je nachdem was ich gerade zur hand habe (gummi, oder bei mehreren ein stück schaumstoff, in dem normal ics etc stecken) oder einfach auf der rückseite beim umdrehen mit dem fingernagel die pins halten, einen pin am ende anlöten, dann das board wieder in die hand nehmen und beim erneuten vorsichtigen erhitzen die leiste ausrichten bis sie schön gerade sitzt... dann ganz festlöten.