

Hawkeye
-
Posts
3,632 -
Joined
-
Last visited
-
Days Won
36
Content Type
Profiles
Forums
Blogs
Gallery
Posts posted by Hawkeye
-
-
That's a cool modded keyboard! Looking forward to a demo!

Many greets,
Peter -
-
As a follow-up, acrylic cases for the MIDI THRU PCB are now finally available:
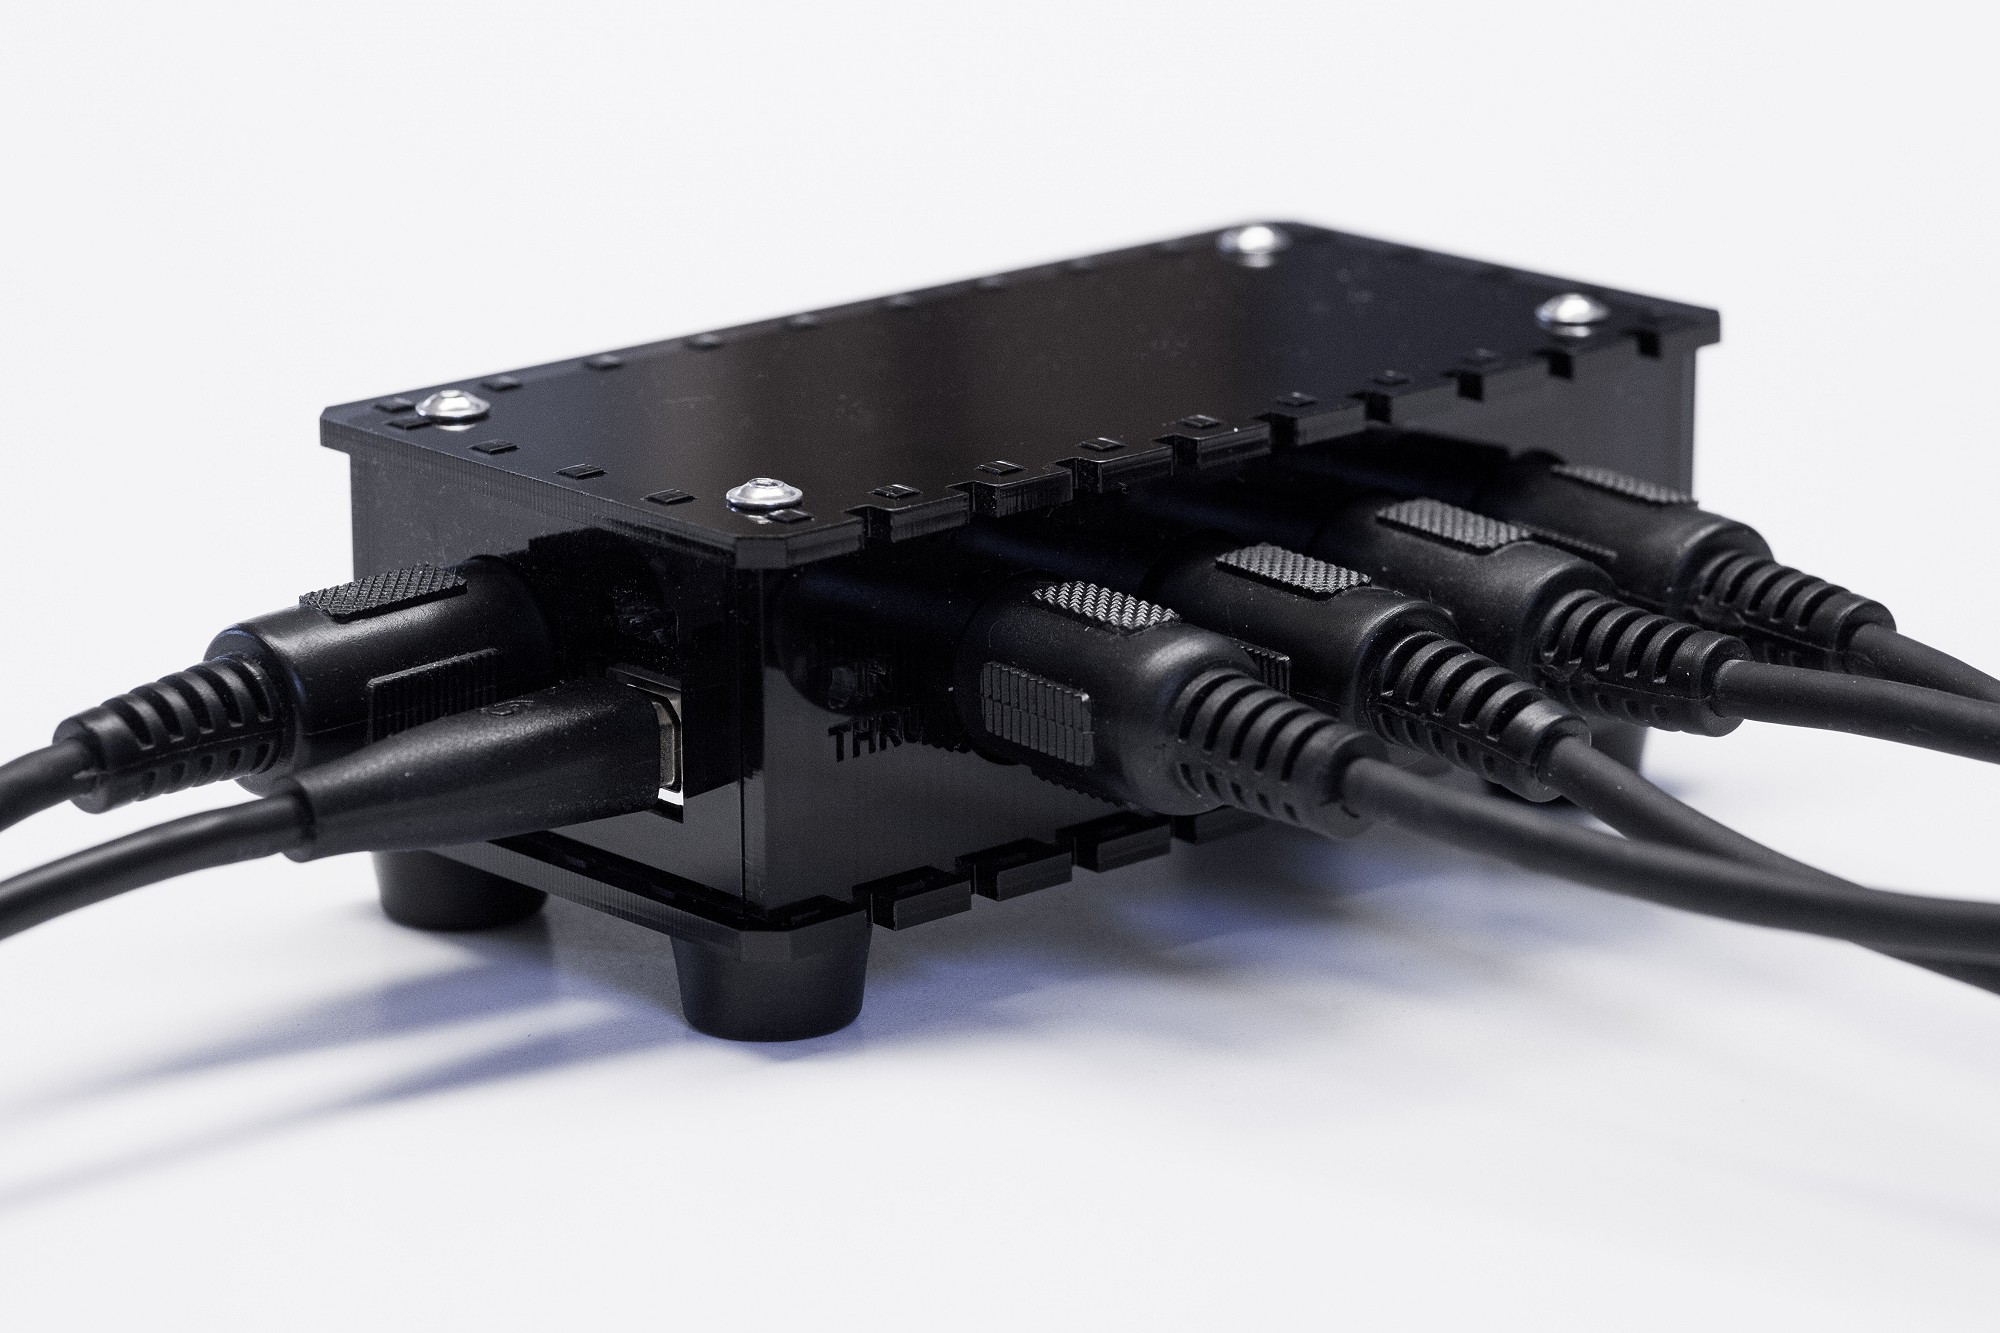
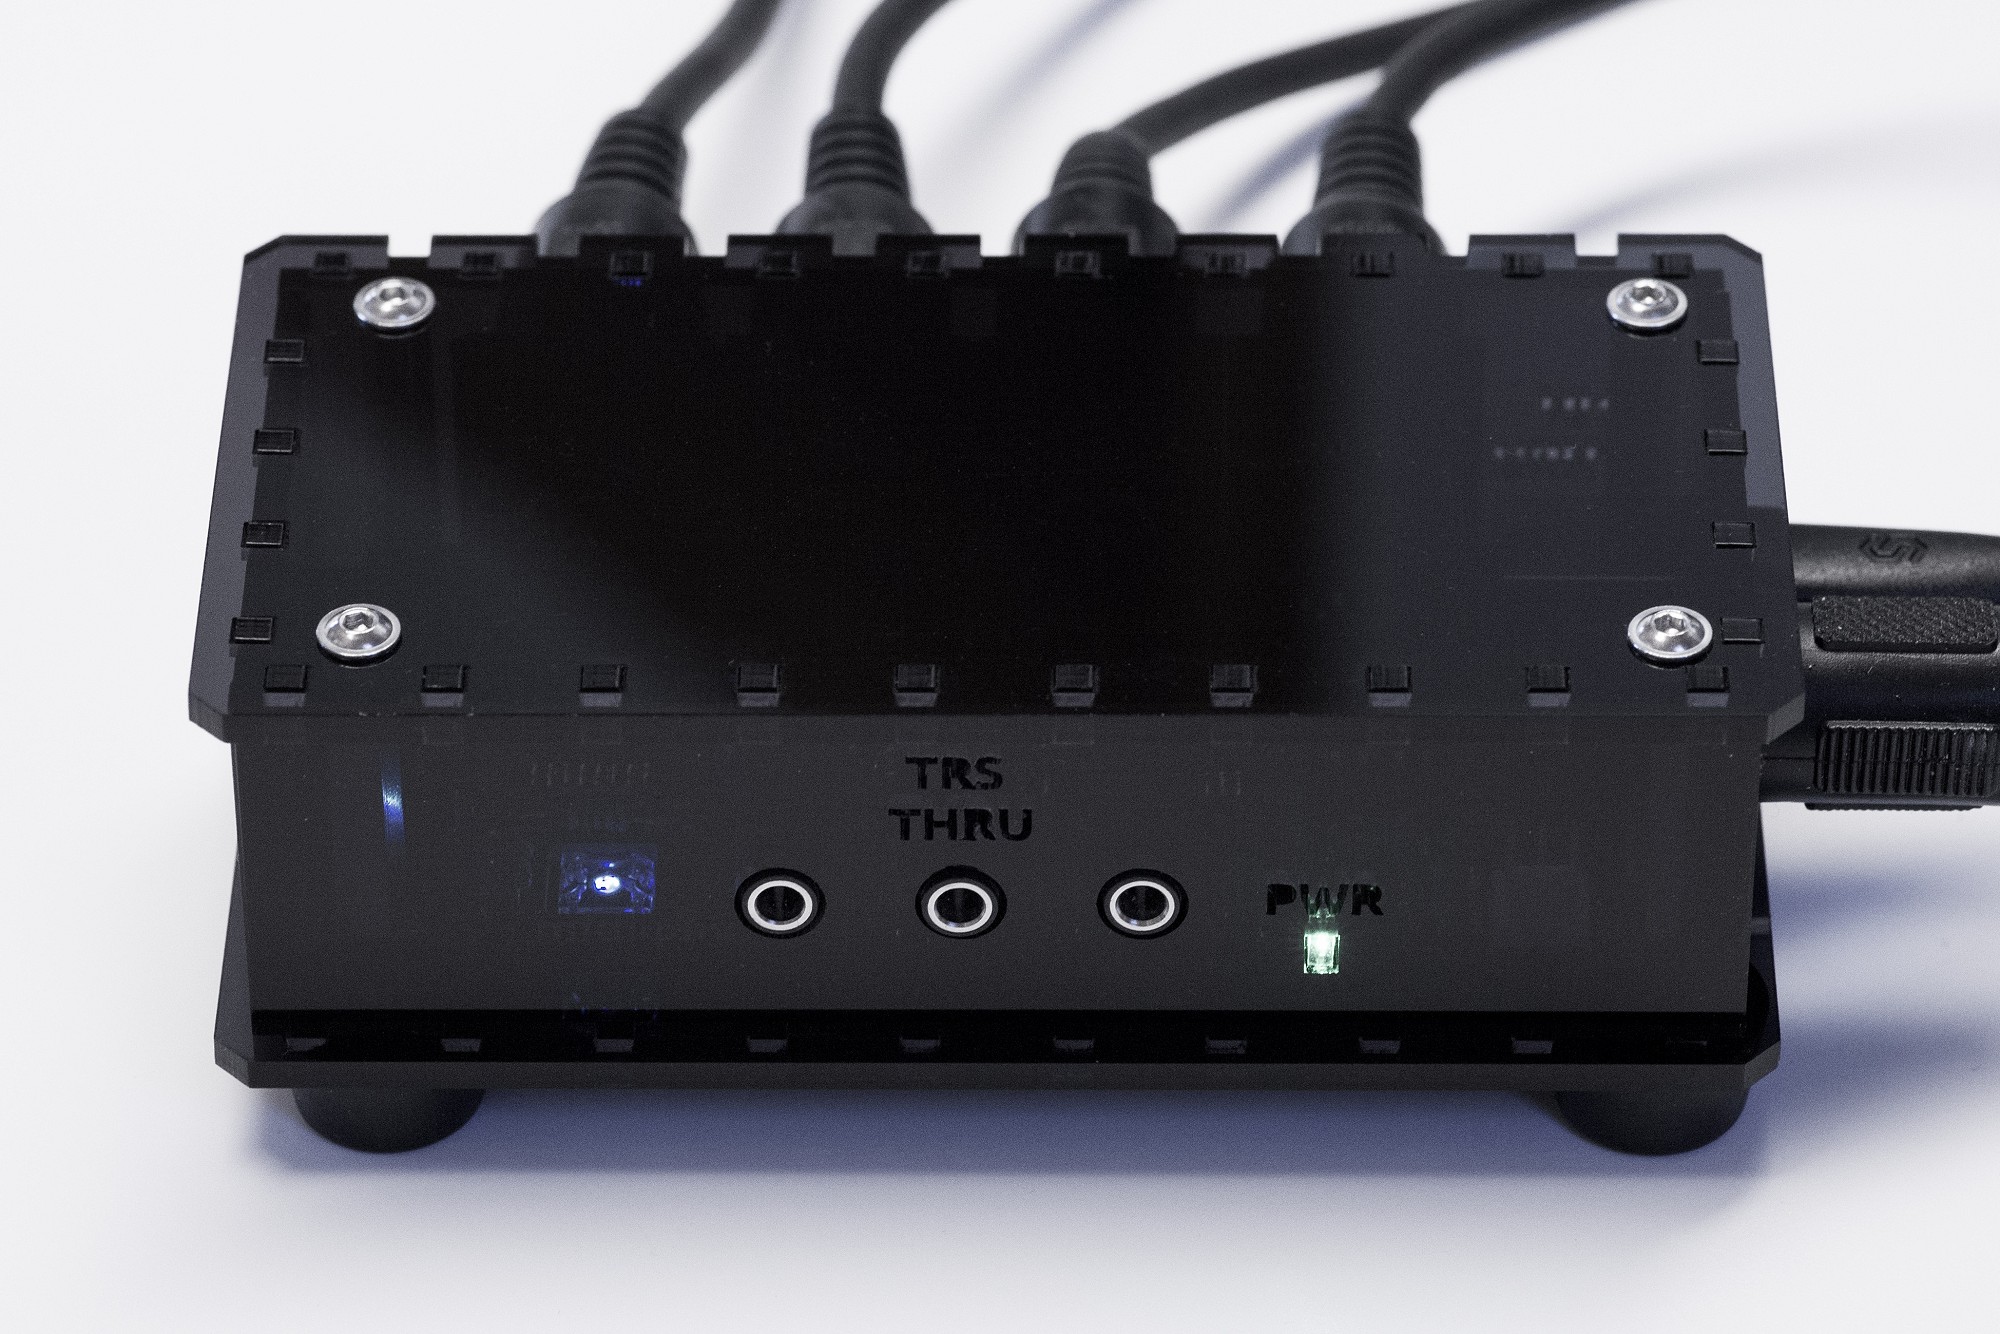
https://www.midiphy.com/en/shop-details/0/64
Have a nice weekend and many greets!
Peter -
@laual, congrats to your build so far, the displays should be fixable, too! :)
I am sure Andy will chime in later on, but meanwhile, could you check R33A, R33B, R33C and R33D on the wCore?
R33A-C should be all 1k, but R33D must be 560R. Now if you had a 1k in R33D, that might explain what is going on (happened to me, too :)).
J15_S needs to be set at 3.3V.
Many greets!
Peter -
7 hours ago, FantomXR said:
Hm, thanks for your help. Detented5 seems to work best. But not perfect though. Still it's jumping from now to then.
But there must be some kind of code where those detent-modes are defined. And I can't find it.
Take a look in mios32/common/mios32_enc.c - the "state machine" code is in MIOS32_ENC_UpdateStates(), there you should find the logic.
You could also try to swap around pins 2 and 3 of the encoder, had to do this a while back for smaller 12mm ALPS encoders to work properly, otherwise would observe random jumps, back then the wiring was incorrect, as i installed 12mm Alps STEC encoders in 16mm encoder slots :).Have a good weekend!
Peter -
@lukas412 If the computer introduces the noise, you could try to use a galvanic USB isolator, a potential model and how it could be attached is linked in the eurorack modules thread:
I've spent a few hours measuring things with the scope over here: while i get minor digital noise with the v4+/Eurorack modules connected to the PC, i get no noise at all when connecting to a Laptop with a "travel adapter", that uses a 2-pin ac plug (without ac mains earth connection). I noticed some eurorack module manufacturers like Waldorf do use a "galvanic isolator" in the modules, e.g. in their "nw1 wavetable" module, probably to avoid similar noise problems in some setups. So, i'd recommend to try with a galvanic USB isolator, that powers the v4+ side with the same USB-only PSU, that gives you no trouble when connecting without PC. There should then be a very high likelihood, that the noise is gone, as there is no more directly wired connection to the PC.
Best regards and have a nice weekend!
Peter -
Hi Aki,
Have a happy 2020!
If you would let them go, i'd take the MOD/PITCH wheel setup and 4pcs of the ALPS motorfaders - basically to have them as test components for the future. Thanks a lot!
Will be in touch via PM.Many greets!
Peter -
Hi Niels,
i'm using the same (cheap) DB-25 cable from Reichelt, about 1.5m long. It's also unshielded and you are right, it might pick up some noise, even a ground hum if you run it e.g. close to a transformer.
But: my expectation would be that while reducing the DB-25 cable length and upgrading to a better/shorter USB cable (e.g. with a ferrite ring) will help to battle the minor digital noise introduced by the PC, it will probably not help with the ground hum.
What you could do, if you are still unhappy with the MIDI-only solution is to try out one of these three options:
1) Try with a galvanic USB isolator, e.g. Reichelt has this one: https://www.reichelt.de/usb-isolator-with-5-kv-isolation-converter-delock-62588-p151307.html
It is affordable and if bus powering is not sufficient you can use e.g. your 5V USB phonecharger-type PSU (that was unproblematic when powering your v4+/Eurorack modules) to power the galvanic isolated device (the v4+) with it. In that case, you'd need to add a mini barrel connector to your USB phone charger PSU, or buy a USB <-> mini barrel connector cable, but that should be no problem! :)
2) If you are willing to upgrade your studio PC, some laptops that have e.g. "travel adapter" PSUs without an AC ground pin should help - that will technically "lift ground" on your computer side, but in a safe way: https://www.amazon.de/Lenovo-Travel-AC-Adapter-65W
3) Maybe the cheapest method: as Graham suggests, improve the grounding between your devices externally with a well-dimensioned ground bonding wire, it might be necessary to include your amp/studio monitors as well. You'd need to make proper cables with cable lugs for safe connection and find proper "ground points" to which you can screw them on every chassis for it to work.
---
All of these three solutions, at least in my thinking should eliminate the ground hum:
- Methods 1) and 2) "lift ground" on at least one PSU, making the interal internal ground connection (long wire from flying busboard -> db25 cable -> v4+ -> usb cable -> PC) the only connection path, there then can be no potential difference anymore, no "ground loop" however controversial that term is :).
- Method 3) will directly "shortcut" the potential difference while every PSU can stay connected to mains ground.Many greets,
Peter -
Hi Niels,
going MIDI (and using opto decoupling) is a cool, easy and pragmatic solution!
As Andy wrote, i did a few local measurements with all devices i had available out of curiosity, because i also sometimes experienced ground hums between some synths and my mixer and i was interested! :) Basically, i cannot reproduce your problem, i can see a minor bit of digital noise introduced to the eurorack system, when using my PC instead of my Laptop to power the SEQ/Eurorack modules over USB, but it is perfectly acceptable and there is no ground hum problem, scoped waveforms from multiple measurements are available, if requested :).
This post by Graham Hinton seems to be a really good reference regarding the ground hum problem in general, he is very nicely explaining what's going on and how you could address it:
https://www.muffwiggler.com/forum/viewtopic.php?t=102801#p1429534
In my own words (i may be wrong scientifically with some terms, as i am not an EE :)): when you experience ground hums, that is probably due to a different ground potential, e.g. between Eurorack PSU and PC PSU -or- one or both of those PSUs themselves being noisy, e.g. not being properly filtered. So, for example, if in one unit we have some unfiltered AC mains or switching regulator ripple being introduced, it will interfere with the other PSU over long and imperfect ground connections between those PSUs, over the PC<->SEQ<->Eurorack wiring, which is going over a long distance and many connection points, i.e. starting with the flying busboard wiring in your eurorack, the DB25-cable, the ribbon wires in the v4+, the USB cable and the wiring in your PC/PSU.
Graham also explains, how different potential can exist, even if all affected PSUs are of high quality and are well filtered. It occurs, if the two independent rails draw unequal currents (statically or dynamically).
Graham suggests to tackle the problem at its roots and run ground bonding wires between all affected PSU chassis/0V. Note, that also your mixer/powered amp/powered studio monitor elements might play a role in the audible ground hum noise and might benefit from proper external grounding too. Often, that step is not necessary, as the AC mains wire ground connection is completely sufficient, but sometimes it might be helpful.
Also note, that the AC mains cable ground connection should always stay in place for safety reasons, be very careful with ground lifters! But, if you create your own improved "studio ground", that will basically circumvent any suboptimal ground connections and should help a lot. This method could also be employed, when you experience ground hums with other audio gear, e.g. between a synth and your studio mixer. That is also why you will sometimes find external "ground" connection points on some studio gear, for example i've got an audio patchbay with an external "ground hook" - adding proper grounding there makes a lot of sense, as it will affect all connected sound sources/synthesizers.
Have a good upcoming weekend and best regards!
Peter -
Have a happy and healthy new year 2020!
Many greets,
Peter -
Thanks, @Elektruck! All credit for the LoopA metal case goes to @AdrianH, as usual! :)
Have fun soldering and have a nice xmas time!
Peter -
@Adam Schabtach wohoo, it's great to see it come together! Congrats to your build and thanks for the nice and very relaxed communications along the way!
Hopefully you will have lots of fun with your new v4+ and get lots of inspiration from it. From the functionality standpoint it is a beast for sure, i still discover new features from time to time :).
Many greets and have a happy holiday time!
Peter -
Happy holidays! :)
Here is a sneak preview of the upcoming 2020 LoopA "Pro" Metal Case, designed by Hallik Engineering:

Hope that you like it and that the first LoopAs out there are already being built and maybe are even already used! :)
Have a relaxing and healthy holiday season!
Best regards, Peter -
@Smithy, super cool and very nicely done! What was your total time to build it? 8-10 hours? Now awaiting your first official jam with it! :)
Many greets!
Peter
-
While the concept is differently named than on the Elektron sequencers, the parameter layers of the MIDIbox SEQ are very powerful and allow a "per-step" modification ("parameter locks") of different parameters.
Basically, up to 16 such layers can be enabled per track/sequence, and of course you have 16 tracks/sequences that can run in parallel!
Available parameter targets (layer names) are e.g. Note/Velcity/Gatelength/Chords/CC/PitchBender/Delay/Probability/Roll.
In addition you get trigger layers for functions like Gate/Skip/Accent/Glide/Roll/Random Gate/Random Value/No Fx.With these features and a "high-res" sequence using many steps (e.g. 256 steps) and a high divider value (to play back steps quicker to retain the same short sequence runtime), you should be able to create almost anything that can be achieved with MIDI outputs, from drumrolls to filtersweeps, to... whatever you can imagine! :)
Many greets and enjoy!
Peter -
Congrats to the finished build, well done! :)
I think you are right with the M3 nuts for the case interlocks, these should be low-profile nuts and we probably have packed normal-sized M3 nuts in the first kits.
We'll contact all customers of the acrylic kit variant and (if required) send them eight replacement nuts!
Other than that: hope the build went well for you and that you enjoy your new toy! :)
Many greets,
Peter -
Wohoo, congrats to the nearly completed build @Smithy! :)
Also thanks for your photos!
I just measured with the caliper and think there should be >2mm of clearance, if the 8-pin connector has been filed "flat" at the top:
The OLED pins should be cut close to the PCB, that is very true: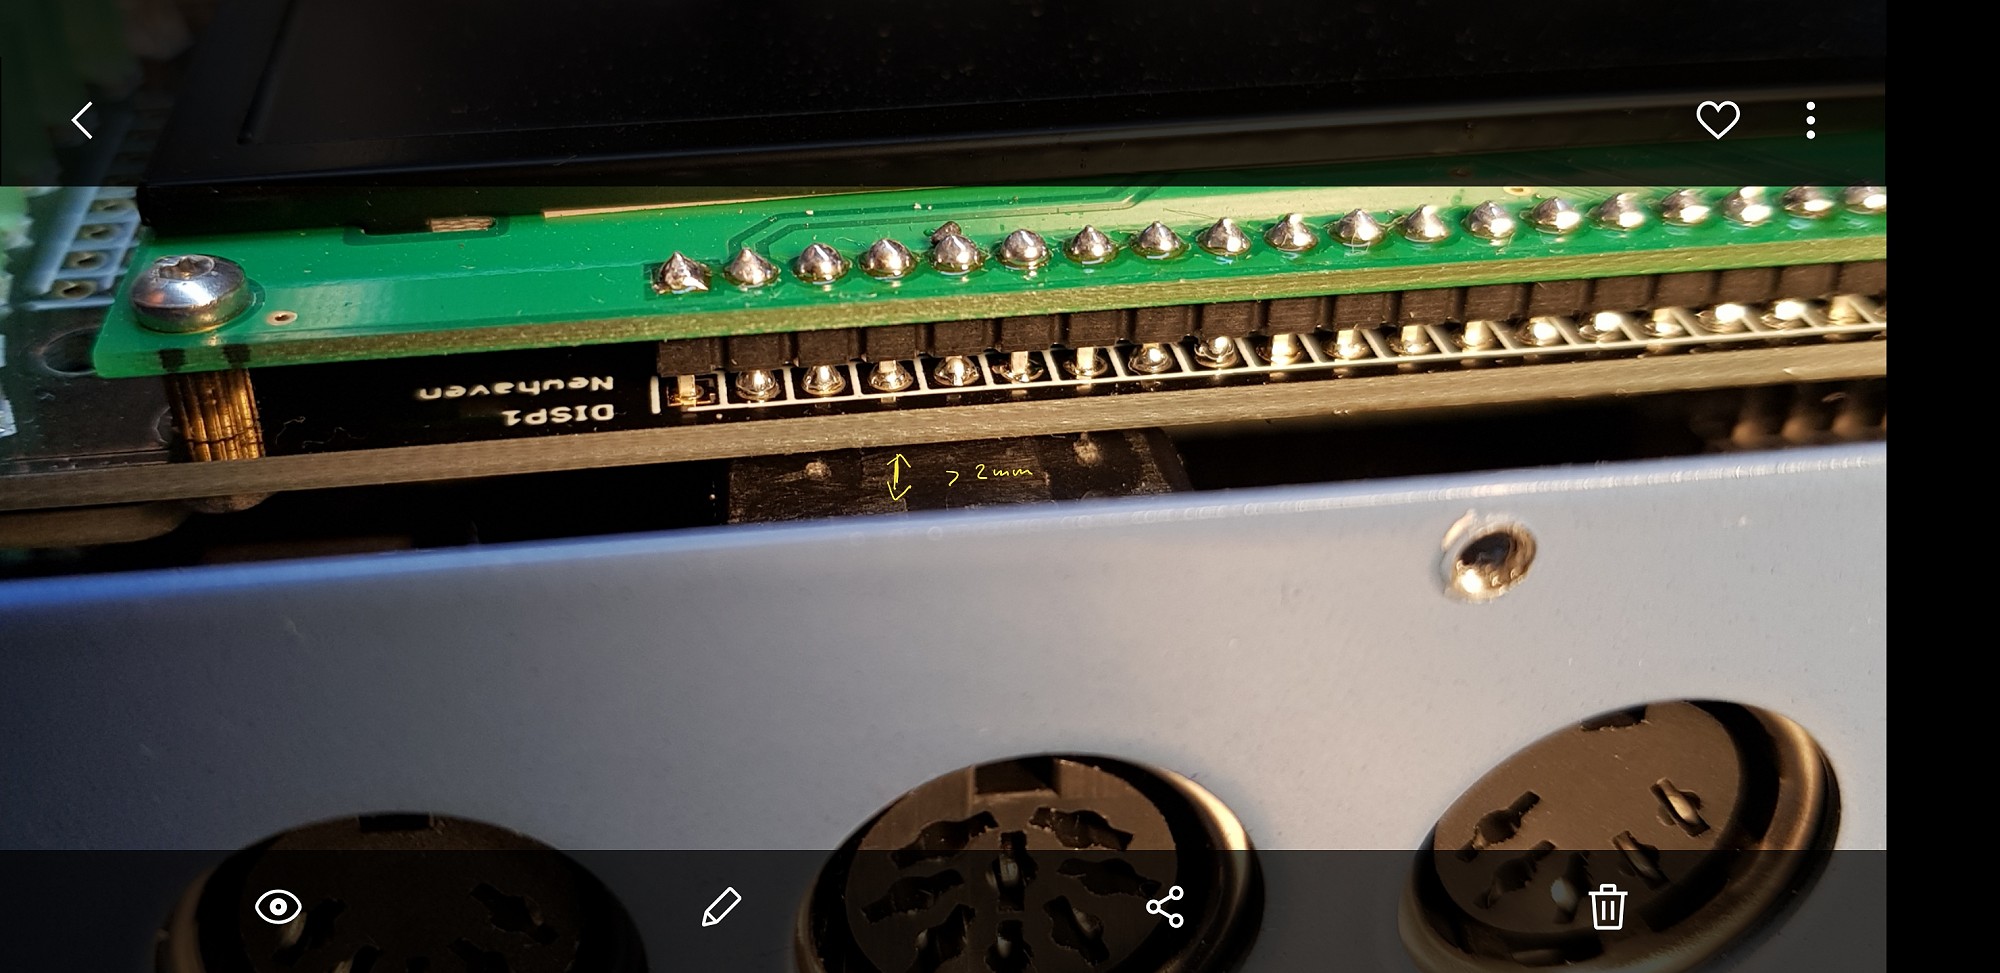
We are aware of space restrictions within the case, but wanted to create a really slim DIY device, so this is on purpose! :)
Many greets and enjoy your new LoopA!
Peter -
Very cool development, well done!
While the girls in the house insist on automatically shutting down the WiFi network at bedtime "so they can sleep better" :), i can see why wireless connections would be cool, maybe also in a ProgrammA context :).
Many greets,
Peter -
@sis.tm and @latigid on just had a look in the code to see what is really going on in seq_lfo.c - as a short conclusion, if a "note lfo" is used, the lfo value is rounded to an integer value between 1 and 127 to reflect a MIDI note - so even if this was put out via AOUT, that is probably not what you would want in a CV scenario (a more or less "stepless" continuous LFO waveform). Probably it would be best to ask TK. in the main SEQ V4 thread for a CV LFO expansion with non-note-steps, if possible, we'd also vote for that expansion, of course :)!
Best regards and have a nice weekend!
Peter -
@Phat, that sounds great!
At some point in time, the LoopA software will probably get a CC track type, but it will never be as powerful as your dedicated CC Looper, that can just use the full STM32F4 memory for that single purpose :)Many greets,
Peter -
Very well done and thanks a lot for the nice report, @lp1977!
Best regards, Peter -
Hi Simon,
first of all: that's one awesome datawheel knob! :)
Yes, the strange behaviour without SD card is normal - the v4+ looks for the hardware configuration/layout file on SD card, from there normally the midiphy config is loaded - if it is not there, it will assume an "unmapped/standard SEQ", which does not match to the layout of buttons/shiftregisters, etc.
Nothing can be damaged that way and all will revert back to normal, when you launch it with the SD card with the configuration file.
The stability issue could be caused by unstable/insufficient +5V USB power. I had a very similar problem with my LoopA a few months back, switching to a better USB power supply or a high quality powerbank (for mobile use) solved it for me - could you try that out?
Best regards,
Peter -
Here is a discussion with a similar question:
so, from that thread, this here:
might still work?
You are probably fine with a high quality modern switching PSU as well, as long as the switching frequency is well above the audible range, especially as the SIDs are a bit noisy by themselves :).
Best regards,
Peter -
@Altitude as requested, we've now released the acrylic frontpanel plan as a SVG, as another customer wants to create a custom 3D printed case and asked for it.
There is a 3mm "size indication" in the SVG, which can be used as a reference for scaling on your side.
The plan is linked on the bottom of the "caseless" LoopA shop page:
https://www.midiphy.com/en/shop-details/139/69Direct link:
https://www.midiphy.com/files/d14/LoopA%20Acrylic%20Case%20Frontpanel.svgHave fun and best regards!
Peter
Quick 'n Dirty Voltage Test Chart for MB-6582 Base PCB
in MIDIbox SID
Posted
Thanks! It was time well invested, as the tutorial will be 10 years old in 2020 and it seems still useful! :)
Always glad to receive it as a doc, for a digital archive - you could pm in the forums or send via mail to shop@midiphy.com - thanks a lot and have fun building your MB6582!
Many greets,
Peter